REVIEW · MOSHI
Mt Kilimanjaro 6 days Marangu route hike
Book on Viator →Operated by safari soles tours · Bookable on Viator
Kilimanjaro is a stairway to the clouds. This 6-day hike on the Marangu route is the one many first-timers pick because the gradient is steadier than most alternatives—and it still aims for the Uhuru Peak finish. What made it especially appealing is how the plan balances scenery with body management, plus a team that focuses on getting you moving at a smart pace rather than racing.
I especially like the way the early days ease you in. You start under rainforest shade with towering eucalyptus and birdlife, then step into open moorlands and gradually higher terrain, so your legs and breathing get used to the change. I also like the built-in structure for altitude help, including a true acclimatization day at Horombo Hut led by a guide team that includes Gasto.
The main drawback to plan for is the reality of the summit push: the climb begins very early, in the dark, and it gets brutally cold until you start descending. If you don’t pack warm layers and don’t take the altitude seriously, you’ll feel it fast—so show up ready.
In This Review
- Key things I’d focus on before you choose this hike
- Why the Marangu Route is popular for first-timers heading to Uhuru
- Moshi start: pickup, the park gate, and what your Day 1 really sets up
- Day 1 through Mandara and Maundi Crater: rainforest comfort with a big payoff
- Day 2 to Horombo: moorlands, big views, and the first altitude warning signs
- Day 3 at Horombo Hut: the acclimatization day that often makes the difference
- Day 4 to the saddle: from upper heathland into moonscape prep
- Midnight summit day: steep scree to Gilman’s Point and the road to Uhuru Peak
- Day 6 back to Marangu: forest descent, wet mud, and the end you’ll feel in your knees
- Price and value: what you’re paying for on a 6-day summit attempt
- Guides and team service: why Gasto and Lucas came up for good reason
- What to pack (and what to do) for a summit that starts in the dark
- Who should book this Marangu 6-day hike
- Should you book it? My call for the right kind of traveler
- FAQ
- What time does the hike start?
- Do they offer pickup in Moshi?
- Is this a private group experience?
- What does the tour include for meals?
- Is the park admission included?
- What happens if weather is bad?
Key things I’d focus on before you choose this hike
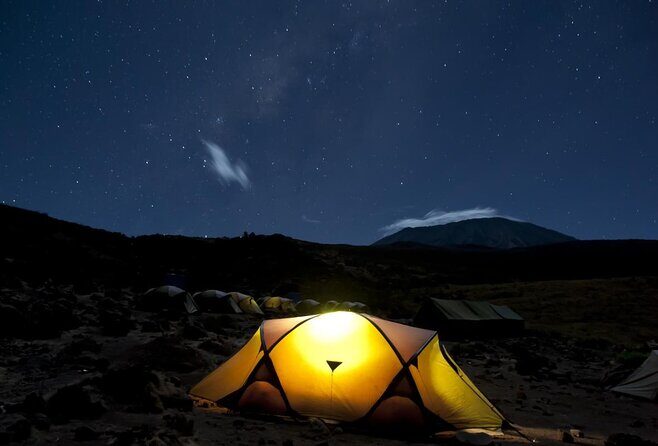
- Marangu’s steady gradient makes it a friendlier first Kilimanjaro route than several steeper options
- Acclimatization at Horombo Hut gives you a real chance to adjust before the summit day
- Optional Mawenzi Hut day hike can add extra altitude practice with your guide
- Midnight-to-dawn summit timing means headlamp gear and serious warmth matter
- Rain and mud on the final descent are common at lower elevations, so plan for wet ground
Why the Marangu Route is popular for first-timers heading to Uhuru
If you’re trying to summit Kilimanjaro and you want the plan to feel straightforward, the Marangu route is a very logical choice. It’s popular because the climb is often more gradual and the trail is direct compared with routes that zigzag in more extreme gradients. Translation: you still work hard, but the effort is easier to pace.
This route also fits a very clear “mountain progression” rhythm. You transition from rainforest to moorlands, then to alpine desert, and finally to the crater-rim area where the air is thin enough to make every step feel louder than usual. That progression helps you understand what you’re walking through each day rather than wondering why the terrain suddenly changed.
One more thing I like: the itinerary is built to get you to altitude gradually and then protect your summit odds on the most important days. The team approach—slower pace when it counts—shows up in how they talk about success, not just how they sell the trip.
You can also read our reviews of more hiking tours in Moshi
Moshi start: pickup, the park gate, and what your Day 1 really sets up
You meet at 8:00 am, and pickup is offered from Moshi (useful if you’re trying to avoid last-minute scrambling on arrival). The drive to the Kilimanjaro National Park Gate takes about 2 hours, then you register and start hiking the same day—so you’re already in the climb mindset quickly.
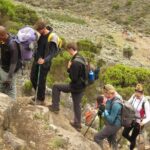
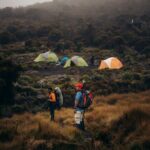
Day 1 is not just warm-up mileage. It’s a rainforest introduction that teaches you how Kilimanjaro starts: humid, shaded, and alive with wildlife. You’ll walk from roughly 1,860m / 6,100ft up to 2,700m / 8,875ft, covering about 8 km / 5 miles in around 3–4 hours. That’s long enough to feel purposeful without being a brutal shock.
Also, you’re in a part of the mountain where the views are earned differently. Instead of wide summits, you get a close-up world: towering eucalyptus trees, active birdlife, and the possibility of Colobus monkeys in the forest canopy. If you’re the type who enjoys noticing small things—bird calls, plant shapes, textures—this day rewards you.
Day 1 through Mandara and Maundi Crater: rainforest comfort with a big payoff
The first night stop is Mandara encampment. The idea here is simple: use the rainforest terrain to settle your rhythm and learn how your body responds to effort before altitude gets more serious.
There’s also a side trip to Maundi Crater, which is a smart add-on if you want perspective. You can catch scenery across northern Tanzania and even toward Kenya, which turns a forest day into something you’ll remember for more than just “Day 1 was muddy.” It’s also a good way to get your camera ready, because crater views are one of those moments that feel rare on a multi-day trek.
Meals are included: breakfast, lunch, and dinner. On Kilimanjaro, food isn’t a minor detail—it’s recovery. Being fed on schedule helps you sleep better and helps your energy stay consistent.
Potential catch: rainforest trails can be wet and slick. You’ll want grippy shoes, and you should expect that your socks may never feel fully dry again. If that sounds annoying, good news: it’s also temporary.
Day 2 to Horombo: moorlands, big views, and the first altitude warning signs
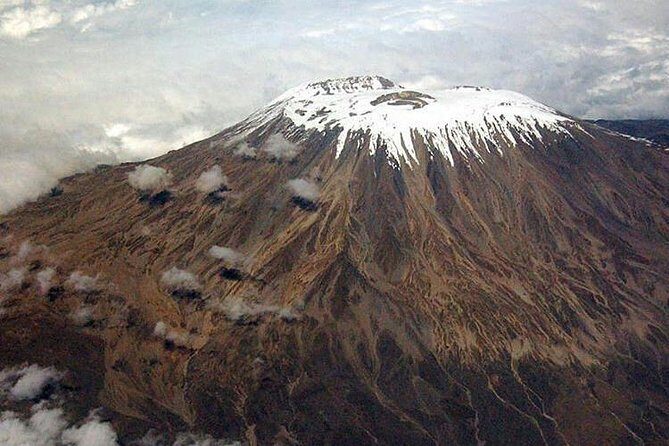
Day 2 is where you leave the forest’s comfort and step into the open. The hike heads from about 2,700m / 8,875ft up to 3,700m / 12,200ft, about 12 km / 7.5 miles and roughly 5–6 hours.
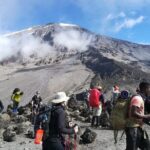
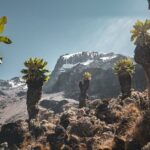
The terrain shift is dramatic. You’ll climb on ascending paths across open moorlands with views that start to open up—especially toward Mawenzi and the summit of Kibo. You’ll also start seeing the mountain’s signature plants, including giant lobelias and groundsel. It’s like walking through a different climate layer.
This is also when altitude can start to feel real. The plan explicitly notes you may feel the effects here, and that’s normal. I treat that as your cue to keep your pace steady and your breathing calm, even if you feel okay for a while.
You’ll stay at Horombo encampment, with breakfast, lunch, and dinner included again. And you’ll likely sleep with a bit more awareness of your body—dry air at higher elevation can make everything feel more sensitive.
Day 3 at Horombo Hut: the acclimatization day that often makes the difference
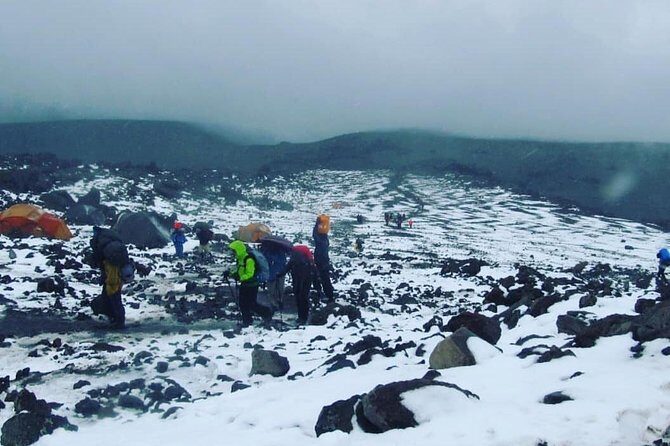
Day 3 is a classic altitude strategy day: you spend time at Horombo Hut to acclimate. Instead of pushing higher immediately, you let your body catch up. That’s the kind of move that tends to improve your comfort and your odds later.
You have an option to do a day hike to Mawenzi Hut (4,600m) with your guide for further acclimatization. If your body is adjusting well, this is useful practice. If you feel off, you can skip it and focus on rest and hydration.
Meals are handled at the hut: breakfast and dinner at the hut, and lunch is either packed or eaten at the hut depending on your preference. I like this flexibility because it lets you choose what supports your comfort that day. On acclimatization days, the goal isn’t to “win” by doing the most; it’s to arrive on summit day functioning.
Here’s the practical truth: if you reach Horombo feeling tired, don’t panic. That’s why this day exists. It’s not wasted time. It’s buying your summit-day ability with calmer effort.
A few more Moshi tours and experiences worth a look
Day 4 to the saddle: from upper heathland into moonscape prep
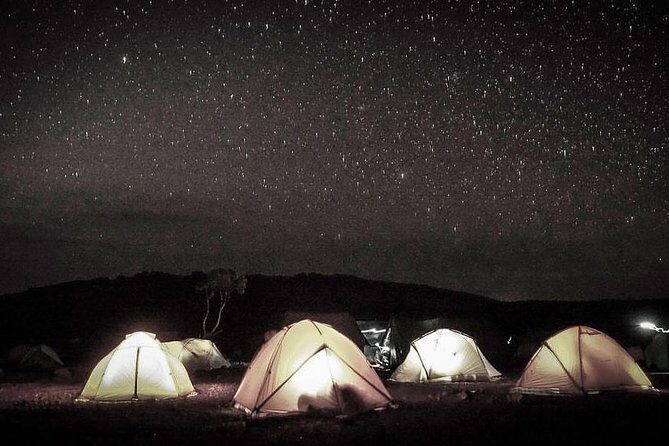
Day 4 ramps you higher from about 3,700m / 12,200ft to 4,700m / 15,500ft, covering about 9 km / 5.5 miles in 5–6 hours. The climb takes you onto the saddle between Kibo and Mawenzi—and vegetation starts to thin out fast.
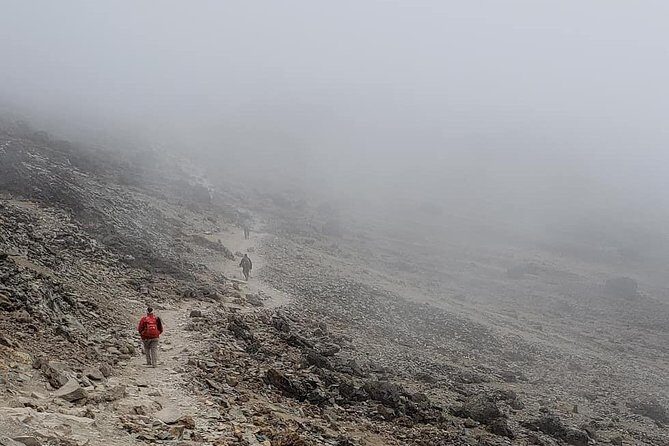
The trail passes the last watering point, and then you start moving into what’s described as moonscape. That’s an honest description of how alpine desert feels: little cover, sharp light, and a terrain that looks more like a planet surface than a mountain path.
This is also your pre-summit evening. Dinner, rest, and preparation happen here, because you’re about to start the summit climb at the coldest hours. You’ll want to keep your evening simple: eat, pack, and sleep as much as you can.
The altitude is high enough now that you’ll feel the air more. If you get headaches or nausea, this is the time to tell your guide and follow their guidance rather than pushing through in silence.
Midnight summit day: steep scree to Gilman’s Point and the road to Uhuru Peak
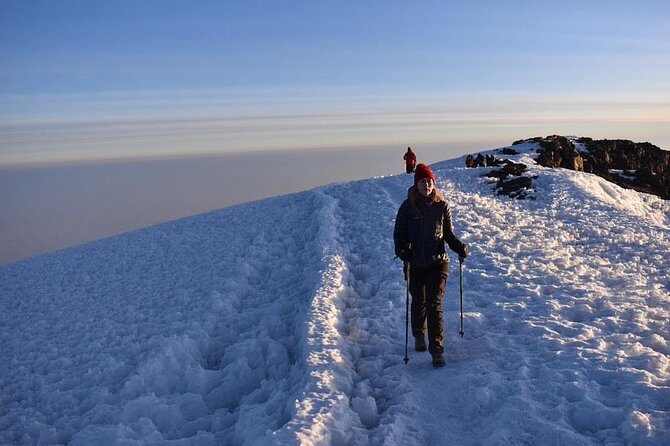
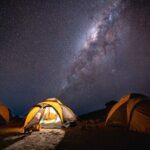
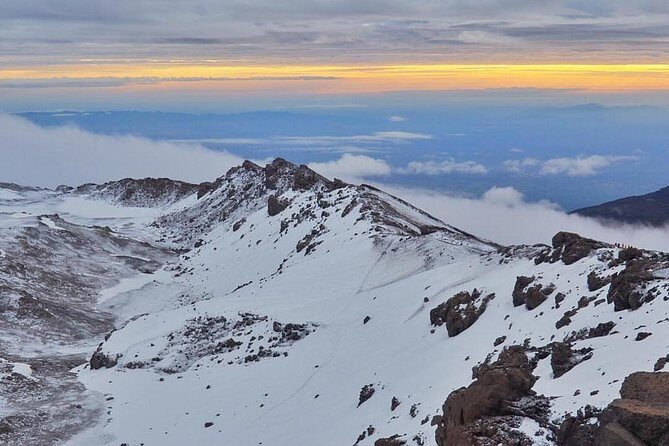
Day 5 is the big moment. The schedule starts very early, between midnight and 2:00 am, with the climb toward Gilman’s Point on the crater rim. This section involves steep and heavy scree (and possibly snow depending on conditions), and it’s done in the dark—so you need headlamps or flashlights.
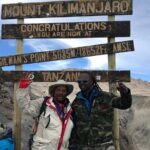
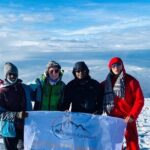
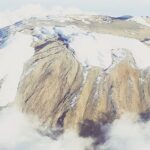
From Gilman’s Point, you continue to Uhuru Peak, the highest point in Africa. Expect “views every few steps” because you’re moving through the kind of terrain where the horizon and cloud layers keep changing. And yes, you’ll have time for photos at the top to share with people back home.
Then comes the descent. You stop for lunch and rest at Kibo, then continue down to Horombo encampment. The plan highlights that it’s very cold until you start descending, so your clothing system matters as much as your legs.
Practical takeaway: pack warmth like you’re going to a place where sweat won’t protect you. You’re climbing into colder air, then you’re moving in wind-chilled darkness. Once you start going down, you’ll warm up, but only after hours of discomfort if you under-pack.
This is also where team pacing pays off. Guides who keep you moving steadily—without sprinting early—tend to reduce fatigue when the route turns steep.
Day 6 back to Marangu: forest descent, wet mud, and the end you’ll feel in your knees
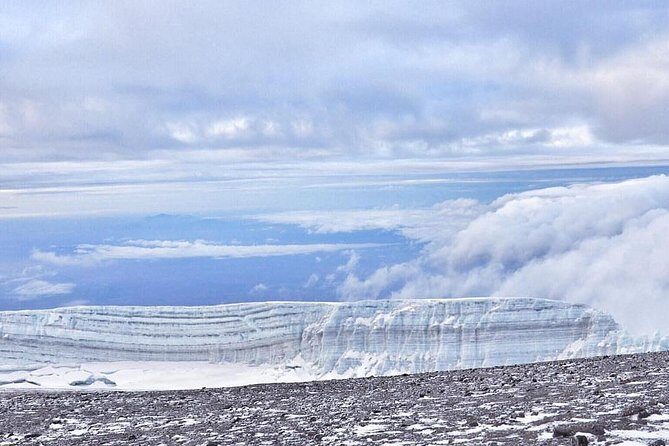
After breakfast on Day 6, you descend from about 3,700m / 12,200ft down to roughly 1,700m / 5,500ft, walking about 20 km / 12.5 miles in 4–5 hours. The descent goes first through moorland down to Mandara Hut, then continues through lush forest to the National Park gate at Marangu.
This is the day most people experience as “the mountain is over, now my body has to unload.” Lower elevations can be wet and muddy, so it’s smart to bring gear that helps with footing. The plan specifically suggests gaiters and trekking poles for these conditions.
Clothing-wise, it may be warm enough for shorts and t-shirts, but the advice is to keep rain gear and warmer clothing handy anyway. Kilimanjaro weather can shift fast, and at lower elevations you’re more likely to deal with rain and cloud drag than icy alpine wind.
When you reach the Marangu gate, your vehicle meets you and drives you back to your hotel or the airport. It’s also the right moment to remember tips. The guidance is clear: tip your guides and porters. It’s one of the simplest ways to show respect for the work that makes the hike possible.
Price and value: what you’re paying for on a 6-day summit attempt
At $2,269.24 per person, this isn’t a budget trek. But it’s not just paying for “time on a trail,” either. You’re paying for logistics that add up fast on Kilimanjaro: multi-day support, meals, park entry coverage (the admission ticket is included, with Day 6 listed as free), and the planning that tries to protect summit chances.
I’d judge the value by two things: comfort and risk management. This plan includes full-day meals on most days and builds in the acclimatization day, which reduces the likelihood that you’ll feel wrecked before the main effort. Also, multiple experiences with this operator have highlighted high-standard food and accommodation and careful execution—quality matters when you’re spending days at high altitude.
There’s also the “you don’t have to figure it out yourself” factor. Pickup from Moshi, a set start time, and a structured itinerary reduce decision fatigue. That’s worth something if you’re traveling with limited time or you’re not used to African land logistics.
Guides and team service: why Gasto and Lucas came up for good reason
Service on Kilimanjaro isn’t about luxury. It’s about judgment, pacing, and keeping you safe while you chase a summit that doesn’t care about your plans.
In past feedback connected to this company, Gasto is mentioned as a head guide who, with his team, made the climb feel well planned and executed—leading to a successful summit. Another guide, Lucas, comes up in connection with a Marangu day hike, with praise for how smooth the booking and pickup details felt right up to departure.
Two practical lessons from that kind of praise: first, responsiveness matters. You don’t want silence when you’re trying to coordinate a hike on a tight schedule. Second, the pacing approach is a big deal—one comment specifically emphasized that going at a slow pace influences summit success. On Kilimanjaro, slow often means smarter, not weaker.
If you want the best shot at a calm summit day, choose operators and guides who plan like they expect the mountain to set the pace.
What to pack (and what to do) for a summit that starts in the dark
You’re going to walk through rainforest, moorlands, alpine desert, then descend through wet forest. That’s several weather modes in one trip.
Based on the plan details, I’d treat this as a checklist of priorities:
- Headlamp/flashlight for the early summit hours
- Warm layers for the cold period before you start descending
- Rain gear for muddy, wet conditions on lower-elevation trails
- Trekking poles and gaiters for comfort and stability on descent
- Comfortable shoes that grip well on loose scree and slippery mud
Also, keep your routine simple during the summit preparation night. Don’t experiment with new gear the night before. If something feels uncomfortable, adjust it early.
And hydration matters. With the mention of the last watering point on Day 4, you should take hydration seriously from that stage onward.
Who should book this Marangu 6-day hike
This trip fits best if:
- You want the most popular and easiest route style because it’s relatively gradual
- You prefer a clear structure with an acclimatization day
- You’re okay with the reality that summit day starts late night and gets very cold
- You like guided support and don’t want to manage logistics alone
It may be less ideal if you want a purely “low altitude walking vacation” vibe. This is still a high-altitude challenge aimed at Uhuru Peak. Even on the easier route, it’s work, and you’ll feel the mountain.
Should you book it? My call for the right kind of traveler
Book this Marangu 6-day Kilimanjaro hike if your goal is a realistic summit plan with steady pacing and a built-in altitude recovery day. The route choice, plus the team approach highlighted through guide names like Gasto and Lucas, suggests this operator focuses on execution and comfort when it counts.
Don’t book it if you’re not ready for cold, early starts, and the muddy reality of the descent. If you’re going to do Kilimanjaro, show up prepared—especially with headlamp and warmth. If you do that, this plan gives you a strong framework to enjoy the rainforest-to-moonscape journey and still have a fair shot at the top.
FAQ
What time does the hike start?
The experience start time is listed as 8:00 am.
Do they offer pickup in Moshi?
Yes, pickup is offered.
Is this a private group experience?
Yes, it’s described as a private tour/activity, meaning only your group participates.
What does the tour include for meals?
Meals are included throughout the trek as listed: for example breakfast, lunch, and dinner on Days 1, 2, and 3, and breakfast, lunch, and dinner on Day 4. Day 6 lists breakfast only.
Is the park admission included?
Yes. The plan notes that admission ticket is included on the trek days (Day 6 is listed as free).
What happens if weather is bad?
The experience requires good weather. If canceled due to poor weather, you’ll be offered a different date or a full refund.