REVIEW · MOSHI
6 Days Kilimanjaro Trekking – Machame Route
Book on Viator →Operated by Afrishare Trekking and Safaris · Bookable on Viator
Stella Point tests you, then rewards you. This 6-day Machame Kilimanjaro trek from Moshi pairs a private guide-and-porter team with a route that builds in acclimatization before the midnight push toward Uhuru Peak.
What I liked most was the team care—I kept seeing praise for people like Ibrahim (communication), guides Peter & Alex (pace and help), and chef Daniel (good meals even at altitude). The other big win is that the plan doesn’t treat altitude like an afterthought; it’s staged, with an acclimatization-focused day around Shira to Barranco.
The main drawback is also the point of the trek: you’ll face a tough, late-night ascent through heavy scree near Stella Point, and you’ll need good fitness plus the right gear for fast-changing mountain weather.
In This Review
- Key takeaways before you commit to Machame
- Machame Route on Kilimanjaro: what kind of trip is this?
- Getting from Moshi to the Gate: your first taste of Kilimanjaro
- Machame to Machame Kusini: leaving the forest and gaining altitude slowly
- Shira Plateau day: Lava Tower, Arrow Glacier, and the Barranco shift
- Barranco to Karanga Valley to Barafu: South Circuit and summit prep
- Summit night to Uhuru Peak: heavy scree, Stella Point, and the sunrise window
- Descent via Mweka Gate: certificates, mud, and the finish drive
- Price and value: what $1,715 gets you (and what you still need to plan)
- Who this Machame trek is best for
- Should you book Afrishare Trekking and Safaris for Machame?
- FAQ
- FAQ
- How long is the Kilimanjaro trek on the Machame route?
- Where does the trek start?
- What route does it follow?
- What elevations are included on summit day?
- Is lunch included?
- Can you request a vegetarian option?
- Is the trek private?
- What should I plan for on the descent?
- What’s the cancellation window?
Key takeaways before you commit to Machame
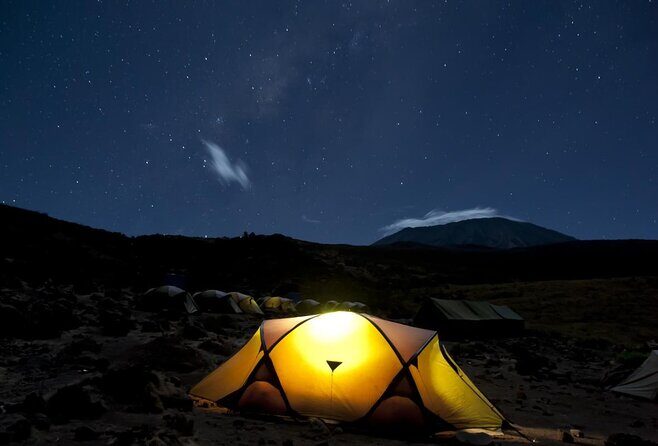
- Private guide and porters mean you’re not solving the trip by yourself
- Acclimatization is built in, with key elevations scheduled before summit night
- Lava Tower (Shark’s Tooth) and Arrow Glacier break the hike into memorable milestones
- Stella Point sunrise timing is one of the strongest moments of the whole route
- Wet, muddy descent at Mweka is real, so plan for traction and gaiters
Machame Route on Kilimanjaro: what kind of trip is this?
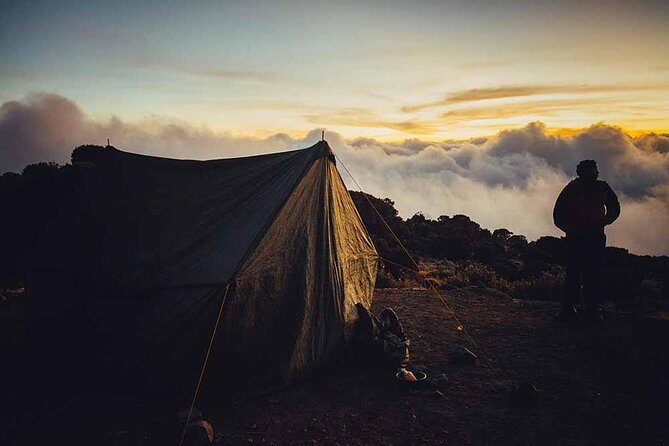
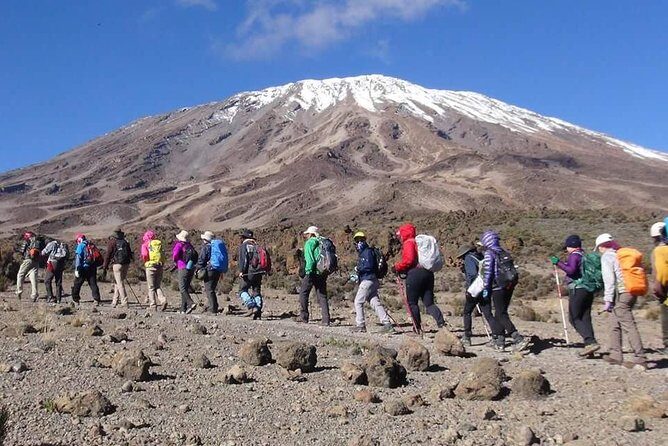
Kilimanjaro sits at 5,895 meters, and it’s special in a very practical way: it’s high enough to feel like an extreme mountain challenge, but it’s also a hike you can do with the right plan, support team, and patience. This Machame route is set up as a stepped progression upward from the forest zone, through big altitude days, and then into the summit-night grind.
What makes this specific trek feel worth your time is the balance between effort and recovery. The schedule gives you days that don’t just push higher numbers on a chart. It uses route choices that help your body adjust—especially around the days that end in Barranco and then Barafu, when summit day is close.
You’re also traveling with a private tour. That matters more than people think. You get a guide who can set the pace to your ability, and you’re supported by porters carrying what needs carrying so you can focus on breathing and stepping carefully.
You can also read our reviews of more hiking tours in Moshi
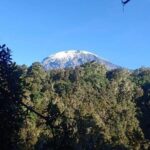
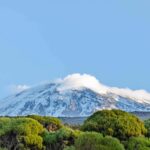
Getting from Moshi to the Gate: your first taste of Kilimanjaro
Most people start in Moshi, and this trek begins with pickup and transport into Kilimanjaro National Park. Along the drive, you’ll pass coffee and banana plantations, grown by locals as food and cash crops—an easy, down-to-earth first look before you trade roads for trail.
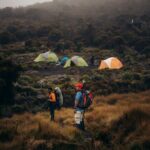
When you reach the gate area, your climb actually starts right away with the Machame day. You’ll sleep at Machame Hut that first night, and the plan encourages you to rest early so you’ve got energy for the next day. That early sleep isn’t a small detail. On Kilimanjaro, the best summit attempts start long before midnight.
Practical note: the trek includes all fees and taxes, and the route schedule lists admission tickets as free at stops. In plain terms, you shouldn’t be scrambling for separate entry fees once you’re on the mountain.
Machame to Machame Kusini: leaving the forest and gaining altitude slowly
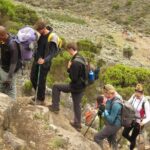
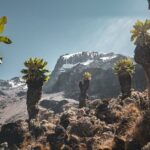
Day two is the transition day. After breakfast, you leave the glades of the rain forest and start climbing on a more open track. The description gets specific: you’ll walk along a steep rocky ridge, and the ground is covered with heather. Then the route turns west into a river gorge.
This is the kind of day that feels “in between.” You’re working, but you’re not yet at the most punishing elevations. It’s a good time for you to get your rhythm—small steps, steady breathing, and a focus on staying warm.
You’ll reach time to rest after about three to four hours of walking, and then you’ll sleep at a campsite at Shira. That camp placement matters. It sets you up for the next stage toward the higher volcanic features of the mountain.
One consideration here: rocky ridges and gorge paths can be uneven. If your knees don’t love downhill scrambling or uneven footing, you’ll want careful footwork and trekking poles.
Shira Plateau day: Lava Tower, Arrow Glacier, and the Barranco shift
The climb from Shira changes your mental game. You continue up a ridge, passing the junctions that lead toward Kibo. Then the route turns toward the Lava Tower, called the Shark’s Tooth—a memorable landmark because it’s a clear visual goal on a high-altitude day.
Shortly after Lava Tower, you get to the second junction and move on toward the Arrow Glacier area at about 4,876 meters (15,997 feet). After that, the day pivots: you descend to Barranco Hut at about 3,860 meters (12,664 feet).
That pattern—going up toward a high point, then coming down—isn’t accidental. The plan explicitly says this day is very important for acclimatization and for preparing your body for summit day. In practice, this kind of height management can reduce the odds of feeling wrecked too early. It also teaches you something useful: altitude isn’t just about going higher; it’s about recovering smartly.
Another practical win: the day ends with dinner and overnight at Barranco Hut. You’re not just hiking until you’re done. You’re building a routine—walk, rest, eat, sleep—so your body stays in the game.
Barranco to Karanga Valley to Barafu: South Circuit and summit prep
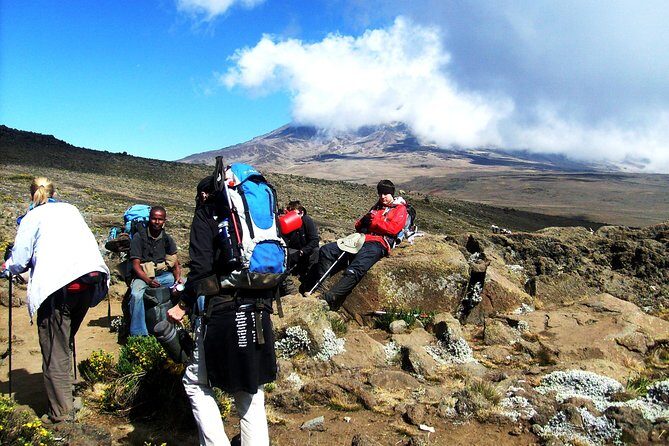
Day four moves you up from Barranco, and the profile is steeper. You climb the Barranco Wall on a continuing ridge, then pass through the Karanga Valley. Lunch happens at around 4,200 meters (13,779 feet), which is high enough that you’ll feel exertion more than you might expect.
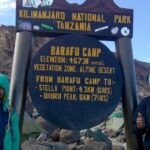
Then you connect with the Mweka Trail and continue upward to Barafu Hut. At this point you’ve completed the South Circuit. The plan notes that you’ll have views of the summit from many angles, and from Barafu you can see Mawenzi and Kibo.
Here’s why this day matters beyond the scenery: you’re reaching Barafu where the next night starts the summit push. You’re not just collecting altitude. You’re getting your body ready for the hardest part of the trek.
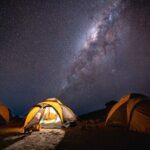
Realistic expectation: by the time you reach Barafu, you may feel tired even if you’ve done everything right. That’s normal at this stage. The value of this plan is that the day ends with rest, dinner, and overnight at Barafu Camp—so you can try to sleep before midnight.
A few more Moshi tours and experiences worth a look
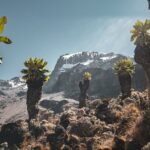
Summit night to Uhuru Peak: heavy scree, Stella Point, and the sunrise window
This is the day most people talk about. You start very early—between midnight and 2am—and you head toward the summit between the Rebmann and Ratzel glaciers.
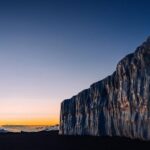
The route ascends in a northwesterly direction through heavy scree toward Stella Point on the crater rim at about 5,685 meters (18,652 feet). The plan calls this the most mentally and physically challenging portion of the trek, and I agree with that logic even before you feel it. Heavy scree means every step takes effort to control. It’s not just about speed; it’s about balance and patience.
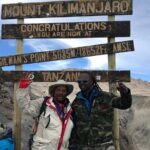
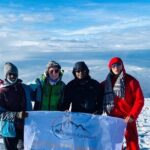
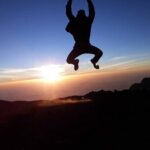
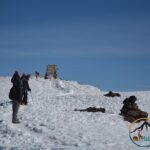
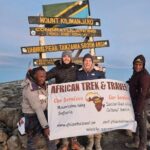
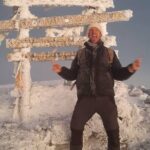
At Stella Point, you stop briefly and—if weather allows—you’re rewarded with the most magnificent sunrise you’re ever likely to see. From there, you continue for about one hour to Uhuru Peak, with snow possible along the way. When you reach Uhuru Peak, you’ve reached the highest point on Kilimanjaro and the highest point on the African continent.
This is where the guide team becomes hugely important. The trekking organization includes a professional guide, plus porters. Reviews also mention guides who adjust pacing to your capabilities and keep you motivated through the hardest stretch. You’ll feel those choices in real time when the ground is slow and the air is thin.
A balanced caution: summit day depends on conditions. You might see snow or you might not; you might get clear skies or not. That said, the trek still gives you a clear objective and a defined summit path.
Descent via Mweka Gate: certificates, mud, and the finish drive
After the summit, the plan is straightforward: you go back down. You’ll continue your descent to the Mweka Park Gate where you receive summit certificates.
Then you descend further for about an hour to Mweka Village. At that point, a vehicle meets you to drive you back to your hotel in Moshi or Arusha, or onward to the airport.
One thing the plan doesn’t hide: at lower elevations, it can get wet and muddy. That’s not a “maybe.” It’s the kind of reality that can turn a tiring day into a painful one if your footwear isn’t ready. The trek specifically suggests gaiters and trekking poles. It also notes that shorts and t-shirts are likely fine for low altitudes, but you should keep rain gear and warmer layers handy because weather changes fast.
Then there’s the human part: don’t forget to tip your guides and porters. Support on Kilimanjaro is a team effort, and this trek is built around that crew model.
Price and value: what $1,715 gets you (and what you still need to plan)
At $1,715 per person for about 6 days (with 5 nights included), the pricing looks like it includes the “big-ticket” parts most people forget to budget for.
Here’s what’s covered:
- Professional guide and porter support
- Hotel pickup and drop-off
- All fees and taxes
- Lunch
- Private tour format
- Five nights accommodation on the route
What’s not included:
- Alcoholic drinks (buy as available)
- Tipping for the driver
So your realistic extra spending includes things like drinks and tipping where noted. Also, check your personal gear list (rain protection, layers, poles or gaiters). The trek operates in all weather conditions, so you don’t want to rely on sunny forecasts.
Is $1,715 “cheap”? No. But Kilimanjaro is labor-heavy: you’re paying for guides, porters, park-related fees, and logistics that keep the hike running. The value here comes from the fact you’re not just buying access—you’re buying a supported climb with a defined plan and a private team.
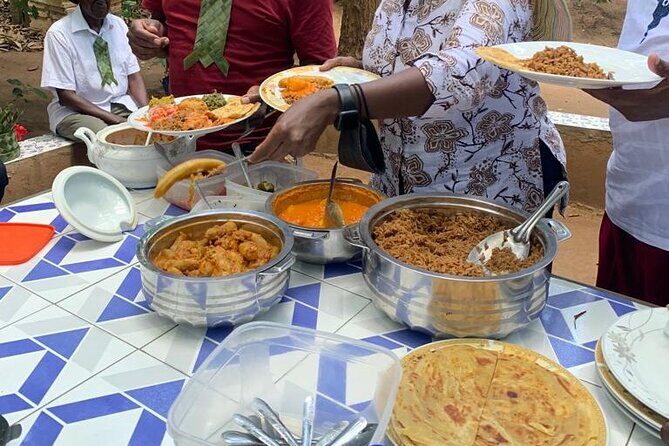
Reviews also point to the quality of camp service. One highlight repeatedly mentioned: guides staying on time and adjusting pace, plus chef Daniel producing diverse meals despite mountain conditions. That’s not a small comfort. Food and morale matter when you’re tired.
Who this Machame trek is best for
This trek is a strong fit if:
- You have moderate physical fitness and you want a structured climb rather than an improvised one
- You value private guide support (you get pace guidance and help adjusting to your limits)
- You want a route that explicitly targets acclimatization before summit day
- You’re okay with rough footing near the summit approach (heavy scree is part of the plan)
It may be less suitable if you know your body doesn’t handle steep, uneven hiking. Also, if you’re sensitive to cold at very high altitude, you’ll need to pack for the weather swings the trek expects.
On the plus side, there’s a vegetarian option available if you ask at booking. You’ll also be asked to advise dietary requirements in advance.
Should you book Afrishare Trekking and Safaris for Machame?
If you want a structured Machame climb with a private team, clear pacing, and a summit-night plan that targets acclimatization beforehand, I’d say yes—this looks like a practical, well-run option.
The decision hinges on two things. First, you’re choosing a trek with a real summit commitment (midnight to early morning, heavy scree, Stella Point, then Uhuru Peak). If that’s your goal and you can train enough for it, the payoff is huge. Second, you should be comfortable planning for mud and wet conditions on the descent, using poles and gaiters if you have them.
If you’re the type who likes having a guide-and-chef-and-porter crew working as a system, not just someone pointing the way, this matches that style well. And with names like Ibrahim (communication), Peter & Alex (on-trail support), and chef Daniel showing up in feedback, you’re not guessing about service quality.
FAQ
FAQ
How long is the Kilimanjaro trek on the Machame route?
It’s listed as a 6-day trek (approx.), including 5 nights of accommodation.
Where does the trek start?
The tour start point is Kilimanjaro Airport, Tanzania, and pickup is offered. The meeting point also notes Kilimanjaro National Park Tanzania as the route area.
What route does it follow?
It follows the Machame route with key stops at Machame, Machame Kusini, the Shira area, Barranco, Karanga Valley (for lunch), Barafu, then the ascent to Stella Point and Uhuru Peak, followed by descent to Mweka Gate and Mweka Village.
What elevations are included on summit day?
The route describes Stella Point at about 5,685 m and Uhuru Peak as the highest point. It also mentions snow may appear on the 1-hour ascent.
Is lunch included?
Yes. Lunch is listed as included, along with professional guide support and porter support.
Can you request a vegetarian option?
Yes. A vegetarian option is available if you advise at the time of booking. You should also share any specific dietary requirements when you book.
Is the trek private?
Yes. It’s described as a private tour/activity, with only your group participating.
What should I plan for on the descent?
The descent to Mweka Park Gate and Mweka Village can be wet and muddy. The plan suggests gaiters and trekking poles, and notes that shorts and t-shirts may work at lower elevations while you keep rain gear and warmer clothing handy.
What’s the cancellation window?
Free cancellation is offered: you can cancel up to 24 hours in advance for a full refund. If you cancel less than 24 hours before the experience’s start time, the amount paid is not refunded.