REVIEW · MOSHI
6-Day Private Guided Machame Hike Tour at Kilimanjaro
Book on Viator →Operated by Tarry Adventures and Safaris · Bookable on Viator
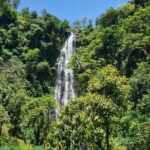
Kilimanjaro starts with a quiet rainforest hike. This private Machame climb is run locally out of Moshi, with a focus on safety and staff well-being, including gear checks for both customers and the team. I like that part of the climb profit supports sending a child to school, so your effort has a real footprint beyond the mountain.
Two things I especially like: the acclimatization pacing built into the route, and the fact that meals and park admissions are included throughout the trek. Pickup is offered, and you get a private setup where only your group participates, which keeps the schedule from turning into a chaotic moving target.
One consideration: some days are long, rocky, and exposed, with sections that offer little shade. If you struggle with steep footing, heat, or cold wind (Barafu is famously rough), you’ll want a serious fitness plan and the right personal gear.
Key highlights of this Machame trek
- Licensed, locally run company with a strong emphasis on staff pay and gear inspections
- Private guided format with only your group participating, plus pickup offered
- Park admissions and meals included (breakfast, lunch, dinner across the trek)
- Built-in acclimatization rhythm with breaks and a slower climb on key days
- Summit night with Stella Point sunrise and official summit certificate colors at Mweka Gate
In This Review
- Machame Route in Moshi: What Makes This 6-Day Private Plan Work
- Your Crew, Gear Checks, and the Extra Care Behind the Scenes
- Price and What You Really Get for $2,000
- Day-by-Day Machame Itinerary: Rainforest to Uhuru Peak
- Day 1: Machame Gate, Rainforest, Giant Heathers, Camp
- Day 2: Rocky, Dusty Switchbacks and Slow Acclimatization
- Day 3: Lava Tower Area, Optional Climb, Then Down to Barranco Camp
- Day 4: Barranco Wall, Big Views, and the Gales of Barafu
- Day 5: Midnight Summit Climb, Stella Point Sunrise, Uhuru Peak
- Day 6: Mweka Gate Descent, Knee Reality, Certificate Day
- Acclimatization, Altitude Reality, and How to Keep Your Body Happy
- Food, Camp Nights, and the Real Crew Work You Don’t See
- Summit Night From Midnight to Stella Point: What to Expect
- Descent, Knee Care, and the Mweka Gate Certificate Moment
- Who This Tour Fits Best (and Who Should Rethink)
- Should You Book This Machame Private Guided Hike?
- FAQ
- Is pickup included for this Machame hike from Moshi?
- What hiking days are included, and how long is the trek?
- Are meals and park admission tickets included?
- Do I need to bring my own hiking gear?
- What if the weather is poor on Kilimanjaro?
- What summit certificate do I receive at Mweka Gate?
Machame Route in Moshi: What Makes This 6-Day Private Plan Work
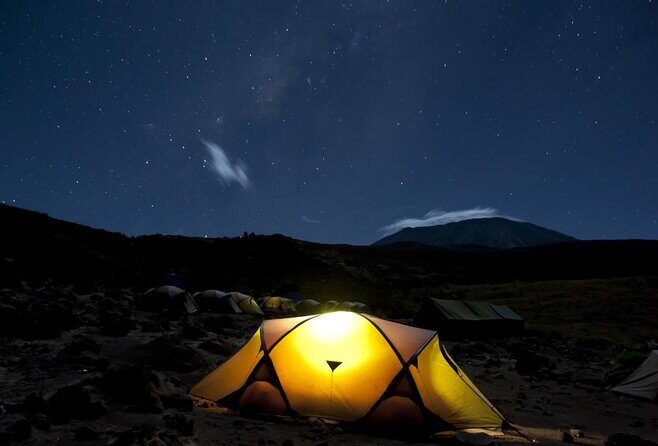
Machame is one of Kilimanjaro’s classic routes because it gives you variety. You start in the rainforest, move through drier, rockier stretches, then step into high-altitude cold where every breath feels more expensive.
This specific tour is built around a full 6 days on the mountain, with the Machame Gate registration on Day 1 and the Mweka Gate return on Day 6. That matters because it keeps the trek flow coherent: you’re not scrambling for timing, and you’re guided through the whole arc from warm forest to the crater rim.
Because it’s private, you should also expect a more personal pace and clearer communication. The plan includes plenty of breaks for acclimatization, and it’s designed so you’re not just racing to altitude like a scoreboard.
Your Crew, Gear Checks, and the Extra Care Behind the Scenes
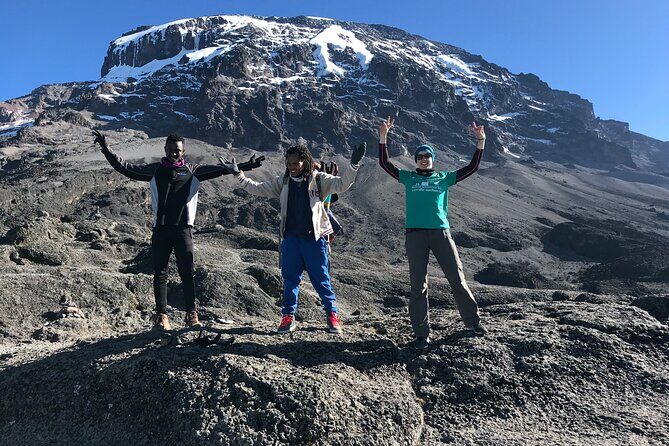
You get more than a checklist here. The company says it is locally owned, certified, and licensed, and it also talks openly about staff treatment. They emphasize that guides and porters are paid well and that their well-being matters.
Before you start, the team inspects the gear of both customers and staff. On Kilimanjaro, this is not a small detail. Bad boots, a missing warm layer, or a poorly fitting pack strap can turn a hard day into a miserable one fast.
In the trip stories linked to this operator, Peter (the organizer) coordinated a meeting ahead of the climb with guide Martin to check gear and explain the trek details. In another case, guide Jackson helped by borrowing missing clothing and utensils so the hike didn’t start with preventable problems. That kind of hands-on problem solving is the difference between hiking and fighting your kit.
You can also read our reviews of more guided tours in Moshi
Price and What You Really Get for $2,000
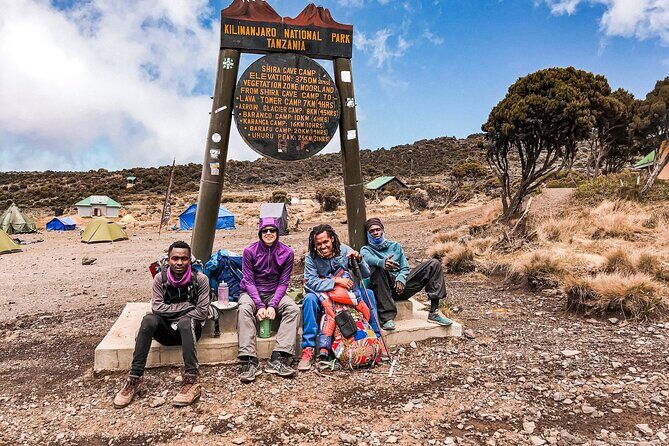
At $2,000 per person, this is not a budget trek. But it is also not just a guide with a phone and a vague plan. You’re paying for a private guided experience with a crew structure and included essentials.
From the included items, you get:
- Breakfast, lunch, and dinner (listed as 5 each)
- Park admissions included during the trek
- Pickup offered and a mobile ticket
- A fully guided, private group format (only your group participates)
You still need to bring your own personal hiking equipment. That’s normal on Kilimanjaro, but it’s worth underlining: you don’t want to arrive hoping the mountain will forgive gear gaps.
My take on value: the price makes sense if you want fewer uncertainties, good meal support, and a team that shows care in the pre-trip phase. If you’re traveling super tight-budget or you’re the type who thrives on DIY planning, you might find cheaper shared options elsewhere. But for many people, paying more for reduced friction is money well spent—especially with a multi-day summit plan.
Day-by-Day Machame Itinerary: Rainforest to Uhuru Peak
Here’s how the trek is laid out, and what each day tends to feel like in real life.
Day 1: Machame Gate, Rainforest, Giant Heathers, Camp
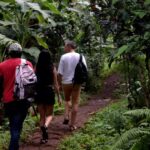
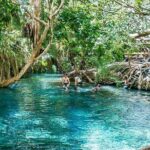
You’re picked up from your accommodation along with your guide, then driven to the Machame gate for registration. After meeting your crew, the first hike goes through rainforest and into areas of giant heathers.
The hiking time on Day 1 is listed at about 6 hours, and it’s a good first day for easing in. You’re not just warming up—you’re training your lungs and legs for the rhythm of the climb. The air is usually kinder early on, but it can still feel damp and warm depending on the conditions.
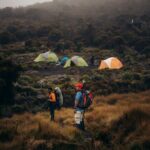
Overnights are in camps, so plan for basic camp life rather than hotel comfort. Still, Day 1 is where the trek starts to feel real: you’re officially “on Kilimanjaro,” not just sightseeing near it.
Day 2: Rocky, Dusty Switchbacks and Slow Acclimatization
Day 2 is described as short and steep with rocky and dusty trails. That combination is tough on ankles, knees, and breathing. The key is that this day is designed as a slow hike with plenty of breaks so you can acclimatize.
Most of the route is described as rather bare of vegetation, meaning you may get limited shade from heat. So even if your pace is slow, you still need to manage sun and hydration.
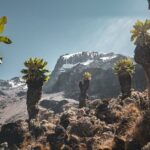
This is also where you cross many ridges and start seeing some high-altitude plant life, including the first of many Senecias. It’s a reminder that Kilimanjaro isn’t just cold at the top—it changes character every few days.
You can also read our reviews of more private tours in Moshi
Day 3: Lava Tower Area, Optional Climb, Then Down to Barranco Camp
Day 3 shifts into boulders and more straightforward uphill climbing with very few rocks at the start, then steady progress to Lava Tower. You stop for lunch around noon.
If you’re interested, you may climb Lava Tower, listed as 14,850 ft. The plan warns you may start to get a mild headache due to altitude change. That’s your cue to take it seriously: pace slower than you think you should, drink water, and let the crew know how you’re feeling.
After lunch, you descend for about 2 hours on dusty and rocky trails to Barranco Camp (listed at 13,000 ft). Descents at altitude can still feel hard because your body is already working against lower oxygen and a cold that creeps in.
Barranco is often a morale day: the move gives you a break from constant uphill strain, and it sets up the scenery for Day 4.
Day 4: Barranco Wall, Big Views, and the Gales of Barafu
Barranco Wall shows up as a major feature on Day 4. The plan describes it as a great obstacle you tackle after a night at camp, and it’s often imposing at first glance. The good news in this itinerary: it usually turns out easier than it looks, though you still need steady footing.
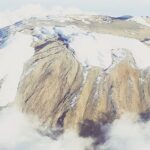
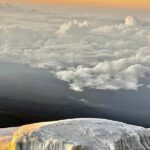
From there, you top out just below the Heim Glacier, where you get a clearer sense of how dramatic Kilimanjaro can look above the clouds and weather systems. Then you head toward Barafu Camp.
Barafu is described as bleak and inhospitable, with narrow stony pitches pitched on an exposed ridge under ever-present gales. This is one of those nights where your preparation matters. Get oriented before dark so you don’t trip around camp in fatigue.
This is also the day where you should treat sleep and warmth like serious priorities. You’ll likely need energy for the summit push starting shortly after midnight.
Day 5: Midnight Summit Climb, Stella Point Sunrise, Uhuru Peak
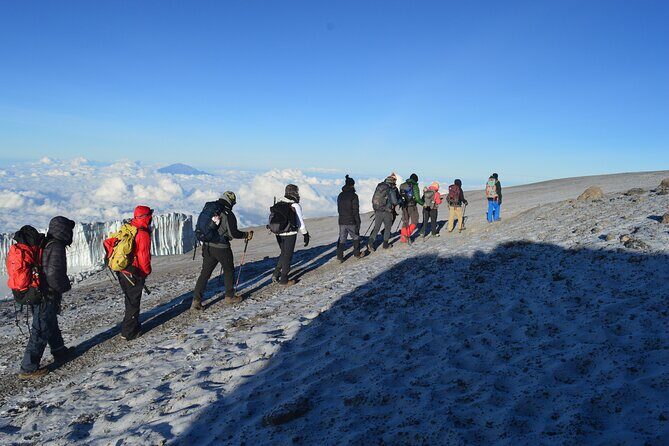
Day 5 starts very early: midnight to 2am, when you continue toward the summit between the Rebmann and Ratzel glaciers. You head northwesterly toward Stella Point on the crater rim.
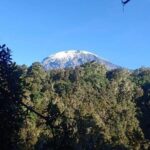
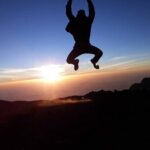
At Stella Point (5,700m), you rest briefly and you’re rewarded—weather permitting—with what the plan calls the most magnificent sunrise you’re likely to see. From here, you might encounter snow all the way to the summit. Then the final ascent toward Uhuru Peak begins, listed as a 1-hour climb from Stella.
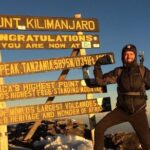
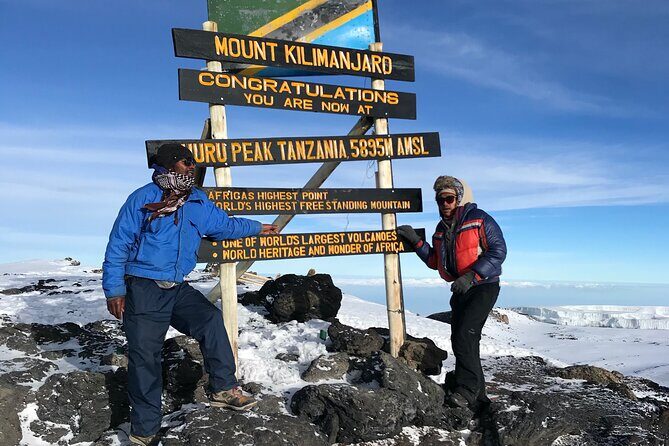
At Uhuru Peak, you reach the highest point on Kilimanjaro and Africa. Even if you’re not a super emotional person, the physical shock of reaching the top tends to do the talking.
This day is the hardest mentally and physically. The climb is described as the most demanding section, and you should treat it that way: slow steps, steady breathing, and listening to your guide when conditions change.
Day 6: Mweka Gate Descent, Knee Reality, Certificate Day
You start Day 6 with an early, well-deserved breakfast. Then you hike back to the park gate, listed as about 4 to 6 hours and described as scenic.
Some hikers experience knee problems on the descent. That’s not a failure. It’s common on long downhills at altitude. If your knees get cranky, the smart move is not to speed up just to “finish faster.” Your guide will help manage the pace.
One strong instruction in this plan: it recommends you don’t pay porter tips until you and all your gear reach the gate safely. That’s a practical way to protect everyone’s time and ensure nobody is rushing ahead with loose ends.
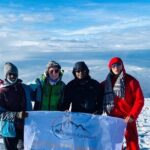
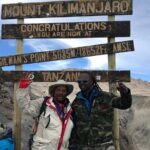
At Mweka Gate, you sign the register and successful climbers receive summit certificates. There are two color outcomes listed:
- Green certificates for reaching Stella Point (listed at 5,739m)
- Gold certificates for reaching Uhuru Peak (listed at 5,895m)
Then you drive back from Mweka village to your accommodation.
Acclimatization, Altitude Reality, and How to Keep Your Body Happy
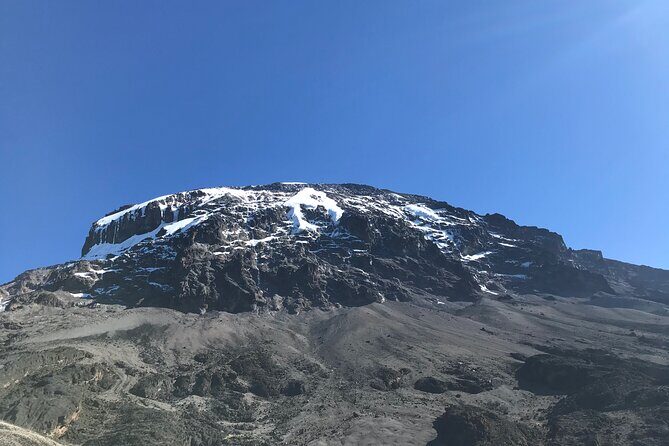
This tour leans into acclimatization the way it should on Kilimanjaro: not by offering a miracle, but by building in a pace that gives you time to adjust.
Day 2 is described as slow with plenty of breaks for acclimatization. Day 3 adds an altitude shift to the Lava Tower area and warns about mild headaches. Day 4 gives you one of the most dramatic climbs, then Day 5 asks your body to do the biggest work of the whole trip.
So what should you do, practically?
- Keep your breathing calm on steep sections.
- Tell your guide early if you feel a headache building or your nausea changes.
- Use the breaks as real breaks, not social breaks where you ignore the effort.
The plan’s structure is also a reminder that the summit is not a straight line. It’s built through days of gradual stress.
Food, Camp Nights, and the Real Crew Work You Don’t See
The included meals matter more on Kilimanjaro than people expect. Your stamina depends on regular nutrition, and a summit night depends on it even more.
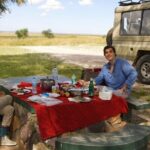
Meals are listed as 5 breakfasts, 5 lunches, and 5 dinners. You’ll also have support for a hot meal schedule through the climb. In the trip stories associated with this operator, people describe getting hot meals multiple times per day, which is exactly what you want when the air turns sharp.
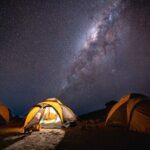
Camp nights are basic by design. You’ll sleep at different altitudes across several camps, including Barranco and Barafu. The comfort isn’t the point. The goal is warm enough rest so you can keep moving the next day.
Also, remember: on a multi-day trek, the crew is working even when you’re just sitting. Porters, cooks, and waitstaff carry food, manage camp needs, and keep the trekking operation running so your job is mostly walking.
Summit Night From Midnight to Stella Point: What to Expect
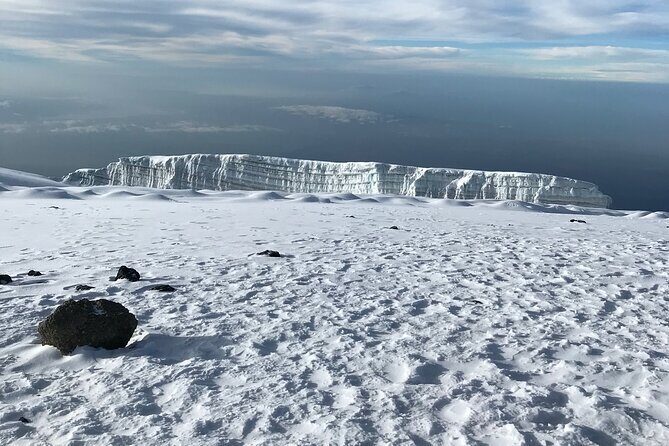
If you’re wondering what summit night feels like, the itinerary gives a solid framework. You start between midnight and 2am, climb toward Stella Point on the crater rim, and stop there for a sunrise moment.
The tour notes a few conditions you should mentally prepare for:
- The climb is the most mentally and physically challenging part
- Snow may appear along the way
- Your sunrise is tied to weather permitting conditions
- The Stella-to-summit push is about an hour
This is where your attitude matters. You won’t feel heroic in a movie way. You’ll feel focused: one step, then the next, and then suddenly you’re standing at Uhuru Peak.
Descent, Knee Care, and the Mweka Gate Certificate Moment
The final day is often emotionally sweet and physically annoying at the same time. It’s listed as a scenic 4 to 6 hour hike back to the gate. But it’s also where knee issues can pop up.
Treat the descent like part of the climb, not the victory lap. Use slow steps, keep your weight stable, and let your guide know if your knees start to flare.
Then comes the certificate moment at Mweka Gate. If you reached Stella Point, you get a green certificate. If you reached Uhuru Peak, you get a gold certificate. Either way, it’s an official marker of what your body and mind accomplished that week.
Who This Tour Fits Best (and Who Should Rethink)
This trek is listed for people with strong physical fitness. That makes sense because even with slow pacing and breaks, you’re dealing with multi-day hiking, altitude changes, steep rocky sections, and very early summit timing.
You’re likely a good fit if:
- You can commit to uneven footing and long days
- You accept camp basics and cold nights
- You want a guided experience with included meals and park admissions
- You value a company that talks about staff welfare and gear readiness
You might rethink if:
- Long descents trigger bad knee problems for you
- You struggle with sustained cold wind or exposed ridges
- You’re not ready to follow pace and acclimatization guidance
Should You Book This Machame Private Guided Hike?
Here’s my decision rule. Book it if you want a private, guided Machame trek with included meals, park admissions, and a team that shows up prepared—especially with pre-trip gear checks coordinated by people like Peter and supported by guides such as Martin or Jackson in past planning.
Also book it if the idea of a structured summit plan appeals to you: early start, Stella Point sunrise timing, then a clear certificate outcome at Mweka Gate.
Skip or switch to another option if $2,000 feels too tight for your budget, or if you’re not realistic about fitness and altitude. At this price, you’re paying for organization and care. If you’d rather gamble with DIY planning, this isn’t the trek to test your luck.
FAQ
Is pickup included for this Machame hike from Moshi?
Pickup is offered, and the plan describes being collected from your accommodation with your guide before driving to the Machame gate for registration.
What hiking days are included, and how long is the trek?
The trek runs for 6 days. The hiking time on the itinerary days is listed roughly as 6 hours (Day 1), about 14 hours (Day 2), about 6 hours (Day 3), about 8 hours (Day 4), about 7 minutes for admission ticket timing on Day 5 (with the summit climb starting midnight to 2am), and about 4 to 6 hours (Day 6).
Are meals and park admission tickets included?
Yes. The tour includes breakfast, lunch, and dinner (each listed as 5) and includes admission tickets as part of the trek days.
Do I need to bring my own hiking gear?
Yes. The tour lists personal equipment such as hiking gear as not included.
What if the weather is poor on Kilimanjaro?
This experience requires good weather. If it’s canceled due to poor weather, you’ll be offered a different date or a full refund.
What summit certificate do I receive at Mweka Gate?
At Mweka Gate, the plan says you’ll receive a certificate based on altitude reached: green for reaching Stella Point (5,739m) and gold for reaching Uhuru Peak (5,895m).