REVIEW · MOSHI
Mt Kilimanjaro 360° Trek with Once-in-a-Lifetime Crater Camping
Book on Viator →Operated by PINNACLE ADVENTURES & SAFARIS LTD. · Bookable on Viator
Kilimanjaro rewards patience, and this route has it. This Northern Circuit itinerary threads you through quieter northern slopes, with a long buildup to Uhuru Peak and a standout night of crater camping under the ice and snow of Kili’s summit mass.
I like that the plan is built for real acclimatization. You gain altitude in steps, you get proper rest breaks, and you still get classic skyline moments like the Shira Plateau rim views and the ridge walk before the summit push.
There is one catch: the summit night is still serious. Even with a well-timed schedule, you’ll be climbing in cold, low-visibility conditions and you need to be ready for the physical grind and the altitude.
In This Review
- Key points I think you’ll care about
- Why this Northern Circuit feels different from the usual Kili climb
- The value of crater camping in plain terms
- Price and what you’re really paying for (and what you aren’t)
- Day-by-day: what to expect and how each day sets you up
- Day 1: Moshi to Mti Mkubwa Camp (rainforest entry day)
- Day 2: Rainforest to Shira Camp One (views start to open up)
- Day 3: Shira I to Shira II with cold-plateau reality
- Day 4: Acclimatization along ridges to Barranco Camp
- Day 5: Moir Valley to Buffalo Camp (northern-slope scenery)
- Day 6: Buffalo Ridge to Pofu Camp and the Rongai Third Cave
- Day 7: School Hut timing for the midnight summit start
- Day 8: Uhuru Peak at dawn, then Crater Camp beneath the glaciers
- Day 9: Ash Pit morning and down to Millennium Camp
- Day 10: Mweka Gate rainforest descent and certificate day
- The team and support: what matters more than you think
- What’s included in camp and why that feels like a big deal at altitude
- Training and fitness: what medium difficulty actually means for you
- Gear and habits that will make your life easier
- Who should book this, and who should rethink it
- FAQ
- FAQ
- How long is the Mt Kilimanjaro 360° Trek?
- Where does the trek start and end?
- Is pickup included?
- What is the main highlight of this itinerary?
- What difficulty level is it?
- What kind of camping support do you get?
- Is emergency oxygen included?
- What gear is not included?
- Should you book it?
Key points I think you’ll care about
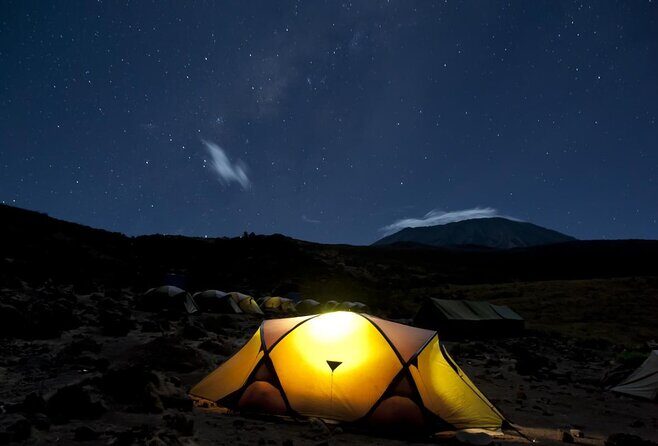
- Northern Circuit, low traffic: less crowded days and more room to enjoy the scenery
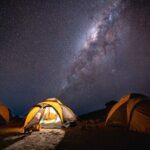
- Crater Camp night: an unforgettable sleep just below the glaciers
- Acclimatization built into the route: step-by-step altitude gains and recovery nights
- Camp comfort upgrades included: mattresses plus camp chairs/tables, not just a sleeping bag and vibes
- Team support from the start: airport-to-Moshi transfers and attentive guiding style
- Emergency oxygen included: in case of emergencies only, with basic first aid on hand
Why this Northern Circuit feels different from the usual Kili climb
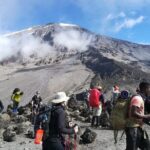
Most Kilimanjaro routes aim for the summit as the main event. This one keeps that goal, but it earns the right to it. The Northern Circuit route spreads the climb across distinct ecosystems, from lower rainforest trails up into exposed plateaus and then into the high-alpine feel.
What I like about that pacing is how much calmer each day feels. You’re not constantly “catching up” after a big jump in altitude. Instead, you’re building a rhythm. That matters, because altitude doesn’t care about your optimism—it reacts to how your body handles the climb.
Another reason this trek works for many people is the less-traveled nature of the Northern Circuit. You spend more time moving through wide-open terrain and fewer hours watching a line of headlamps. You still meet other trekkers sometimes, but the overall feel is quieter.
You can also read our reviews of more hiking tours in Moshi
The value of crater camping in plain terms
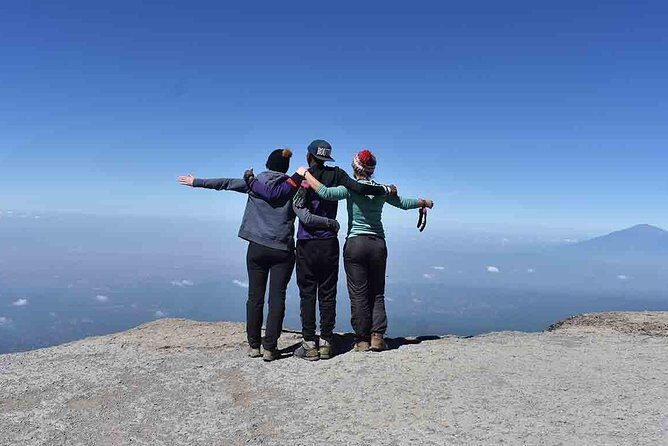
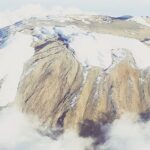
Crater camping sounds like a marketing line until you picture what it actually means: after the summit celebration, you descend into Kilimanjaro’s crater and sleep closer to the glaciers than most people ever see.
On this itinerary, your summit day ends with a descent to Crater Camp, right beneath the ice fields. The next morning includes exploring the Ash Pit area before you go back down toward Millennium Camp. That means you don’t just visit the crater from a distance—you experience crater terrain as part of your trek’s story.
Is it worth it? For me, yes, because it adds a memory that is hard to replicate anywhere else in East Africa. Plenty of treks get you to Uhuru Peak. Far fewer get you to sleep in the crater’s high, otherworldly setting.
Price and what you’re really paying for (and what you aren’t)
At $4,211.27 per person, this is not a bargain-basement trek. But it isn’t just you and a guide either. You’re paying for the whole machine: park-related fees and taxes, a staffed guiding team, porters and cooks, camping gear, transport to/from Moshi, emergency oxygen, and a full board-food setup during the trek.
You’ll also want to think about what’s not included:
- visas and flights
- travel and health insurance
- personal gear (though you can rent gear in Moshi)
- personal medicine and water purifying tablets
- meals/drinks not specified, plus snacks
- a portable toilet is noted as optional but recommended
So the value question comes down to this: if you want a structured trek with camp support, a high-visibility route (Uhuru Peak) and a rare crater night, the price starts to make sense. If you’re trying to DIY every part of the climb and you already have your own gear and systems, you might find cheaper options—but you’ll likely give up some of the comfort and team staffing that helps most people get through the hard days.
Day-by-day: what to expect and how each day sets you up
Day 1: Moshi to Mti Mkubwa Camp (rainforest entry day)
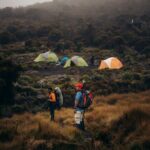
You leave Moshi with a short drive—about 45 minutes—then roll into the Kilimanjaro National Park area. You’ll wait while permits are processed, which is normal here. Expect active operations around you: multiple crews prepping for different routes.
Once you start hiking, the lower slopes feel green and alive. Trails can be muddy and slippery at this elevation, so I’m a fan of the practical suggestion to bring gaiters and trekking poles. You’ll also want shoes with good grip, because wet ground on a slope turns your energy into slow work.
You hike roughly four hours to Mti Mkubwa Camp, gaining altitude from about 2,389m to 2,785m. This is a get-your-bearings day, not a lungs-on-fire day.
Day 2: Rainforest to Shira Camp One (views start to open up)
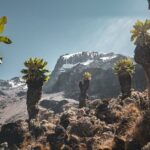
Day two climbs steadily as you leave the rainforest behind. That transition is noticeable: the air changes, the temperatures drop, and the landscape becomes more open. You reach the Shira Plateau rim feeling the altitude more clearly.
Your hike is around six hours, gaining from about 2,785m to 3,504m. This is where I’d focus on consistent effort rather than speed. The plateau edge can feel exposed, and moving too fast early can turn day two into a fatigue tax later.
Day 3: Shira I to Shira II with cold-plateau reality
You cross the Shira Plateau, moving from Shira Camp One to Shira Camp Two. This day is shorter in hiking time, but the environment is serious: it’s exposed and it can get cold fast. Temperatures can drop below zero overnight, so your layering strategy matters.
The itinerary suggests taking a little extra effort for views across the valley and toward the Western Breach of Kilimanjaro. That’s not just sightseeing—it’s a reminder that you’re now in the high-altitude zone where weather and cold affect how you feel.
You hike about four hours, gaining from roughly 3,504m to 3,895m. The altitude gain is moderate, but the comfort impact is real because the plateau can strip warmth away quickly.
Day 4: Acclimatization along ridges to Barranco Camp
Day four is important even though your elevation isn’t hugely different. You move east up a ridge from Shira Plateau, passing key junctions and continuing toward the Kibo area before dropping down again.
A highlight here is the route passing the Lava Tower area—the Shark’s Tooth landmark. You also continue by the Arrow Glacier zone. Even when you aren’t trying to “collect photos,” these landmarks give you a sense of the mountain’s drama.
The day ends with descent to Barranco Camp, which supports acclimatization. The hike is listed around seven hours and includes a ridge-and-then-descend rhythm, with an altitude gain of only about 91m overall for the day. That’s the point: you stimulate adaptation without turning it into another exhausting climb day.
Day 5: Moir Valley to Buffalo Camp (northern-slope scenery)
You start with a moderately steep climb out of Moir Valley, and there’s an optional detour to Little Lent Hill (about 4,375m) if you want another viewpoint. This kind of side option is nice if you like stretching your legs without committing to a huge extra ascent.
Then the route follows inclines and declines along the northern slopes of Kibo toward Buffalo Camp. You’re up in the sky, looking out over plains to the Kenyan/Tanzanian border area when visibility allows.
It’s about seven hours total, and you end at Buffalo Camp around midday. There’s time to rest and recover before the next day’s East/Northern Circuit segment.
Day 6: Buffalo Ridge to Pofu Camp and the Rongai Third Cave
This day starts with a climb up Buffalo Ridge and then down into Pofu Camp for lunch. After that, you continue east around the northern slopes and hike toward the Rongai Third Cave.
One reason I like this segment is that by now many trekkers feel their acclimatization improving. The itinerary notes day six is shorter than day five, and that you should be feeling better at altitude. That’s the “payoff” of the earlier pacing.
You arrive at the Third Cave around mid-afternoon. Your altitude trend ends slightly lower than the start—helpful for conserving energy before the longer summit preparation.
Day 7: School Hut timing for the midnight summit start
Now you push toward the saddle between Kibo and Mawenzi Peak. You steadily ascend and continue southwest to School Hut, where you get early dinner and the rest you’ll need.
This is the day where the plan shifts from trekking mode to summit mode. The itinerary has you beginning the summit attempt just before midnight. That means you’re preparing gear in the dark, with cold conditions likely waiting for you.
I’d treat this day like a checklist exercise: warm layers, insulated water bottle, snacks, headlamp, and anything you need to keep hands functional and your mind calm. Your camp routine matters, because you’ll only get one shot at this summit window.
Day 8: Uhuru Peak at dawn, then Crater Camp beneath the glaciers
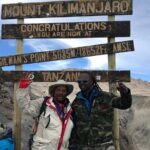
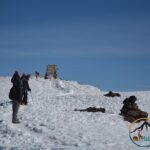
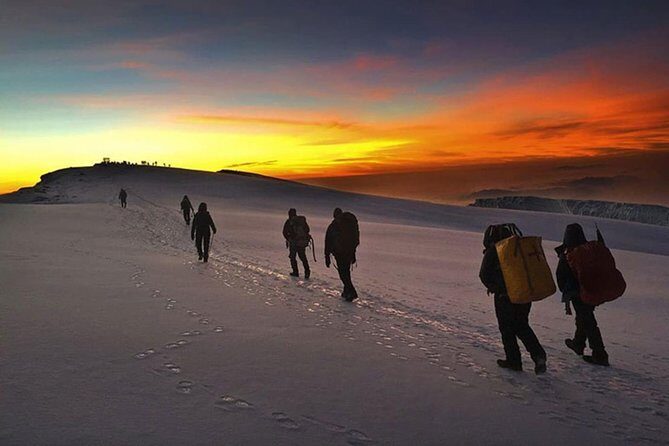
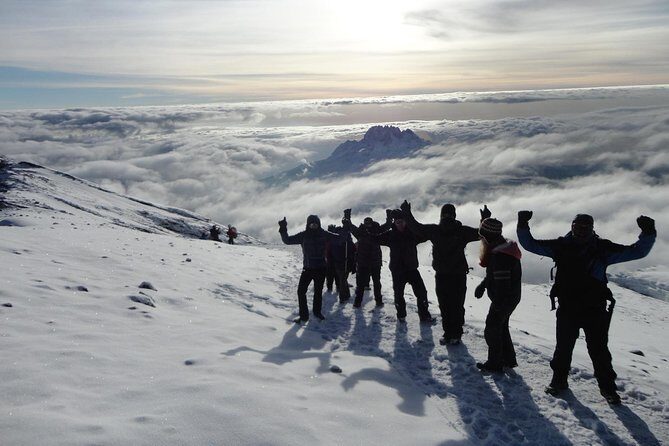
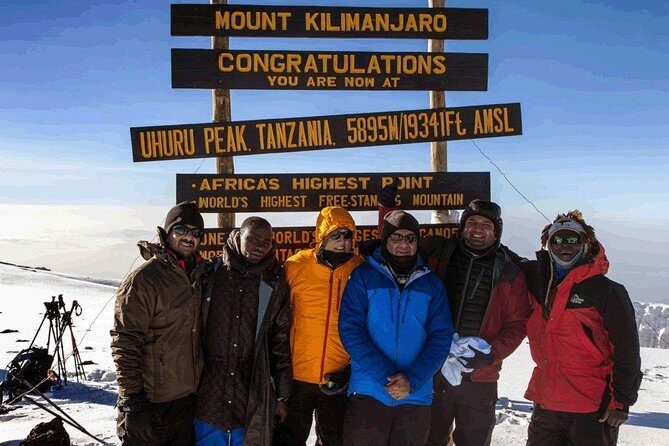
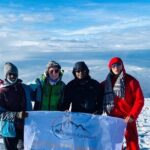
This is the big day. You start ascending to Uhuru Peak just before dawn, then celebrate at Africa’s highest point.
After summit success, you descend into Kilimanjaro’s crater for the crater camping night at Crater Camp. In practical terms, that descent is part of why this route is so special: you’re not just “up and down.” You’re transitioning from peak achievement into crater night scenery.
Your trekking time is about seven to nine hours for the day. That’s a long window, with varying effort. Some people find summit success energizing; others find the altitude headache lingers. Either way, keep moving steadily and don’t treat the crater descent like a casual stroll.
Day 9: Ash Pit morning and down to Millennium Camp
The morning starts with exploring the Ash Pit area inside the crater, then you descend to Millennium Camp. This day tends to feel like recovery with a bonus of atmosphere. You’ll still be at altitude, but the summit pressure is gone.
Your hike time is around five to six hours. The best way to handle it is to go slower than you think you need to. The mountain still asks for attention, especially when your legs feel the after-effects of summit day.
Day 10: Mweka Gate rainforest descent and certificate day
The final day is a long, satisfying slide down. You descend through rainforest to Mweka Gate, where you receive your certificate of achievement and then drive back to Moshi.
This is where you feel the contrast of Kilimanjaro’s ecosystems most clearly. Earlier days were cold and exposed; the last stretch brings green, humidity, and a different kind of breathing.
Trekking time is about four to five hours. You’ll likely feel a mix of relief and strange emptiness because the climb’s structure disappears fast once you reach the gate.
The team and support: what matters more than you think
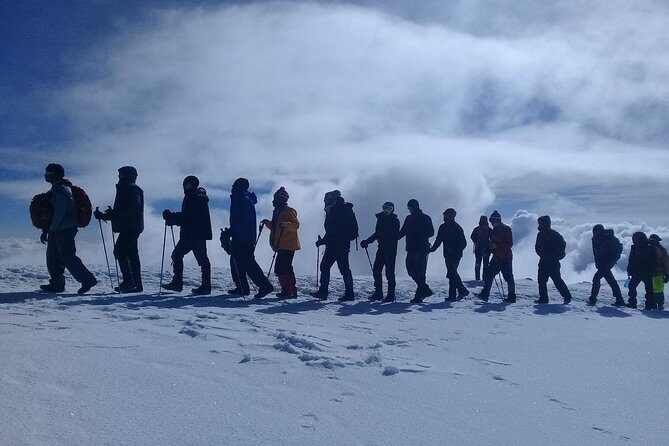
This trek is run by PINNACLE ADVENTURES & SAFARIS LTD. and includes qualified mountain guides, assistant guides, porters, and a cook team with wages per standard set by KINAPA.
From past experiences with this operator, the most praised themes are:
- strong communication and help even before departure (people highlight support from team members like Gloria)
- attentive service from day zero, including pickup and smooth handling around airport and start logistics
- high care on the mountain from chief guides and assistant guides
One helpful detail that comes up in real accounts: porters sometimes help source fresh fruit and vegetables during the trek when possible. That may sound small, but food variety affects morale when you’re eating for calories and survival.
Names I’ve seen associated with successful climbs with this company include JT and Jobeth as guiding roles, and also Jacob and Kennedy in other Kilimanjaro/safari combinations. You should still remember that guide assignments can vary by departure date, but the point is consistent: people report a professional, dedicated team that takes the work seriously.
What’s included in camp and why that feels like a big deal at altitude
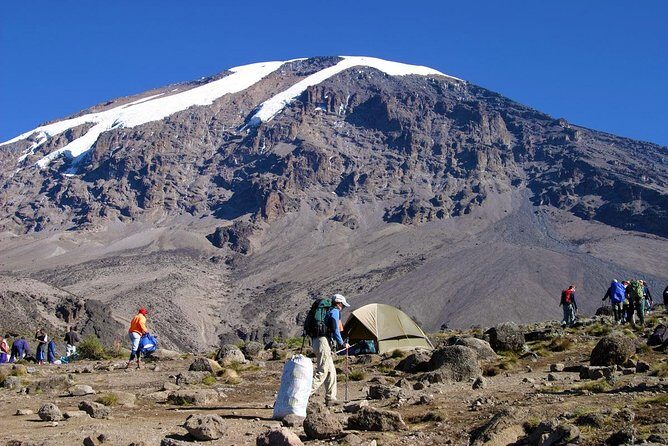
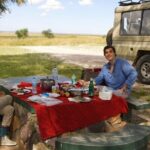
Most people underestimate how exhausting mountain logistics are until they’re in it. Here, camping equipment is included: tents, camp chairs, tables, and sleeping mattress. You also get fresh water for drinking and hot water each day for washing.
That hot water piece is not glamorous, but it’s practical. After cold exposure, being able to wash off sweat and grime helps you sleep better and feel less human-turned-into-rock.
Emergency support is also part of the package: emergency oxygen for use in emergencies only, plus a basic first aid kit. That doesn’t remove risk—altitude still has its own rules—but it does mean you’re not trekking with zero backup.
Meals are covered across the trek: breakfasts, dinners, and lunches are listed for the relevant days. You’ll still want snacks for the summit night, but you’re not relying on convenience-store meals for your survival plan.
Training and fitness: what medium difficulty actually means for you
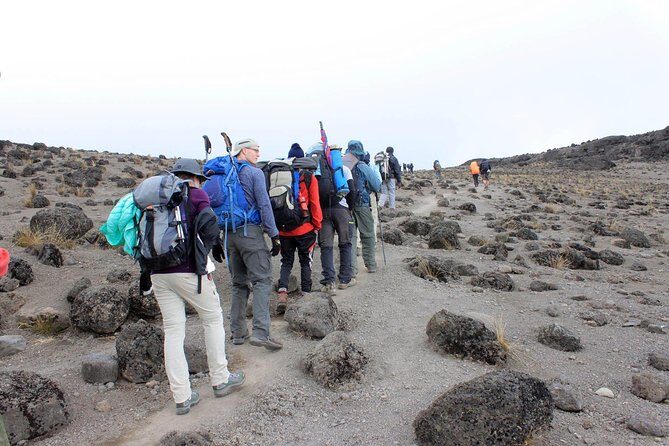
The trek is marked medium difficulty, with a “moderate physical fitness level” expectation. That’s encouraging, but here’s the truth you should plan around: altitude difficulty is not the same as fitness difficulty.
If you can hike steadily for several hours and handle uneven terrain, you’re on the right track. But the summit night and summit day will test everyone. That’s why the route’s acclimatization schedule matters. It gives you a better shot at reaching Uhuru Peak safely.
A smart approach is to practice hiking on varied terrain at home, even if it’s just local trails with hills. Also train your ability to move when you feel cold and tired. On Kilimanjaro, the body gets cranky about discomfort before it gets impressed by ambition.
Gear and habits that will make your life easier
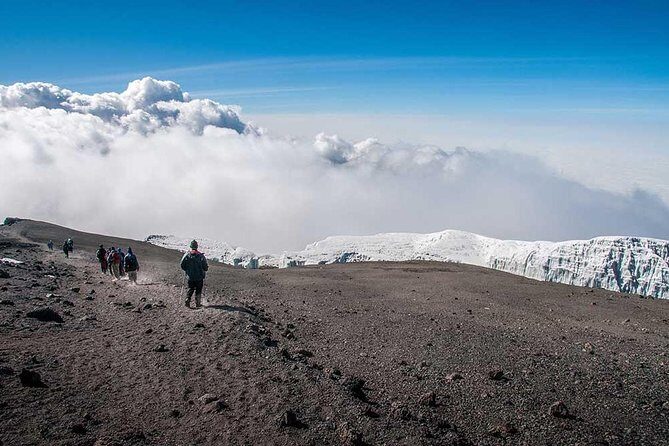
The itinerary itself flags a few smart gear ideas, and you should listen:
- For day one mud and slips: use gaiters and trekking poles
- For cold plateaus and below-zero nights: pack warm layers and plan your sleeping setup
- For summit prep timing: bring a headlamp and keep extra batteries close (cold drains power)
- Bring an insulated water bottle so you’re not fighting slushy liquid on summit night
You’re also encouraged to rent personal hiking/trekking gear in Moshi. That can be a good value move if you don’t already own boots, poles, or appropriate layers.
One optional item stands out: a portable toilet is recommended. That’s not about comfort at luxury spas—it’s about sanitation and dignity when you’re far from normal facilities.
Who should book this, and who should rethink it
This trek fits best if you want a quieter Kili experience, plus a rare crater night. It’s also a good pick if you like structure—days that build gradually, with a clear path toward Uhuru Peak rather than a sudden scramble.
You might rethink if:
- you’re strongly looking for a short, low-stress vacation format (this is a high-altitude trek with a midnight start)
- you hate cold and long travel days without flexibility
- you’re not willing to put effort into acclimatization pacing
If you’re drawn to crater camping and you want the Northern Circuit’s lower traffic feel, this is a solid match.
FAQ
FAQ
How long is the Mt Kilimanjaro 360° Trek?
The experience runs about 10 days, and the trek description notes 9 or 10 days depending on the schedule.
Where does the trek start and end?
It starts in Moshi Urban, Tanzania, and ends back at the meeting point.
Is pickup included?
Pickup is offered, and return transfers between Kilimanjaro airport and Moshi are included.
What is the main highlight of this itinerary?
The standout highlight is crater camping at Crater Camp after the Uhuru Peak summit.
What difficulty level is it?
The trek is listed as medium difficulty, and it expects a moderate physical fitness level.
What kind of camping support do you get?
Camping equipment is included, including tents, camp chairs, tables, and sleeping mattresses. Hot water for washing is provided daily.
Is emergency oxygen included?
Yes. Emergency oxygen is included for use in emergencies only, along with a basic first aid kit.
What gear is not included?
Personal hiking/trekking gear is not included, though you can rent gear in Moshi. Personal medicine and water purifying tablets are also not included. A portable toilet is optional but recommended.
Should you book it?
I’d book this if crater camping and the Northern Circuit route are high on your list. You’re paying for more than the summit: you’re buying a paced itinerary, camp support, and a once-in-a-lifetime crater night that makes the whole climb feel like a complete arc.
If you’re fit enough to hike for long stretches and you’re willing to take the cold seriously—especially around the plateau and summit night—this is a strong, well-supported way to tackle Kilimanjaro. And if you want your trip to feel organized from the moment you land in Tanzania, the past focus on attentive team service is exactly what you should hope for in the real world.