REVIEW · MOSHI
Rongai Route 7 Days
Book on Viator →Operated by Wild Root Safaris and Adventures · Bookable on Viator
That first step toward Kilimanjaro feels serious. The Rongai route is a smart pick because it approaches the mountain from the north, close to the Kenyan border, with generally fewer people on the trail.
I especially like two things about this trip: you get a private tour setup (your group only) and the package includes a lot of the “base-camp life” perks like proper mess tents and private sleeping tents. I also like that the itinerary builds in acclimatization time before the summit push, which matters a lot at 5,800m+.
The main drawback is simple: the final summit day is long and brutal. If your fitness or altitude resilience is shaky, Day 6 can feel punishing even with guides and porters helping with camp logistics.
In This Review
- Key Highlights You’ll Feel on the Trail
- Why Rongai (Near the Kenyan Border) Can Be a Better Fit
- The Moshi Start: A Smooth Begin Matters More Than You Think
- Day 1 (Nale Moru Gate → Simba Camp): Farmland to Pines to First Altitude Reality
- Day 2 (Simba Camp → 2nd Cave Camp): Steady Ascent and Big Crater Views
- Day 3 (2nd Cave Camp → Kikelewa Camp): Moorland Quiet and Mawenzi on the Side
- Day 4 (Kikelewa Camp → Mawenzi Tarn Hut): Short but Steep, Plus Time to Catch Your Breath
- Day 5 (Mawenzi Tarn Hut → Kibo Hut): Enter the Lunar Saddle and Prepare for the Night Climb
- Day 6 (Kibo Hut → Uhuru Peak → Down to Horombo): The Big Day in Numbers and Grit
- Day 7 (Horombo Hut → Marangu Gate): The Descent via Marangu and a Final Lunch
- Camps, Food, and Porter Support: The Comfort Level Behind the Scenes
- Price and Value: What $2,923.08 Covers (and What You Still Need to Plan)
- Who This Rongai Trip Is Best For
- Booking Tips That Will Actually Help
- Should You Book Rongai for Your Kilimanjaro Attempt?
- FAQ
- What’s the start time for the Rongai 7-day trip?
- How long is the Rongai route trip?
- Is pickup and drop-off included?
- What’s included in the trip price?
- What’s not included?
- Is this a private tour?
- What if weather is bad on Kilimanjaro?
Key Highlights You’ll Feel on the Trail
- North-side Rongai means a quieter climb with low crowds and a route that’s often favored in wetter seasons.
- Real wilderness for most of the trek, so the days don’t feel like they’re “passing through stops.”
- Comfort-focused camps: quality mess tents and waterproof, four-season private sleeping tents.
- Thoughtful acclimatization before the big summit push, including a rest window at high altitude.
- A classic Kilimanjaro finish via Marangu so you end with a change of scenery as you drop.
Why Rongai (Near the Kenyan Border) Can Be a Better Fit
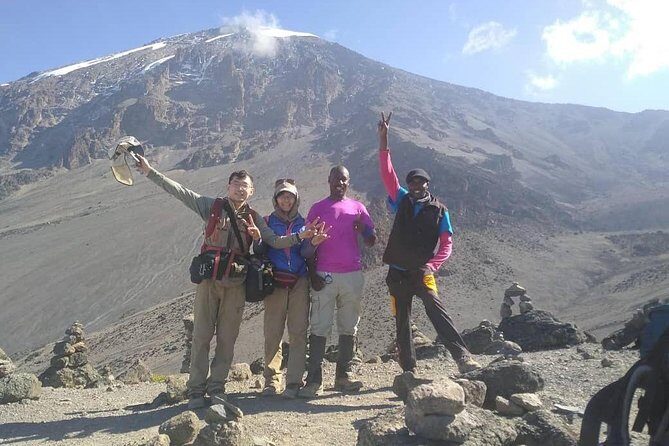
Kilimanjaro’s routes get compared a lot, but Rongai has a specific personality. It’s the route that comes up from the northern side, closer to the Kenyan border, and that alone can shape the whole experience. You’ll spend a lot of time feeling like you’re in a quieter corner of the world rather than walking through crowds.
Rongai is also known for being more gradual in profile than some of the other popular options. That doesn’t mean “easy,” but it can make the climb feel more steady and manageable—especially if you’re not coming in with lots of high-altitude hiking experience. The route is described as moderately difficult, and that tracks with the way the days are paced: multiple camp jumps, yes, but not an abrupt ramp every single day.
One more big reason people pick Rongai: when the rainy season rolls in, the north side often gets less precipitation. So if you’re planning your climb during wetter months, Rongai is frequently the practical alternative.
A few more Moshi tours and experiences worth a look
The Moshi Start: A Smooth Begin Matters More Than You Think
Most climbs feel like they start the moment you leave your hotel, and this one starts with logistics that reduce friction. You’re based in Moshi, and the trip includes airport pickup and drop-off, plus transportation to the starting area in the morning.
The day kicks off at 8:00am. That matters because Kilimanjaro is a schedule-heavy place. Late starts can snowball into rushed check-in, rushed gear prep, and shorter acclimatization routines. Here, the timing is handled for you, and that gives you a better shot at settling in calmly.
You’ll also be dealing with paperwork and tickets. This experience uses a mobile ticket, and that can make the day-of check-in simpler. It’s a small thing, but on a trip where your energy should go toward breathing at altitude, simplicity is worth something.
Day 1 (Nale Moru Gate → Simba Camp): Farmland to Pines to First Altitude Reality
Your first day starts at Nalemoru Gate (1990m) and you end at Simba Camp (2625m). Distance is about 8km, with roughly 4–5 hours walking time. That’s an “intro” day, but it isn’t a casual stroll. You’re still gaining elevation, and you’re still learning the rhythm.
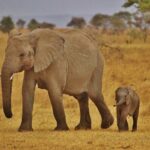
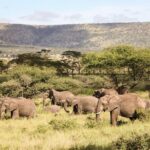
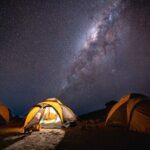
The hike begins through farmland and pine forest. This is where you might see Colobus monkeys, and if you’re lucky, elephants or buffalo along the way. It’s a good first taste of the local environment—less “climb scenery” and more “living ecosystem.”
What I like about this first day is that it sets expectations early. You’re not thrown straight onto exposed, high-altitude ground. You ease into the mountain and you finish in moorland at Simba Camp, which is a sensible stepping stone before higher zones.
Possible consideration: wildlife viewing is never guaranteed. If you’re counting on elephants or buffalo as a must-see, treat it as a bonus, not a plan.
Day 2 (Simba Camp → 2nd Cave Camp): Steady Ascent and Big Crater Views
Day 2 moves you from Simba Camp (2625m) to 2nd Cave Camp (3480m). The hike is shorter on paper—about 5km—but still around 3–4 hours. Expect a steady climb, not a flat day.
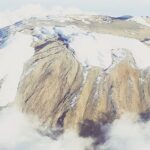
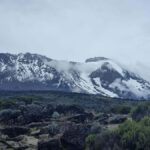
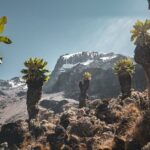
A big selling point here is the view. From this moorland zone, you’re in a position to see Kibo and the Eastern ice fields on the crater rim. This matters because Rongai’s appeal isn’t just the trek—it’s the way the route gives you moments of perspective as altitude climbs.
This is also where the route starts to feel more “mountain” and less “forest.” You’ll be out of the early vegetation and moving toward higher ecological zones.
Value for you: these crater-rim glimpses help you stay mentally locked in. Long summit days are easier when you’ve collected visual proof that the mountain is changing under your feet.
Day 3 (2nd Cave Camp → Kikelewa Camp): Moorland Quiet and Mawenzi on the Side
Day 3 takes you from 3480m to 3630m at Kikelewa Camp. The hike is described as leaving the pine forest behind and continuing through moorland on a steady ascent.
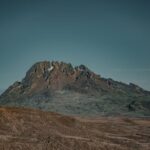
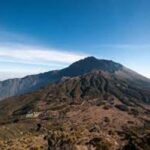
The standout detail is where you’re walking. You’ll get views of the Eastern ice fields on Kibo’s crater rim. Then you leave the main trail and take a smaller route across moorland toward the jagged peaks of Mawenzi. That off-trail navigation detail (staying on a smaller path) is a reminder you’re in a less “popular highway” version of Kilimanjaro. It can feel more remote.
At the same time, it’s not a guarantee of constant dramatic scenery. Compared with the western routes, this approach is described as having less varied scenery. The trade is more true wilderness and quieter trail time.
Possible consideration: if you’re the kind of hiker who gets restless without constant scenic variety, Rongai might feel a bit more “one vibe” than some other routes. The way to enjoy it is to focus on environment and altitude rhythm, not only on big photo angles.
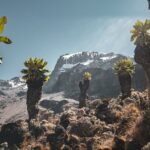
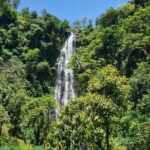
Day 4 (Kikelewa Camp → Mawenzi Tarn Hut): Short but Steep, Plus Time to Catch Your Breath
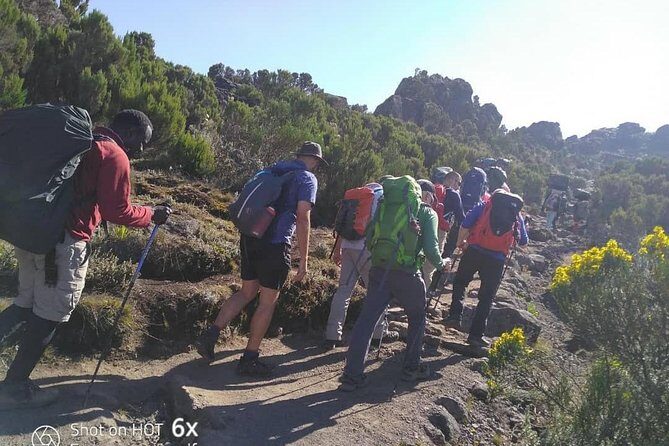
Day 4 goes from 3630m to Mawenzi Tarn Hut at 4310m. It’s about 8km and 4–5 hours, with a short but steep ascent over grassy slopes.
Then you get a rewarding view of the Kenyan plains to the north. That viewpoint is a key part of this route’s identity—Rongai often treats the horizon as part of the hike.
The best “win” on Day 4 is the second half of your day. After you reach the camp under the towering cliffs of Mawenzi, you have time to rest or explore the surrounding area to help acclimatization. This is the kind of breathing room that pays off later.
Why it matters: acclimatization isn’t just “sleep at altitude.” It’s also pacing, hydration, and letting your body adapt while your schedule stays calm. Day 4 gives you that.
Day 5 (Mawenzi Tarn Hut → Kibo Hut): Enter the Lunar Saddle and Prepare for the Night Climb
Day 5 runs from 4310m to Kibo Hut at 4700m. It’s another 8km day, but you should expect 5–6 hours.
This is where the terrain changes in a big way. You’ll cross the lunar desert of the saddle between Mawenzi and Kibo. The route shifts into a high-alpine, exposed feel. When the “saddle” is part of your day, the mountain stops being a hike through zones and starts feeling like a climb through a different planet.
When you reach Kibo Hut, the plan is rest and prep for the final ascent after a very early night. That’s not a suggestion. Summit success often comes down to how well you manage the hours leading up to midnight departure: sleep quality, hydration, and keeping your energy from spiking too early.
Possible consideration: nights near 4700m can feel very cold. You’ll want to use the gear you have and listen to your guide’s pacing advice.
Day 6 (Kibo Hut → Uhuru Peak → Down to Horombo): The Big Day in Numbers and Grit
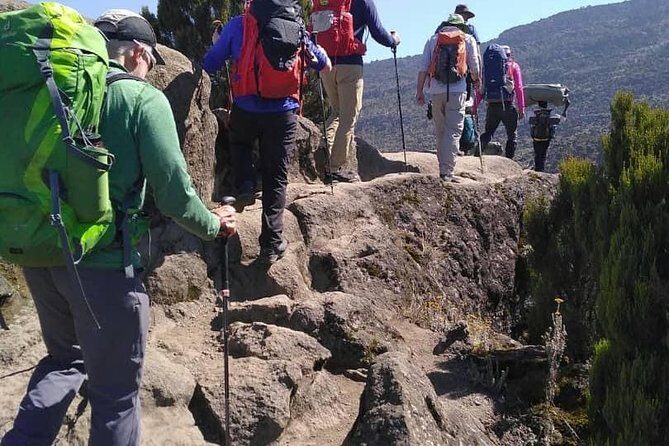
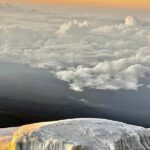
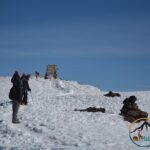
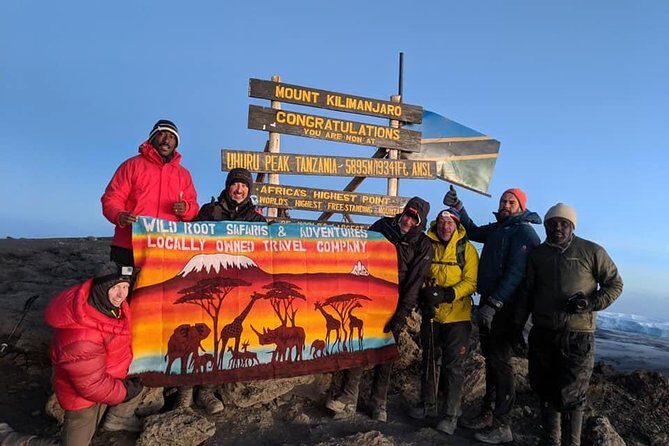
Day 6 is the summit stage. You start around midnight, pass Hans Meyer Cave at 5220m, and gradually climb toward Gillman’s Point (5681m) where sunrise warms the land. You’ll then continue on to Uhuru Peak at 5895m.
After the summit, you descend back to Kibo Hut for a warm meal, then head down to Horombo Hut at 3700m. This is the longest day in the itinerary: about 22km, and 12–15 hours total.
That’s a huge commitment. It’s also a day where your mental game is as important as your lungs. The cold at night is real, and the climb can feel slow even when you’re moving well.
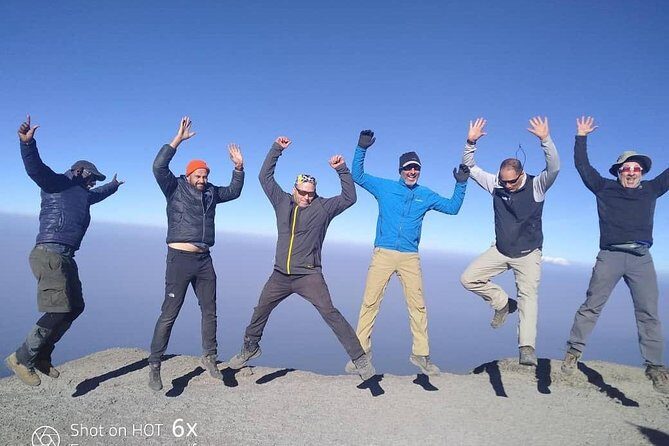
What you should love here: reaching Uhuru Peak with the crater rim moments at Gillman’s Point is the classic Kilimanjaro payoff. And the sunrise timing helps. Having light start to change what’s below you can keep the mind from spiraling.
Practical consideration: this day is not a “feel it out” adventure. You’ll need steady breathing, conservative pacing, and an ability to keep going even when you want to stop for no reason except exhaustion. This is where strong physical fitness matters most.
Day 7 (Horombo Hut → Marangu Gate): The Descent via Marangu and a Final Lunch
The last day drops from Horombo Hut (3700m) to Marangu Gate (1860m). It includes a stop at Mandara Hut (2700m) for a warm lunch, then continues through heath and moor zones before reaching the rainforest and finishing at the park gate.
This day is about 6 hours of trekking time (8 hours listed total), and it covers roughly 20.8km. Even with a descent, don’t underestimate it. Your legs are tired, and downhill can still punish knees and hips.
What I like about ending via Marangu is the texture shift. You start in higher moor zones and end with tropical rainforest, which makes “done” feel real. After you meet your guides at the gate, there’s a transfer back to your hotel in Arusha so you can shower and celebrate.
Value for you: finishing near the rainforest zone can make the post-trek transition easier on the body. Hot shower time hits different after a cold summit night.
Camps, Food, and Porter Support: The Comfort Level Behind the Scenes
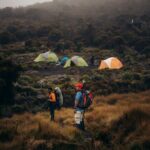
One reason this Rongai trek works for a wide range of hikers is what’s built around you. The trip includes guides, a chef, and porters allowances. You also get quality mess tents with table and chairs, plus waterproof four-season private mountain sleeping tents.
That last part matters more than it sounds. Kilimanjaro trips live and die by sleep quality and shelter from wind and cold. Private tents also help you manage your own routine—getting geared up, staying warm, and avoiding sleep disruption.
Meals are included each trekking day (breakfast, lunch, and dinner are listed). Expect camp dining to be simple and filling. It’s not a gourmet restaurant, but it’s built around keeping you fueled for the next day’s altitude.
What’s not included: sleeping bags and walking poles. If you don’t already have them, plan to bring them. If you need rentals, you’ll have to sort that out separately because it’s not part of the package.
Price and Value: What $2,923.08 Covers (and What You Still Need to Plan)
At $2,923.08 per person, this isn’t a budget hike. But it’s also not just “a guy with a backpack leading you around.” You’re paying for staffing, camp systems, and summit-day support structure.
Here’s what the included items signal about value:
- Guides, chef, and porters are covered through allowances.
- You have camp comfort: mess tents and private tents.
- You have key transport elements handled, including airport pickup/drop-off and transfers.
- You get support through the long summit day, where logistics can make or break your morale.
What you still need to budget for:
- Tanzania visa
- gratuity
- personal expenses (laundry, phone, beverages, and similar items)
- sleeping bag and walking poles
So the real question isn’t just the sticker price. It’s whether you want to show up with the right gear, train well, and let the operator manage the high-impact logistics. If yes, the cost can feel fair for a private, comfort-included Kilimanjaro climb.
Who This Rongai Trip Is Best For
This trek is a strong match if you want:
- Low-crowd vibes on Kilimanjaro
- a route that’s generally more gradual
- a wilderness-heavy experience rather than constant high drama scenery
- a climbing schedule that supports acclimatization before the summit push
It’s also described as highly recommended for people with less backpacking experience, which makes sense if you like the idea of carrying less and leaning on porters while you focus on steady hiking.
You should think twice if:
- you’re not comfortable with a 12–15 hour summit day
- you dislike cold night starts
- you’re unwilling to bring your own sleeping bag and poles
Booking Tips That Will Actually Help
Wild Root Safaris and Adventures is the provider listed for this trip. In previous Kilimanjaro safari feedback connected to this company, names like Mathew (itinerary planning) and Khoo Swee Chiow (a Kilimanjaro group leader) have appeared. That’s not a guarantee you’ll get the same staff, but it does point to the kind of team you’re working with.
When you book, focus on these practical items:
- Train for uphill endurance and time-on-feet, not just distance.
- Decide your summit-day plan: slow pacing, warm layers, and hydration routine.
- Pack for cold. Even with tents, the climb to Uhuru Peak doesn’t forgive thin planning.
- Budget separately for visa and gratuity since they’re not included.
Should You Book Rongai for Your Kilimanjaro Attempt?
If you want a quieter, north-side Kilimanjaro route that still gives you the full summit experience, Rongai is a smart choice. I’d especially recommend it if you like the idea of a gradual climb, wilderness time, and a schedule that builds in acclimatization without turning your days into chaos.
I’d hesitate if your priority is maximum scenery variety every hour. Rongai trades some variety for remoteness and consistent altitude work. And I’d only book if you’re truly ready for the long summit push—because Day 6 is the heart of the trip, and it doesn’t negotiate.
FAQ
What’s the start time for the Rongai 7-day trip?
Start time is listed as 8:00am.
How long is the Rongai route trip?
The duration is approximately 7 days.
Is pickup and drop-off included?
Yes. The package includes airport pick-up and drop-off, plus transfers mentioned at the start and end of the trek.
What’s included in the trip price?
The included items are guides, chef and porters allowances, first and last accommodation, airport pick up and drop off, quality mess tents, private waterproof four-season mountain sleeping tents, professional mountain guides, and dinner (7).
What’s not included?
Not included are sleeping bags and walking poles, Tanzania visa, gratuity, and personal expenses such as laundry, telephone, and beverages.
Is this a private tour?
Yes. It’s listed as a private tour/activity, and only your group will participate.
What if weather is bad on Kilimanjaro?
The experience requires good weather. If it’s canceled due to poor weather, you’ll be offered a different date or a full refund.