REVIEW · MOSHI
Hiking Mt Kilimanjaro 7 days scenic route & moderate challenge
Book on Viator →Operated by safari soles tours · Bookable on Viator
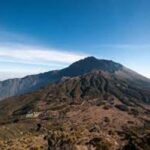
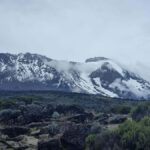
Sleep-deprived sunrise is the point. This 7-day Machame (Whiskey) route from Moshi is popular for its scenery, with a changing trail that moves from rainforest to moorland and then into alpine desert. I like how the route feels varied every day, so you’re not stuck staring at the same kind of dirt for a week.
Two things I especially like: first, the trek’s support. You’re not doing this solo; you’ll have a guide team on hand, and you’ll be watched for altitude trouble as you climb. Second, the summit push is built around a clear milestone—Stella Point for the rim views and sunrise—before the final push to Uhuru Peak.
One consideration: this is not a gentle “moderate” hike. The Machame climb is steep and demanding, with exposed, cold nights that can drop below freezing, plus rain can make Day 1 muddy and slippery.
In This Review
- Key highlights worth knowing
- Machame, the Whiskey Route: What makes this 7-day climb feel different
- Price and value: what $2,650.16 covers (and what that means for you)
- Before you go: the skills that make Machame feel doable
- Start in Arusha (1,400m): the Machame Village and gate day reality check
- Day 1 through Camp: what rainforest walking prepares you for
- Day 2: Shira Camp (3,840m) via moorland and a first glacier view
- Day 3: Lava Tower (4,630m) then down to Barranco (the hardest acclimatization lesson)
- Day 4: Great Barranco Wall (Class 2) and the Heim Glacier view
- Day 5: Barafu ridge (4,550m) and why water access changes your mindset
- Day 6: the summit night—Stella Point (5,685m) and Uhuru Peak (5,895m)
- Day 7: celebration at the top, then Mweka Gate and a forest finish
- Who this Machame trek suits best (and who should rethink it)
- Training and comfort tips that match this specific route
- Should you book this Machame 7-day climb with safari soles tours?
- FAQ
- Where does pickup happen?
- What route is this trek?
- How long is the trek?
- What is the maximum group size?
- What difficulty level should I expect?
- What’s the highest point on the route?
- Are park/admission tickets included?
- Will I get a certificate?
- Does the trek provide mobile tickets?
- What if the weather is bad?
Key highlights worth knowing
- Machame’s scenery shift: rainforest to moorland to semi-desert and alpine desert in one continuous adventure.
- Acclimatization that hurts (on purpose): Lava Tower day includes a tough climb followed by a descent to Barranco camp.
- Great Barranco Wall: a Class 2 wall that’s usually easier than it looks, with big views above the clouds.
- Stella Point sunrise: a pre-dawn crater rim walk at 5,685m, then a controlled push to Uhuru Peak.
- Certificates tied to altitude: green for reaching Stella Point and gold for Uhuru Peak.
- Small group size: maximum 8 travelers, which usually keeps the pace and logistics calmer.
Machame, the Whiskey Route: What makes this 7-day climb feel different
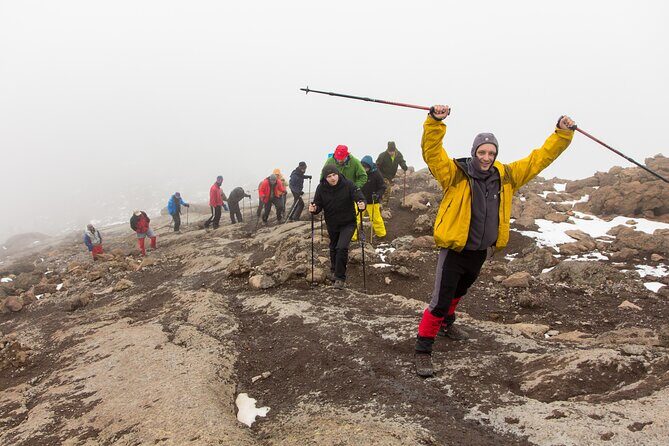
The Machame route is known as the Whiskey route for a reason: it has a reputation for being a bit punchy, and it earns that reputation. The good news is that the hike does not feel repetitive. Day after day you gain height through different ecosystems, so your brain gets a break even when your legs don’t.
You’ll also be using a “shorter itinerary” style of schedule, which is a big part of why the route is so popular—and why it’s tougher than some longer plans. If you already hike regularly and you’re comfortable with steep trails, Machame can feel like the right kind of challenge. If you’re newer to altitude hikes, you’ll need to lean hard on your pacing and let your guide manage expectations.
I like that the trail plan includes acclimatization moments that make sense at altitude. You don’t just go up and up; you also come down at key times, which helps your body adapt instead of spiraling into altitude sickness.
You can also read our reviews of more hiking tours in Moshi
Price and value: what $2,650.16 covers (and what that means for you)
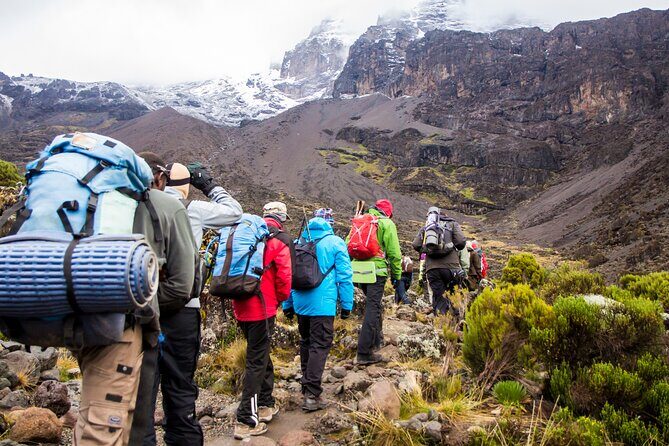
At $2,650.16 per person for a roughly 7-day trip, this is real money. The value part comes from what’s included and how the operation supports you on a technical, high-altitude trek.
From what you’re told upfront:
- Pickup is offered, and you’re transported from Arusha (1,400m) toward Machame Village.
- Admission ticket(s) are included throughout the climb (it’s listed as included by day).
- You get a mobile ticket.
- Group discounts are offered.
- The group is capped at 8 travelers.
In plain terms: you’re paying for the National Park access plus the mountain infrastructure—guiding, campsite logistics, and staff support—during a week where safety and timing matter.
One more value detail: the route is designed around key altitude checkpoints (Shira, Lava Tower, Barranco, Barafu, Stella, Uhuru). That kind of plan only works if the team running the trek is organized, and your group size staying small helps.
Before you go: the skills that make Machame feel doable
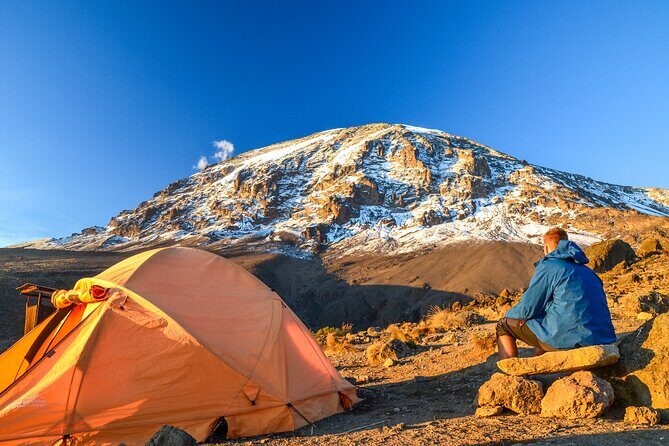
The trip is listed as a good fit for moderate physical fitness. I’d read that as: you should already handle steep hikes, not just flat fitness. Machame’s biggest challenge is that it’s short enough to feel urgent, with cold exposure and occasional mud.
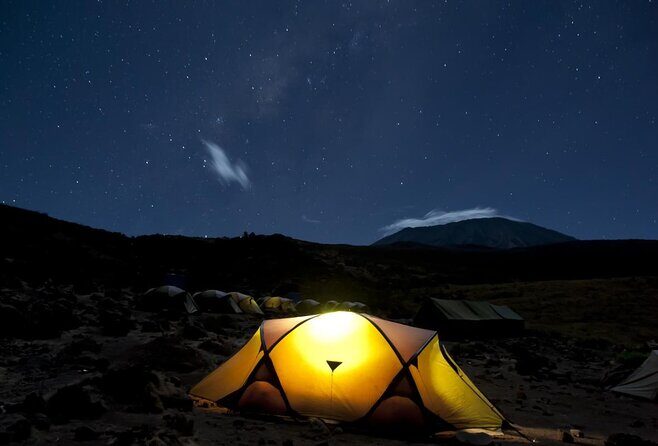
You should also be ready for nights that get brutally cold. On the higher camps, temperatures drop well below freezing. That means layering matters more than comfort at sea level—because getting chilled at altitude can snowball into a miserable night and a weaker next day.
Finally: be honest about your altitude history. Even with a strong plan, some people start showing symptoms around the tougher high sections. The route explicitly notes signs like breathlessness, irritability, and headaches during the toughest day—so you need to treat those warning flags seriously and communicate early.
Start in Arusha (1,400m): the Machame Village and gate day reality check
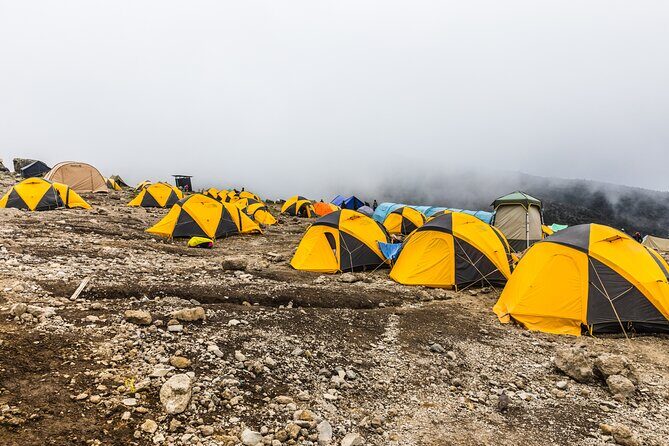
Day 1 starts with an early breakfast, then pickup from Arusha and the drive to Machame Village. Once you’re in the village, you’ll grab essentials like mineral water and get a packed lunch, then you’ll move toward the Machame gate.
Here’s the practical wrinkle: depending on road conditions, you might drive closer or you might walk a muddy 3 km stretch that can take around an hour. That’s your first lesson on Kilimanjaro logistics—conditions can change quickly, and your pace has to adjust.
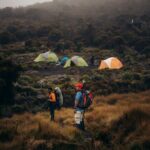
At the gate, you register, then the hike begins almost immediately through rainforest. Rain is possible, and when it shows up, the trail can become soggy, muddy, and slippery. You’ll stop for a welcome lunch about halfway before pushing onward to camp.
This day is long (about 16 hours in the schedule), but a lot of that time is transport and trail conditions. If you’re the type who wants to start fast and prove something, Day 1 will teach you otherwise. Your body is starting at 1,400m and you’re not done warming up.
Day 1 through Camp: what rainforest walking prepares you for
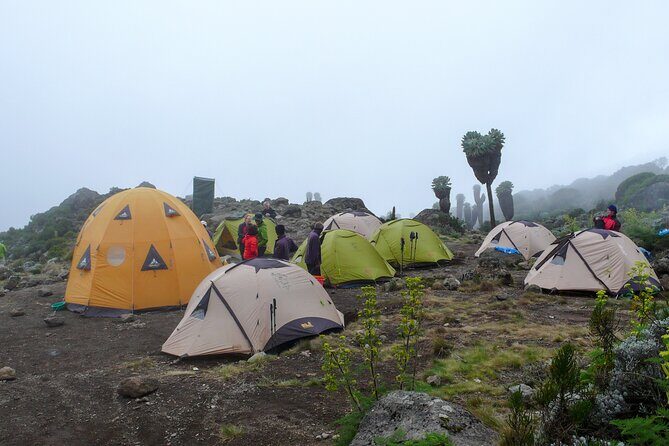
Rainforest starts Kilimanjaro on hard mode. Even if your legs feel okay, wet footing slows everything down—footing, breathing, and the ability to keep a steady rhythm.
I like that the plan doesn’t pretend this day is easy. It expects rain and mud, and it also feeds you with a packed lunch and a mid-hike stop. That support matters because getting cold and under-fueled early makes altitude harder later.
If you’ve never hiked in mud before, keep your expectations simple: go slower than you think, and protect your feet. That’s how you arrive at the first camp still feeling like you have a week ahead.
A few more Moshi tours and experiences worth a look
Day 2: Shira Camp (3,840m) via moorland and a first glacier view
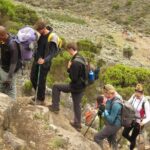
Day 2 is built to climb without immediately crushing you. After waking at Machame camp and breakfast, you climb about an hour through the forest zone, then you transition into moorland with a gentler gradient for about two hours.
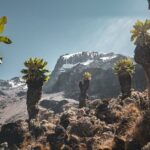
You’ll stop for a short lunch and rest, then continue up toward a rocky ridge and into the Shira plateau. This is the day you often get your first big “wait, that’s Kilimanjaro” moment—an easterly view toward the Western Breach with glaciers.
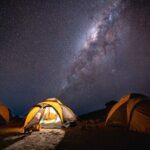
You reach Shira campsite at about 3,840m. After you settle in, the porters boil drinking and washing water, then dinner comes and you spend another cold night. The schedule notes that this exposed camp can be colder than the previous night, with temperatures dropping well below freezing.
The practical takeaway for you: Day 2 is where you learn how your body reacts once the rainforest stops and you’re in exposed altitude. Watch your breathing and don’t rush the “cool view” moments. Enjoy them, but keep moving steadily.
Day 3: Lava Tower (4,630m) then down to Barranco (the hardest acclimatization lesson)
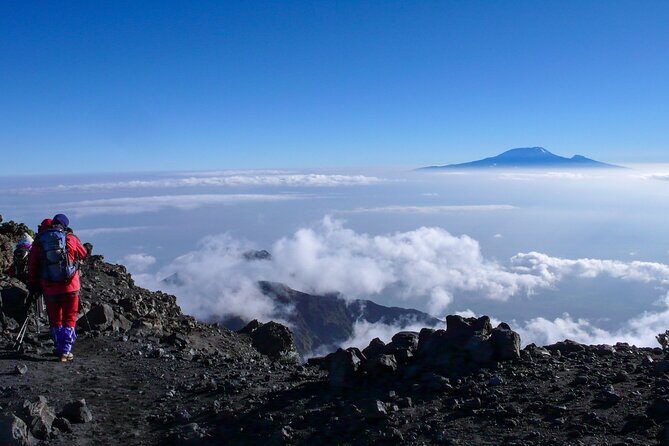
Day 3 turns toward semi-desert and the rocky area around Lava Tower. You climb for about 5 hours to reach roughly 4,630m, then lunch happens in a designated area before you ascend the rocky scree path to the Lava Tower camp height.
This is flagged as the toughest day so far. The route explicitly notes that this is often when some people begin feeling altitude symptoms such as breathlessness, irritability, and headaches.
Then comes the part that makes the day worthwhile: after lunch, you descend about 680m to Barranco camping area (around 4,600m). That descent is not a failure—it’s a key acclimatization benefit. You’re letting your body absorb what it learned without pushing straight from Lava Tower into the next big spike.
If you’re worried about “peak day” already, Day 3 is your reality check. Take it slow, stick to the plan, and treat any symptoms seriously early.
Day 4: Great Barranco Wall (Class 2) and the Heim Glacier view
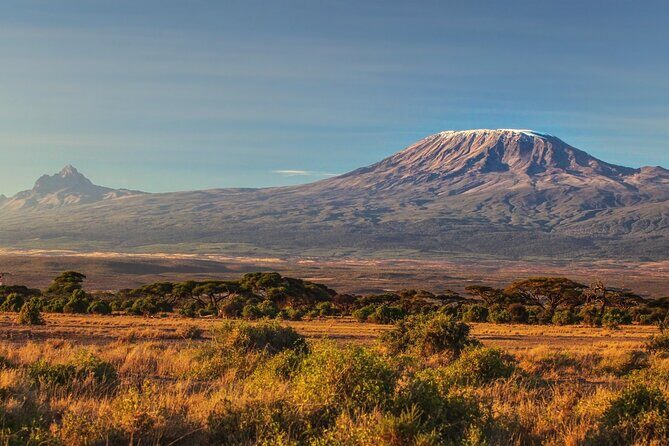
Day 4 is an acclimatization day with a headline feature: the Great Barranco Wall. It may look intimidating when you first see it, but it’s described as a Class 2 hike—usually easier than people expect.
At the top, you get a view of the Heim Glacier, and you’ll often be above the clouds. Then the trail winds up and down through Karanga Valley.
This day typically lasts about 4–5 hours and is about 5 km on the schedule. I like days like this on Kilimanjaro because they build confidence. You still gain altitude, but you don’t feel like you’re always sprinting against the clock.
If the Wall is the day’s big “oh wow” moment, the valley section is the day’s reward: it’s where you settle into rhythm. That matters because the next days involve exposed camps and a long summit night.
Day 5: Barafu ridge (4,550m) and why water access changes your mindset
Day 5 starts from Karanga Camp (about 3,959m) and climbs toward Barafu Hut, roughly 2–3 hours and about 4 km. Along the way, the trail intersects the Mweka route, which is the route used later for descent on the final days.
You reach Barafu Camp around 4,550m. The route notes a detail that changes how you plan: Barafu is the last water stop for the porters because there is no accessible water at Barafu Camp.
So what should you do with that information? Treat Barafu as a “prepare now” day. You want to be mentally ready for wind, cold, and limited flexibility once you’re there. The camps are on a rocky, exposed ridge, and tents can be affected by wind and rocks. The schedule stresses getting familiar with your campsite before dark.
That last part is practical. When it’s dark, you don’t want to be fumbling with tent setup or where your gear is. Light and calm matter more than bravery at altitude.
Day 6: the summit night—Stella Point (5,685m) and Uhuru Peak (5,895m)
Day 6 is the night-and-sunrise grind. You rise around 23:30, then have tea and biscuits, and you start climbing through heavy scree toward Stella Point on the crater rim.
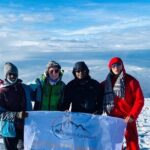
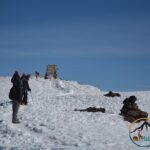
This is described as the most mentally and physically challenging section for many climbers. The walk to Stella Point takes about 6 hours, and once you get there at 5,685m, you stop briefly and hope for weather. When conditions are good, you get the most magnificent sunrise you’re likely to see.
From Stella Point, you normally encounter snow on the way up and then climb about 2 hours to Uhuru Peak at 5,895m. How long you spend on the summit depends on weather. The route guidance emphasizes not lingering too long, which is exactly what you want to hear at this altitude: quick decisions keep you safer.
Practical advice for you: plan to keep your energy stable. Summit night is not the moment to try new strategies or “wait, what is my gear again?” If you’re prepared, it’s hard—but it’s straightforward.
Day 7: celebration at the top, then Mweka Gate and a forest finish
Day 7 starts with breakfast, then a big celebration with dancing and singing. This is also when you present your tips to the guide, assistant guides, chef(s), and porters.
Then comes one of Kilimanjaro’s satisfying rituals: the National Park requires hikers to sign to receive completion certificates. If you reached Stella Point (5,685m) you receive a green certificate, and if you reached Uhuru Peak (5,895m) you receive a gold certificate.
After certificates, you descend about 3 hours back to Mweka Gate, then continue down roughly 1 hour (about 3 km) into Mweka village.
You finish in the forest habitat. It’s a nice contrast to the exposed, rocky ridges earlier in the week. Coming down in trees makes the whole trip feel real, not just like a long oxygen game.
Who this Machame trek suits best (and who should rethink it)
This route fits you if you’re genuinely comfortable with steep climbs and you take altitude seriously. It’s best for adventurous hikers and anyone with some high-altitude hiking or backpacking background.
It’s also a good fit if you want structure. The route has a clear rhythm: climb hard, acclimatize smart, then summit at night.
You might rethink it if:
- you’re brand-new to altitude hiking,
- you struggle with steep, exposed sections,
- you know you get chilled easily and don’t have the stamina to manage cold nights.
And if you’re planning this as a family trip, do it with serious adult supervision and realistic expectations. The climb can be demanding even when you have strong guides.
Training and comfort tips that match this specific route
I can’t tell you what to wear or how to train exactly without your stats, but I can tell you what this route punishes and therefore what to prepare for.
- Train for steep. Machame’s day-to-day climbs are not gentle grinders. Practice uphill hiking with real grade.
- Plan for cold before you feel cold. Nights dropping well below freezing are part of the schedule. Your comfort strategy should start early.
- Protect your footing in wet rainforest. Day 1 can turn sloppy fast. Slow steps beat hero steps.
- Fuel and communicate early. The hardest day is called out as a time when altitude symptoms can appear. If you feel off, speak up and adjust pace immediately.
- Respect the exposed ridge at Barafu. There’s wind and rock, plus no accessible water at camp. Treat it like a staging area, not a hangout.
If you do those basics well, Machame becomes an intense but manageable adventure instead of a guessing game.
Should you book this Machame 7-day climb with safari soles tours?
I’d book it if you want the classic Machame Whiskey route experience and you’re ready for a real challenge with good support. The route gives you scenic variety, clear acclimatization beats, and the payoff of Stella Point sunrise followed by the push to Uhuru Peak.
I’d be careful before booking if you’re looking for a low-stress hike. This climb is steep, cold, and weather-sensitive, and Day 1 can be muddy if it rains.
If your main goal is to reach the summit with a plan that takes acclimatization seriously, and you can handle steep trails and cold nights, then this is a strong match. If not, you’ll still find Kilimanjaro options—but Machame is the one that tests you.
FAQ
Where does pickup happen?
Pickup is offered from Arusha (1,400m).
What route is this trek?
It follows the Machame route, also known as the Whiskey route.
How long is the trek?
It’s listed as 7 days approximately.
What is the maximum group size?
The tour lists a maximum of 8 travelers.
What difficulty level should I expect?
It’s described as a moderate physical fitness level trek, but the Machame route is noted as difficult, steep, and challenging, especially because the itinerary is shorter.
What’s the highest point on the route?
The route ascends to Uhuru Peak (5,895m), with an earlier milestone at Stella Point (5,685m).
Are park/admission tickets included?
Yes. Admission ticket(s) are shown as included on the days listed in the tour schedule.
Will I get a certificate?
Yes. You’ll sign for a completion certificate at the National Park. Green is for reaching Stella Point, and Gold is for reaching Uhuru Peak.
Does the trek provide mobile tickets?
Yes, the tour includes a mobile ticket.
What if the weather is bad?
The experience requires good weather. If it’s canceled due to poor weather, you’ll be offered a different date or a full refund, and cancellation is free up to 24 hours in advance.