REVIEW · ARUSHA
7-Day Private Kilimanjaro Hiking Tour via Machame from Arusha
Book on Viator →Operated by Duma Explorer · Bookable on Viator
Kilimanjaro feels close on the Machame route. This 7-day private climb from Arusha runs the Machame trail, starting with a short drive to Machame Gate and then walking through cloud forest toward Kibo’s skyline. I love how easy access to the trailhead reduces day-one stress, and I love the acclimatization-first pacing that makes the Barranco day and the summit push feel organized, not guesswork.
One thing to plan for: this is the most popular camping option on the route overall, so you can expect more company than privacy at camps like Barranco. You’ll still hike with only your group and your crew, but the mountain is busy.
In This Review
- The Machame Route Sweet Spot: Access, Scenery, and West-Side Ascent
- Price and What $2,699 Buys You (And What It Doesn’t)
- Arusha to Machame Gate: Day 1 Starts at 9:00 am
- Day 1: Cloud Forest to Machame Camp (A Gentle First Taste)
- Day 2: From Park Trail to Shira Plateau and Shira Camp
- Day 3: The Acclimatization Day That Sets Up Barranco
- Day 4: Barranco Wall Scramble and Karanga River Valley Reward
- Day 5: Barafu Camp, Glacier Views, and Early Summit Prep
- Day 6: Summit Night to Uhuru Peak via Headlamp Work
- Day 7: Forest Descent to Mweka Gate and Back to Arusha
- Your Crew, Your Pace, and the Human Side of a Big Mountain
- Who Should Book This Machame Private Trek (And Who Might Think Twice)
- Should You Book This 7-Day Private Machame Climb?
- FAQ
- What start time is the Kilimanjaro climb scheduled for?
- Do I get pickup from Arusha?
- Is this a private tour?
- How long is the summit day hike at night?
- Which route is used for this 7-day trek?
- What’s the hardest part of the trek, and when does it happen?
- Is it possible to cancel and get a full refund?
The Machame Route Sweet Spot: Access, Scenery, and West-Side Ascent
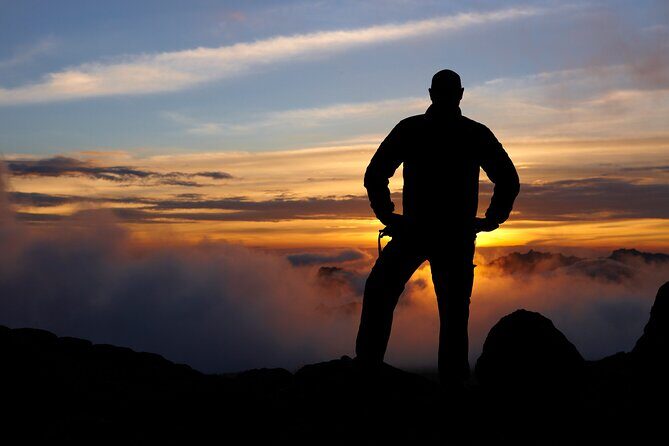
Machame is one of Kilimanjaro’s most popular routes for a reason. It gives you relatively easy access to the trailhead from Arusha, then feeds you a steady mix of habitats as altitude rises. And unlike routes that feel more remote and quiet, Machame is also known for a scenic, practical ascent on the west side of the mountain.
That matters because Kilimanjaro is half physical and half mental. If you can reduce early confusion and keep the schedule realistic, you’re more likely to focus on your breathing, your steps, and the long-term goal: Uhuru Peak.
The trek also builds around a key idea: acclimatize, then move. This route includes a crucial day that rises to about 4,530 meters and then descends, which is exactly the kind of rhythm you want when altitude is the real boss.
Price and What $2,699 Buys You (And What It Doesn’t)
At $2,699 per person for a 7-day private hike, this is not a budget DIY trip. The value comes from what’s included: private guiding and support, route planning, and high-end equipment meant to keep the trek smooth. You also get pickup offered, and you’ll receive a mobile ticket.
One practical detail: the day-by-day park admissions are marked as free for most days, with the summit-day portion showing admission ticket included. That’s important. When you’re paying for a summit attempt, you don’t want to discover extra gate fees late in the process.
What it doesn’t mean: this price won’t erase the reality that Kilimanjaro is strenuous. It also won’t make the summit night feel easy. The goal is to help you arrive with the right support and the right plan, not to turn altitude into a walk in the park.
You can also read our reviews of more private tours in Arusha
Arusha to Machame Gate: Day 1 Starts at 9:00 am
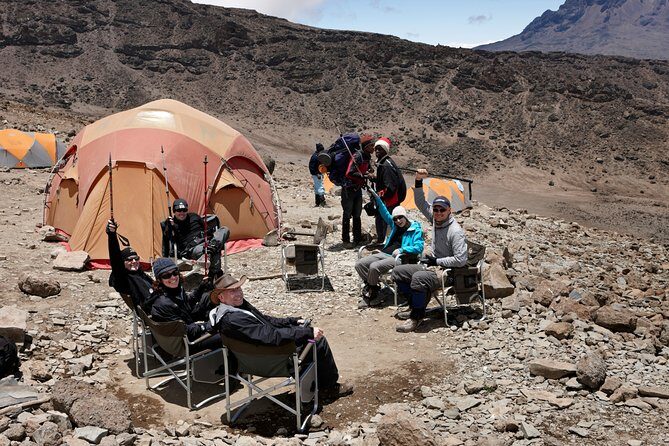
You start at 9:00 am. The drive from Arusha to Machame Gate takes about 1.5 hours, winding past coffee farms and villages. After you arrive, you meet the porters, guides, and cooks who will stay with you throughout the trek.
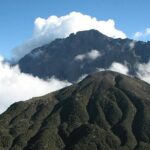
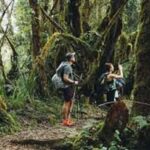
At the gate, you’ll register your climb while the crew makes final preparations. Then you get going—first to Machame Camp—through Kilimanjaro’s cloud forest. This opening section is more than a warm-up. The moss-covered trees give you that early “mountain feel,” and if the weather is clear you can catch striking views toward Kibo Peak.
What I like here for value: this is early structure. You’re not scrambling for logistics once you get off the transfer. Your crew is already working ahead, including preparing camp before you arrive.
Day 1: Cloud Forest to Machame Camp (A Gentle First Taste)
Today’s hike sets the tone with a real elevation story. You move from cloud forest into thinner trees, then into heathers, tall grasses, and wildflowers as the hike continues. You’ll likely feel like the mountain is teaching you what changes with altitude—without you needing a science textbook.
The hike itself is long enough to get you focused, but it’s paced to let your body start adjusting. By the time you reach Machame Camp, the crew’s setup is already underway, so you can spend your energy on resting and settling in.
Day 2: From Park Trail to Shira Plateau and Shira Camp
Day 2 includes several uphill sections, and on clear days it can be hot. So bring and manage water like it’s part of your plan, not an afterthought. The trek also rewards you with viewpoint moments—looking down at plains and forests while Kibo and Mawenzi rise above.
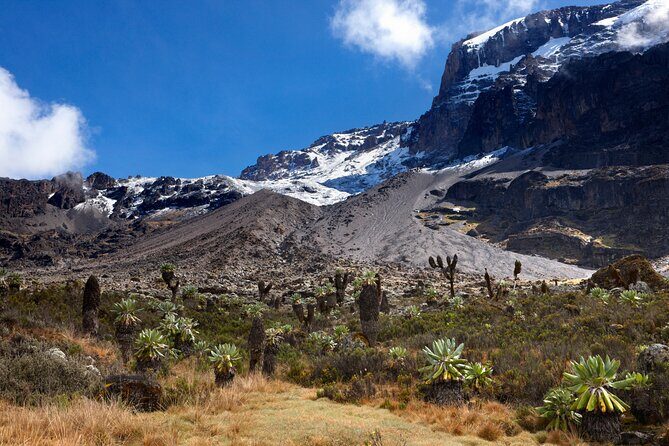
This is a great day for noticing vegetation changes. As altitude increases, trees diminish in size, and you’ll start to see high altitude plants such as Senecio kilimanjari and Lobelia deckenii.
After lunch you climb the Shira Plateau, formed when Kibo’s lava flows filled the Shira crater. Then you reach Shira Camp and take it easy for the rest of the day. That rest matters. On Kilimanjaro, the best day is the one where you actually recover.
Day 3: The Acclimatization Day That Sets Up Barranco
Day 3 is crucial. Even though the net elevation gain is only around 110 meters by the end of the day, you’ll climb to about 4,530 meters before you descend to Barranco Camp. In other words: it’s a training day for your body, not just a marching day.
The route moves east on the Shira Plateau, then heads toward the junction for Shira and Lemosho routes. From there you continue through a barren landscape before lunch. The “highest point” part of the day comes before the descent to Barranco, so your effort is concentrated.
Faster hikers may take a detour via Lava Tower, a roughly 300-foot lava formation jutting out of the mountainside. If your group has energy and you’re feeling steady, this can be a fun add-on.
The big win for you: the plan here helps your summit chances. Altitude adaptation isn’t a vibe. It’s timing, and this day gives you the timing.
You can also read our reviews of more hiking tours in Arusha
Day 4: Barranco Wall Scramble and Karanga River Valley Reward
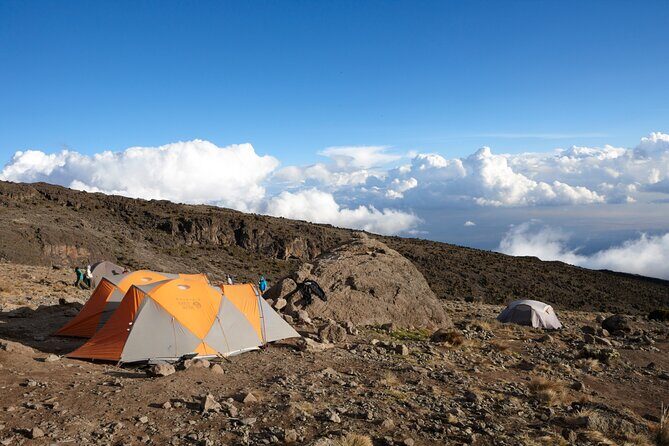
Leaving Barranco Camp after breakfast, you head toward Karanga Valley. The day starts with an hour-and-a-half scramble up the Barranco Wall. This is the hardest section of the day, and in some places you may need to use your hands.
Then you transition into more level terrain and make a short but steep descent into the green Karanga River Valley. This is the kind of day where you feel your progress. You’re not just climbing; you’re learning how to move efficiently on rougher sections.
If you’re the type who gets anxious when trails get technical, you’ll feel better knowing this scramble is clearly defined as the day’s challenge. You can mentally prepare for it instead of hoping it won’t happen.
Day 5: Barafu Camp, Glacier Views, and Early Summit Prep
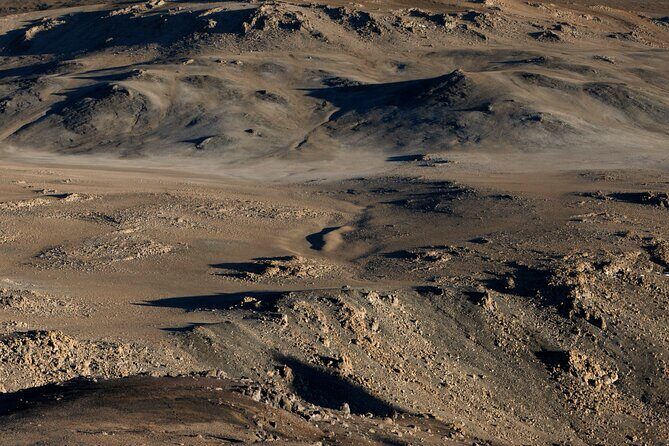
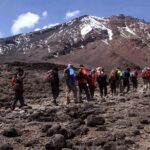
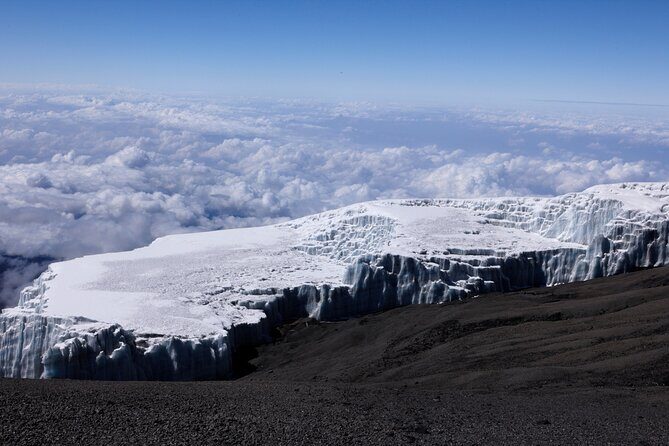
After breakfast, you hike to Barafu Camp. Along the way, you get views of Kibo’s glaciers and you’ll pass the junction that connects the Mweka descent route with the Machame trail.
This day also offers glacier sightlines that make the trek feel truly “high altitude.” You’ll view the Heim, Kersten, and Decken Glaciers, then continue through an alpine desert with little vegetation. When you reach Barafu, the camp setting delivers stunning views of both Kibo and Mawenzi.
Then comes the most important planning moment of the whole week: you should try to sleep after dinner, because you’ll wake before midnight for the summit hike. That timing is non-negotiable. Good summit outcomes depend on how well you recover before you start.
Day 6: Summit Night to Uhuru Peak via Headlamp Work
Around midnight, you begin the final ascent to Uhuru Peak. You hike for the next six hours with headlamps on, which means focus and steady pacing matter more than speed.
The ascent to the crater rim is described as the most challenging part of the trek. The trail is very steep until you reach Stella Point. From Stella Point to Uhuru Peak, the climb becomes more gradual, and it’s not very difficult compared to the steep earlier section. But altitude is still the grind—so the hike is long and tiring.
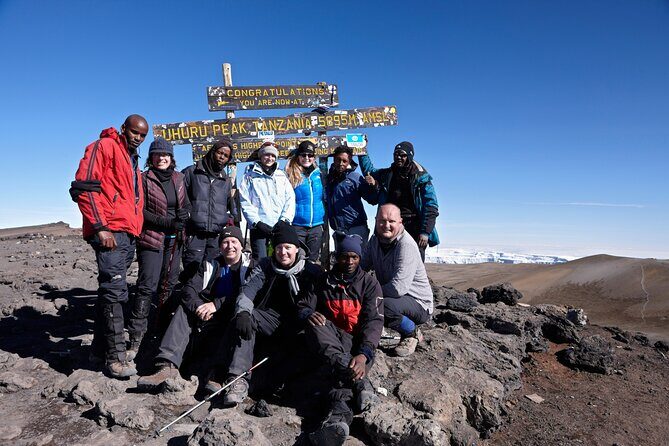
The crater rim portion takes about one hour. Once you reach Uhuru, you’ll take photos with your guide and group at the peak, then you start descending to Mweka Camp.
Practical note for your body: treat the summit like a controlled effort. This is where many people blow up their energy trying to rush the steep sections. You want to move like you’re saving yourself for the long haul upward and the careful steps downward.
Day 7: Forest Descent to Mweka Gate and Back to Arusha
After breakfast, you finish with a hike through the forest to Mweka Gate. The trail can be slippery if it rains, so use caution and don’t take shortcuts. Then your vehicles pick you up at the lower station of Mweka Gate and take you back to Arusha.
This final day is shorter, but it still asks for attention. If your legs are tired, your footing becomes the priority. You’ll feel the relief when you reach the gate, but the goal is to end safely.
Your Crew, Your Pace, and the Human Side of a Big Mountain
This is a private tour, so you only hike with your group. Still, because the route is popular, you’ll likely share camp areas with many other climbers. That can be motivating, but it can also make rest harder. I like knowing that this route can feel busy, because it keeps me realistic about the experience.
The company behind this trek emphasizes route planning, superior service, and high-end equipment. The human element shows up in how Kilimanjaro is run day to day: porters and cooks setting up camp ahead of time, guides keeping the schedule grounded, and the whole team helping you maintain morale through steep sections and long hours.
In past Kilimanjaro climbs with the same operator, names that have come up include drivers like Sifuni and guides such as Colman, Earnest, Ema, and Shaban. Your exact team will vary, but it’s a good sign that the experience consistently leans on support and encouragement rather than just route instructions.
Who Should Book This Machame Private Trek (And Who Might Think Twice)
This tour fits you if:
- You want a private hike but still don’t mind a popular route with shared camp atmosphere.
- You like clear planning and an itinerary that builds in acclimatization.
- You have strong physical fitness and you can handle a summit night starting around midnight.
You might think twice if:
- You struggle with technical trail days, because Barranco Wall includes sections where you may use your hands.
- You dislike crowd energy at camps, since this is the most popular camping route overall.
- You’re looking for a relaxed, low-effort hike. This is a climb. The altitude is the main challenge.
Should You Book This 7-Day Private Machame Climb?
If you’re choosing between Machame and another route, I’d call this a strong option for hikers who want structure and scenery without going fully remote. The pacing includes that key acclimatization pattern, and the summit plan is clearly laid out with the steep-to-rim work at Stella Point and a gradual final push.
Book it if the idea of Barranco Wall sounds like something you can prepare for, and if you can commit to the summit-night rhythm (waking before midnight, hiking in headlamps, and moving steadily).
Skip it or reconsider if you’re hoping for solitude at camp or if technical scrambling would seriously stress you out.
FAQ
What start time is the Kilimanjaro climb scheduled for?
The trek starts at 9:00 am.
Do I get pickup from Arusha?
Pickup is offered.
Is this a private tour?
Yes. Only your group will participate.
How long is the summit day hike at night?
You begin the final ascent around midnight and hike for the next six hours by headlamp.
Which route is used for this 7-day trek?
This trek goes via the Machame route.
What’s the hardest part of the trek, and when does it happen?
The hardest day section is the scramble up Barranco Wall on day 4, which can require using your hands in some spots.
Is it possible to cancel and get a full refund?
Yes. You can cancel up to 3 days in advance for a full refund. If you cancel less than 3 full days before the start time, the amount you paid will not be refunded.