REVIEW · MOSHI
8 Day Kilimanjaro Private Climb via Lemosho Route
Book on Viator →Operated by Kilimanjaro Heroes Adventures · Bookable on Viator
Kilimanjaro starts with a quiet drive, not a scramble. This 8-day private Lemosho climb is built around gradual altitude gain, big scenery shifts, and a team setup that keeps you fed, organized, and moving. I like the route choice for first-timers, and I especially like that the pacing gives you multiple chances to adjust before summit night; one thing to consider is the cold. Some nights drop below freezing, and parts of the route are exposed and windy.
Another reason I think you’ll enjoy this climb is the payoff from the day-to-day changes: rainforest to moorland to semi-desert, then rocky volcanic country. Expect camp logistics that matter (tents set before you settle in, water prepared by porters, and early summit prep), plus standout focus on key checkpoints like Lava Tower and the crater rim for Uhuru Peak at 5,895m.
In This Review
- Key things to know before you go (Lemosho, private, 8 days)
- Why the Lemosho Route works for a first Kilimanjaro attempt
- Moshi arrival and Keys Hotel: comfort before the climb
- Londorossi Gate to Mti Mkubwa (Big Tree Camp): your rainforest on-ramp
- Shira 2 at 3,840m: moorland walking and Western Breach views
- Lava Tower to Barranco: where altitude starts to show up
- Great Barranco Wall to Karanga Camp: a short day that teaches rhythm
- Barafu summit eve: last water stop and wind on the ridge
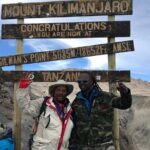
- Summit night to Uhuru Peak: headlamp climb and the crater rim moment
- Mweka Gate finish: forest descent, farewell ceremony, and Moshi reset
- Price and what you’re really paying for ($3,250 per person)
- Service quality: what gets praised most (and what to look for)
- Practical timing and altitude considerations to take seriously
- Who should book this private 8-day Lemosho climb
- FAQ
- Where does this climb start and what time does it begin?
- Do I get picked up in Moshi or from the airport?
- What does the route include and is park entry covered?
- How does the itinerary handle acclimatization?
- What is the highest point on this climb?
- Is this a private tour?
- Can I cancel and get a full refund?
- Should you book this 8-Day Private Lemosho climb?
Key things to know before you go (Lemosho, private, 8 days)
- Gradual acclimatization with multiple altitude “step-ups” before the summit push
- Rainforest start via Londorossi Gate, including a bumpy 4WD track and possible colobus monkeys
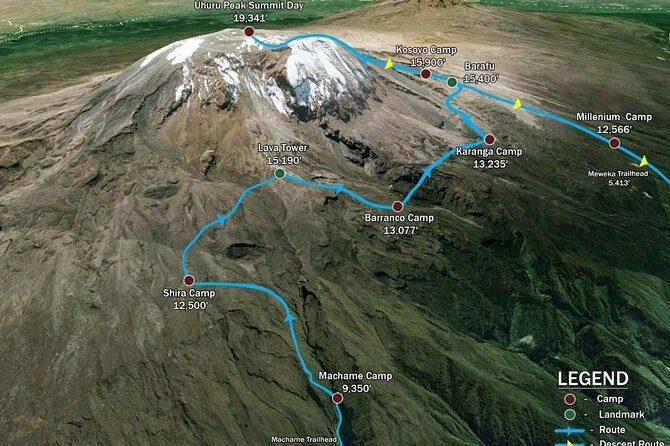
- Strategic camps at Shira 2 (3,840m), Barranco (3,950m), Karanga (3,950m), and Barafu (4,550m)
- Summit timing: headlamp climb after midnight toward Stella Point, then Uhuru Peak at sunrise window
- Barafu water reality: it’s the last water stop, and the camp is rocky and exposed
- Close-to-the-ground finish: a traditional farewell, forest descent to Mweka Gate, then back to Moshi
Why the Lemosho Route works for a first Kilimanjaro attempt
Lemosho is a route reputation you hear for a reason: it’s designed to feel less like a straight line upward. Instead, you gain altitude in stages across changing terrain, which tends to help your body handle the thin air. Your climb is spread across 8 days, so you get time at higher elevations before summit night rather than compressing everything into a few days.
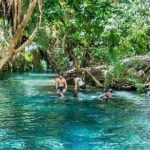
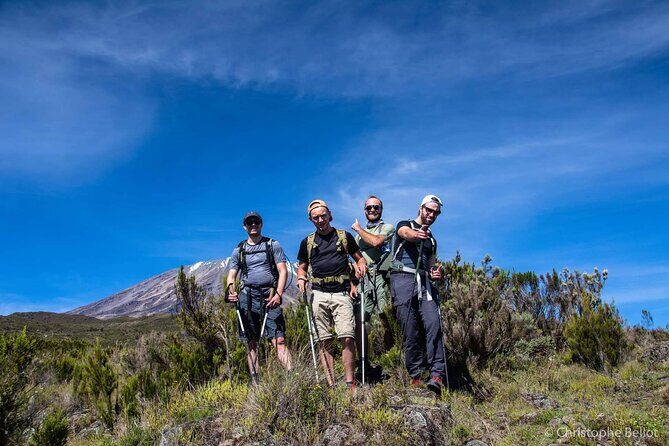
What I like here is the built-in rhythm. Day 2 starts with a real rainforest walk into camps around 2,750m. Day 3 pushes you to Shira 2 at 3,840m, then Day 4 takes you to Lava Tower (4,630m) and still includes a major descent to Barranco (3,950m) afterward. That pattern—go up, then come down—creates the breathing room that altitude climbs live or die on.
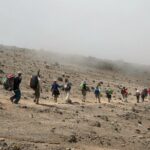
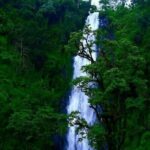
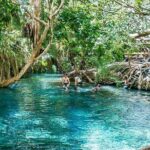
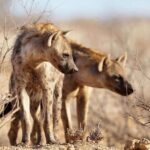
The route also gives you visual variety. You’re not hiking the same-looking trail for a week. You’ll move from forest shades and bird-and-monkey energy, to cooler moorland, to semi-desert and volcanic rock. If you’re the type who needs the scenery to stay mentally interesting during a hard day, Lemosho supports that.
You can also read our reviews of more private tours in Moshi
Moshi arrival and Keys Hotel: comfort before the climb
Most Kilimanjaro trips start with a long day and an early wake-up. This one begins with a meet-and-greet at Kilimanjaro International Airport (JRO), followed by a transfer to Keys Hotel in Moshi for briefing, dinner, and sleep.
A practical detail: Keys Hotel is on Uru Road, about 300 meters from the YMCA Hotel. That’s useful if you’re arriving early or trying to orient yourself before your trek starts.
Why this matters: you don’t want your first evening to be stressful logistics. Here, your first day is set up around briefing and getting your bearings. Then Day 2 begins with you well-rested enough to handle the drive to the gate and the rainforest hike.
Londorossi Gate to Mti Mkubwa (Big Tree Camp): your rainforest on-ramp
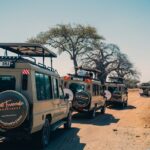
Day 2 is your entry into Kilimanjaro’s lower elevations, but it’s not a stroll. You’ll have breakfast, then head to the village near Londorossi Gate, where you pick up a packed lunch. Water is available for purchase for the hike, which is a useful heads-up: don’t assume unlimited water everywhere on day 2.
Then comes the 4WD reality. The final 45 minutes to the gate run on a bumpy forest track requiring 4WD vehicles. If you’re prone to motion sickness, this is the part you’ll want to prepare for.
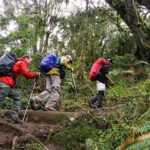
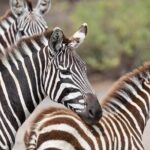
At the entrance gate, guides and porters handle supplies and registration with TANAPA (Tanzania National Parks Authority). After that, you start your about 3-hour rainforest hike. This is one of the best parts of early acclimatization because it’s active but not yet the deep-altitude grind. The guide route also gives you a chance to spot wildlife—keep your eyes open for colobus monkeys.
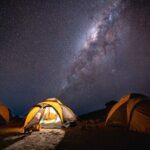
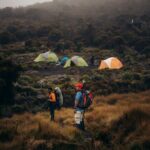
You finish at Mti Mkubwa (Big Tree) Camp at 2,750m, typically arriving early evening. Tents get set up before you fully settle in, and porters prepare drinking and washing water. That’s a meaningful quality-of-life detail. Hard trekking days feel easier when you aren’t also stuck figuring out base-camp basics.
Shira 2 at 3,840m: moorland walking and Western Breach views
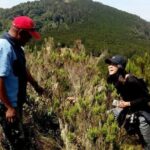
Day 3 shifts you out of rainforest and into higher terrain. You start with early breakfast, then move from rainforest into heather moorland. You’ll cross streams and walk across a plateau toward Shira 2 Camp (3,840m).
This day is a classic altitude balance act: you’re gaining elevation, but you’re not jumping straight to the summit’s headache-zone. Shira 2 is also positioned for views. You’ll have spectacular sight of the Western Breach and its glaciers from the East side.
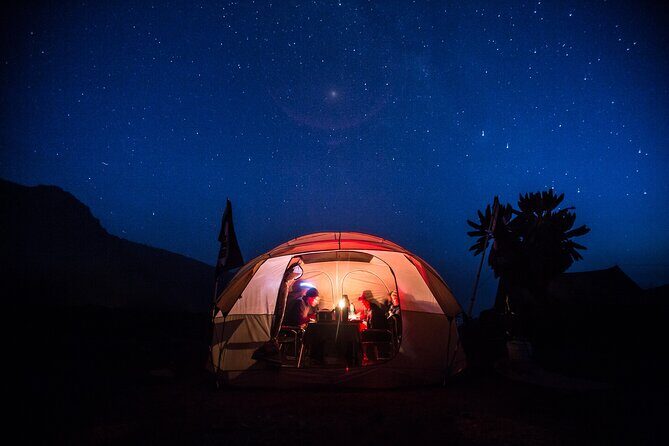
Evening camp routine matters here because it’s your first strong reminder that weather changes with altitude. At Shira 2, tents are set up before you arrive, and porters prepare drinking and washing water. You get evening snacks and dinner prepared by the chef. The big warning sign: be ready for cold. At Shira 2, temperatures can drop below freezing because the camp is exposed.
If you take one thing from this day, let it be this: “cold night” is not an optional mindset. Plan clothing and sleeping layers so you can actually rest.
Lava Tower to Barranco: where altitude starts to show up
Day 4 moves you into semi-desert and rocky landscapes—the scenery looks more lunar, and your body often starts to feel the altitude more clearly. You’ll hike for about 5 hours east until you reach Lava Tower (4,630m).
Lunch here is an event in itself: packed lunches are served at the Tower. Hikers have the option to climb Lava Tower if weather permits. That matters because it’s not always safe to scramble at altitude when conditions are rough—so follow your guide’s call.
After Lava Tower, you descend to Barranco Campsite (3,950m). The descent is about 680 meters down, which helps your body digest the day’s ascent. You get the mental boost too: you feel like you regained control, even if you’re still working hard.
This is also the day where it becomes normal to notice altitude symptoms. Headaches and shortness of breath can start to appear around this phase. The key practical tip is pacing—don’t treat symptoms like a surprise. The route design expects you to feel something, then recover before moving again.

Great Barranco Wall to Karanga Camp: a short day that teaches rhythm
Day 5 is built for acclimatization and confidence. You’ll start with breakfast, then tackle the Great Barranco Wall. It looks intimidating at a glance, but it’s generally described as a Class 2 hike and often easier than people expect. Still, it’s steep enough to demand steady steps and good breathing control.
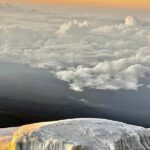
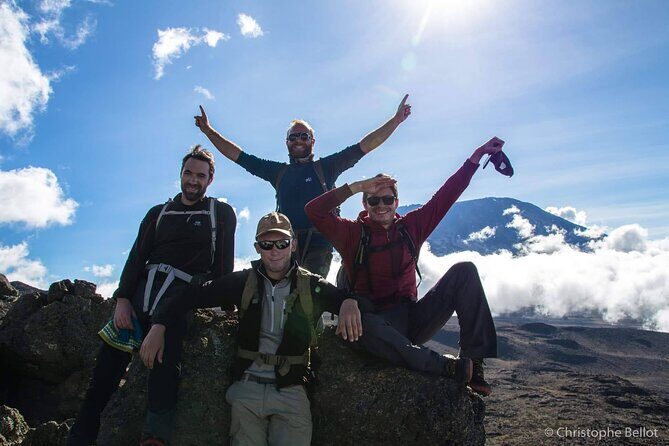
At the top, you get a view of the Heim Glacier and you’re above the clouds for a moment—those are the reward-type views you want to save your energy for.
From there, the trail winds up and down in the Karanga Valley. You finish at Karanga Camp (3,950m). This day is also a reminder that “short” doesn’t mean “easy.” You’ll feel it, but it’s manageable enough to help your body adapt and reset.
Your evening includes dinner and washing at camp, which helps a lot because you’ll need to feel fresh for the summit eve.
Barafu summit eve: last water stop and wind on the ridge
Day 6 is where you should take planning seriously. You’ll start after breakfast and follow a trail that intersects with the Mweka Route (used later for descent). About an hour in, you reach Barafu Hut, and this is the big logistics moment: Barafu is the last water stop accessible by porters. After that, there’s no accessible water at the camp.
So if you tend to underestimate how much you drink when you’re moving hard, this is the day to be careful. Hydration is not just comfort—it’s summit-day fuel.
Then you reach Barafu Camp (4,550m). Barafu means ice in Swahili, and the camp sits on a rocky, exposed ridge. That’s a setup for wind and chill. The tents are exposed to rocks and wind, so you’ll want to be ready for a camp environment that feels harsher than the earlier sites.
Dinner is served early so you can rest before summit attempt. You’re guided through how to prepare for summit night, and you’re told to get sleep by 19:00. This isn’t just advice. It’s the structure that makes a midnight start possible without panic.
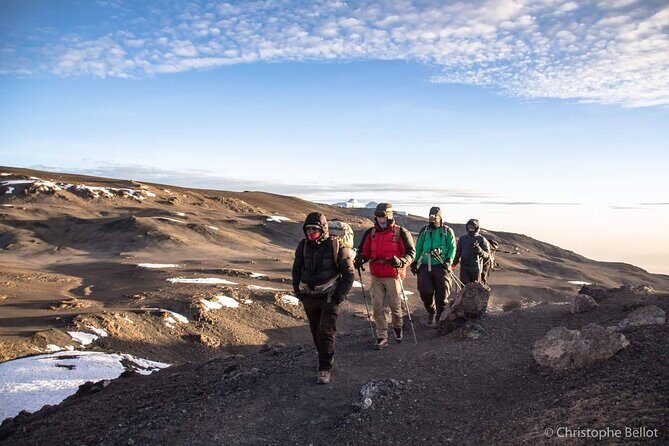
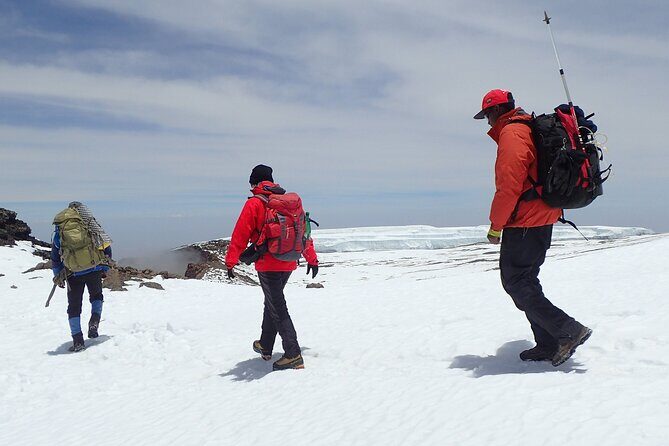
Summit night to Uhuru Peak: headlamp climb and the crater rim moment
Day 7 begins after midnight. You set off just after 00:00 in the dark and cold, climbing frozen volcanic dust using headlamps. The route goes toward Stella Point on the crater rim. It takes about six hours to reach Stella Point.
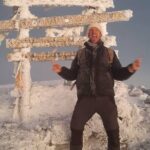
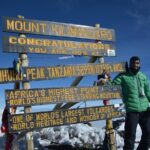
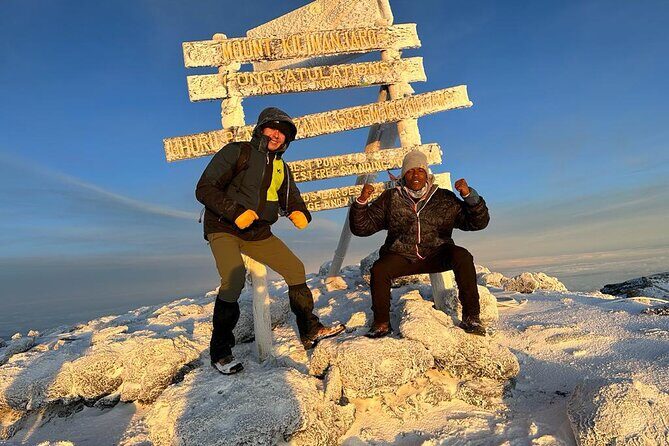
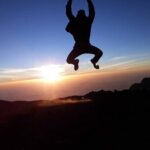
This is a mental and physical test, but the route is timed for a reason: you should reach Stella Point as the sunrise window begins, then move on about one to two hours later to stand on Uhuru Peak at 5,895m.
When you arrive, the experience becomes simple: pictures, short breaks, and celebratory time. Then you tackle the descent quickly because you’ll need energy reserves for the long downhill.
After summiting, you stop for a short tea break at Barafu, then continue downhill for about three hours to Mweka Camp (3,080m) for overnight sleep. That drop in altitude is huge for your body. Refuel with fluids and eat well at supper time.
Practical note: the volcanic ash that feels frozen earlier will thaw during the day. That doesn’t mean it’s easy, but it does change how the ground behaves under your boots.
Mweka Gate finish: forest descent, farewell ceremony, and Moshi reset
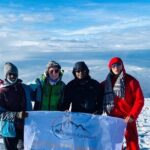
Day 8 is about getting down safely and finishing with dignity. After breakfast, you do a traditional farewell ceremony from the porters, which is a meaningful close to the work you’ve shared for days.
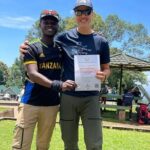
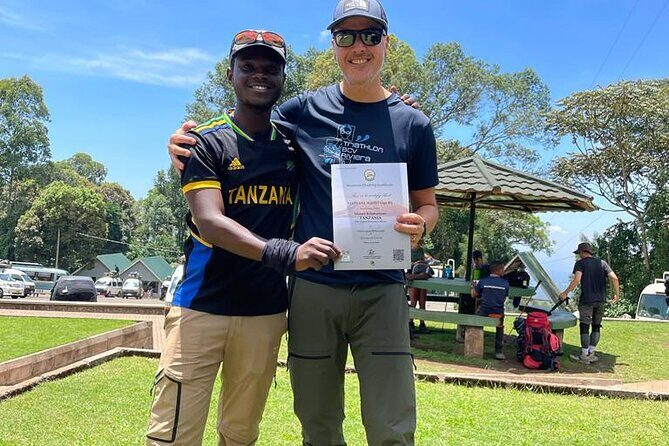
Then you descend through forest over about 3 hours to Mweka Gate. A driver is waiting to take you back to Keys Hotel in Moshi for a hot shower, cold drink, debrief, and your certificate of achievement.
This is one of my favorite parts of Kilimanjaro trips, because the mountain finally turns back into something ordinary. You’re not just celebrating the summit. You’re also rewarding yourself for making it through the full route—from rainforest entry to crater night to forest exit.
Price and what you’re really paying for ($3,250 per person)
At $3,250 per person for an 8-day private Lemosho climb, the value isn’t just the act of getting to Uhuru Peak. It’s the entire system that supports your chance to do it safely and comfortably.
Here’s how I’d frame it:
- Time and pacing are costly, but they matter. An 8-day schedule means you pay for extra days of staffing, food, and camp setup rather than pushing a faster itinerary.
- Private format often improves coordination. Only your group participates. That usually translates into clearer communication, fewer bottlenecks, and more consistent attention from the guide and team.
- Meals, camps, and park entry are part of the deal. The information you’re given includes admission ticket included, plus packed lunches and the expectation that a chef provides dinner during the trek.
- You’re buying expertise and manpower. The Lemosho route relies on trained guides, porters, and on-site organization, especially during critical segments like summit eve and the Barafu water situation.
Is it expensive? Yes. But Kilimanjaro is expensive by nature because it requires a lot of people and logistics for a single climb. The smarter question is: does the itinerary support your altitude management? This one does, with its step-ups, strategic descent, and summit-night structure.
Service quality: what gets praised most (and what to look for)
The strongest pattern in feedback is consistency: guides and crew who feel caring, attentive, and professional, with careful attention to details that keep you from worrying about small things in a big environment.
Names that show up repeatedly include guides such as Emanuel and Wence, and others like Emanuel and David in a similar Lemosho experience. On this route style, people also mention guides like Nyokaa and Mality, and teams featuring Tammy, Manu, Jackson, Salim, Abdina, Brayan, Jimmy, Niky James, and Nelson. Across different groups, the theme stays the same: the team helps you feel safe and guided through both the physical demands and the camp rhythm.
For you, the takeaway is simple. When you meet your guide and team, pay attention to how they explain key moments: summit prep, what to expect at Barafu, and how to handle cold and altitude symptoms. If those conversations feel clear and practical, you’re set up well for the week.
Also consider the “private” aspect alongside the way people feel about it. If you’re used to group tours, private can feel different at first. But with a guide and full crew structure, you’re not missing support just because the group is smaller.
Practical timing and altitude considerations to take seriously
This climb uses specific timing that you should respect:
- You’re briefed early and sleep well before the summit night, with a target of 19:00 the night before summit.
- Summit night starts just after midnight, with a headlamp climb around six hours to Stella Point, then Uhuru Peak later.
- Barafu is a critical moment: it’s the last accessible water stop, and the camp is rocky and exposed.
The altitude considerations are also spelled out in plain terms through the route’s design. Expect cold nights at high exposed camps like Shira 2, and expect altitude symptoms during the mid-to-late stages when you’re walking in the 4,000m+ range.
My advice: don’t treat symptoms like an emergency, but do treat them like signals. Slow down when you need to. Drink and eat when you can. And keep your attitude steady. Kilimanjaro rewards calm more than courage.
Who should book this private 8-day Lemosho climb
This is a strong fit if you:
- Want a route known for gradual ascent and longer acclimatization
- Prefer a private setup (only your group participates)
- Like the idea of a rainforest-to-moorland-to-volcanic transition, not a one-note hike
- Are okay with cold nights and an early summit start
It may be less ideal if you:
- Struggle with very cold conditions and windy exposed camps
- Want a relaxed, low-effort schedule (this is still a serious climb)
- Don’t handle altitude symptoms well and are unwilling to follow pace guidance
If you’re a first-time Kilimanjaro climber, Lemosho’s structure is built for you. If you’ve climbed other peaks, you’ll still appreciate the route’s rhythm—especially the way it uses descent as part of acclimatization.
FAQ
Where does this climb start and what time does it begin?
The meeting point is Kilimanjaro International Airport (JRO), and the start time is 8:00 am.
Do I get picked up in Moshi or from the airport?
Pickup is offered. The plan includes meeting you upon arrival at JRO and transferring you to Keys Hotel in Moshi.
What does the route include and is park entry covered?
Admission tickets are included. You’ll also receive packed lunches on trekking days, and dinner is prepared by the chef during the climb.
How does the itinerary handle acclimatization?
The climb uses a gradual schedule across different elevations, including higher camps like Shira 2 (3,840m), and recovery through descent segments such as the move from Lava Tower down to Barranco.
What is the highest point on this climb?
Uhuru Peak at 5,895 meters is the summit reached during summit night.
Is this a private tour?
Yes. It’s a private activity, and only your group will participate.
Can I cancel and get a full refund?
You can cancel for free up to 24 hours in advance for a full refund. If you cancel less than 24 hours before the start time, the amount paid is not refunded.
Should you book this 8-Day Private Lemosho climb?
If you want the Lemosho route experience with an 8-day schedule, I’d call this a smart option. It’s not a “quick to the top” plan. It’s a build-your-acclimatization plan that pays off during summit night, then finishes with a proper forest descent and real end-of-climb celebration.
Book it if you value pacing, strong team support, and a route that uses changes in terrain to keep the week interesting. Skip it if cold exposure, midnight starts, and altitude symptoms would stress you too much. If those parts sound like the deal you’re willing to make for Kilimanjaro, this is the kind of climb that can turn the whole process into the point.