REVIEW · ARUSHA
Small-group 7-day Lemosho Route Kilimanjaro Climb from Arusha
Book on Viator →Operated by MERU SLOPES TOURS AND SAFARIS · Bookable on Viator
Seven days on Kilimanjaro sounds brutal. What makes this climb interesting is the Lemosho route itself: you start on the western side through rainforest, then work your way into heath and moorland, with a small-group feel (up to 6 people) led by guides like Kenedy and Julius.
I especially like the way the itinerary handles acclimatization. Day 3 may feel strange on paper because you start and end near the same altitude, but it’s built around the ridge walk that helps your body adjust before you commit to higher camps.
One consideration: the Lemosho route is more challenging than easier options like Marangu or Rongai, and the trail conditions can get slippery—mud at the start and again on the warmer, wet descent on Day 7—so plan on gaiters and trekking poles.
In This Review
- Key things I’d watch for on this Lemosho climb
- Western Lemosho vs the more famous routes: what you’re choosing
- Price and what you get for $2,400 per person
- Group size, pickup, and the way your day starts (8:30am)
- Day 1: Moshi to the Kilimanjaro Gate and into rainforest walking
- Day 2: Leaving the rainforest and rising toward Shira Plateau
- Day 3: Acclimatization on the ridge toward Lava Tower and Barranco Camp
- Day 4: Barranco Wall and the move toward Karanga Camp
- Day 5: Climb toward Barafu Camp and your South Circuit moment
- Day 6: Summit push via heavy scree to Stella Point and Uhuru Peak
- Day 7: Descent to Mweka Park Gate, certificates, and back to Moshi
- Guides, porters, and safety equipment that actually helps
- What to pack and how to plan for trail conditions
- Who this Lemosho climb fits best
- Should you book this 7-day Lemosho climb from Arusha?
- FAQ
- What time does the climb start?
- How long is the Lemosho route climb?
- What’s the group size?
- Is pickup offered from Arusha/Moshi?
- What’s included in the price?
- What should I plan for that isn’t included?
Key things I’d watch for on this Lemosho climb
- Small-group size (maximum 6 hikers) means you spend less time waiting around and more time moving with your team.
- Western start on Lemosho gives you a real change of scenery, from rainforest into heath and moorland.
- Acclimatization built into Day 3 helps you set up better for the summit push later.
- Barranco Wall plus Karanga Valley is a high-point day that tests balance and teamwork.
- Stella Point timing for sunrise puts you on the crater rim with a clear payoff.
- Included guide, porters, camping gear, and most meals helps you control costs and stress.
Western Lemosho vs the more famous routes: what you’re choosing
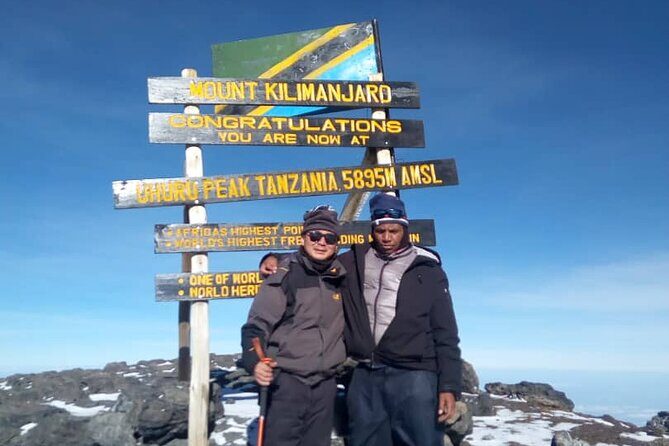
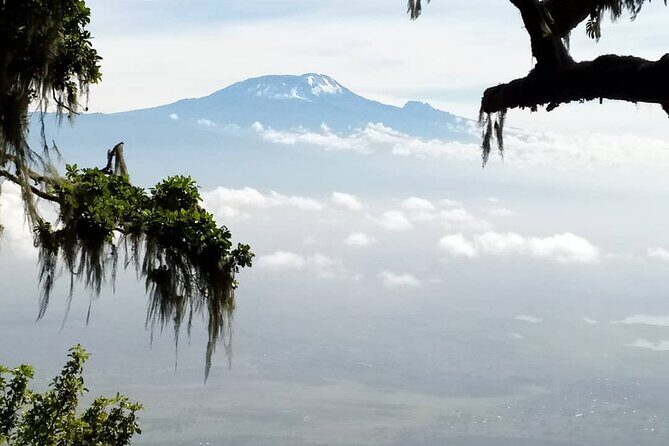
The Lemosho route is the kind of Kilimanjaro choice that rewards patience. It begins on the western side of the mountain (not the busy approaches), and it gradually shifts from thick rainforest into higher, cooler zones with heath and moorland. Along the way, you’ll move through areas with ferns and ericas—good clues you’re leaving low elevation warmth behind.
The tradeoff is difficulty. Lemosho is described as more challenging than Marangu and Rongai, and you’ll feel it in two ways: the walking can include steep sections, and you may spend some time on smaller, less forgiving trail. If you want a straight-line hike with fewer challenges, this may not match your style. If you want variety and you’re okay with effort, it’s a strong pick.
A few more Arusha tours and experiences worth a look
Price and what you get for $2,400 per person
At $2,400 per person for a 7-day climb, you’re not shopping budget. But you are buying a lot of what actually matters on Kilimanjaro: staffing, logistics, and a large chunk of the daily grind.
This package includes:
- a professional, English-speaking guide
- a mountain crew (cook and porters)
- tents and camping setup (plus sleeping mats, chairs, and tables)
- meals listed for the climb (8 breakfasts and 7 dinners, plus lunches)
- clean drinking water and bottled water
- transfers mentioned in the itinerary
- park-related fees and taxes, plus admission tickets
What’s not included is also important: flights, visa fees, tips, and personal spending, plus alcohol and soft drinks. So you’ll want to budget for those items separately, and you should also plan for tipping even though it isn’t built into the price.
Value check in plain terms: this price makes more sense if you care about not cutting corners on staffing and supplies. One review highlighted that safety equipment like oxygen and pulse oximeters were present and used appropriately. That kind of operational detail is hard to quantify on a website, but it can be the difference between feeling anxious and feeling prepared.
Group size, pickup, and the way your day starts (8:30am)
You’re scheduled to start at 8:30am. Pickup is offered, and the climb starts with a drive through mountain villages toward the Kilimanjaro National Park Gate. You also get the convenience of a mobile ticket, which helps if you prefer low-friction check-in.
Group size is capped at 6 travelers, which usually means you can maintain a steady rhythm. On Kilimanjaro, the smallest delays matter: when one person needs extra help, you don’t want a long line behind them. A tight group also tends to feel more like a shared team climb instead of an assembly line.
Day 1: Moshi to the Kilimanjaro Gate and into rainforest walking
Day 1 begins with travel from Moshi (about a 45-minute drive) to the park gate. Expect a wait for permits while you watch the operation gear up. This is one of those moments where you can take in what the mountain trip really is: not just hikers, but crews, schedules, and a lot of moving parts.
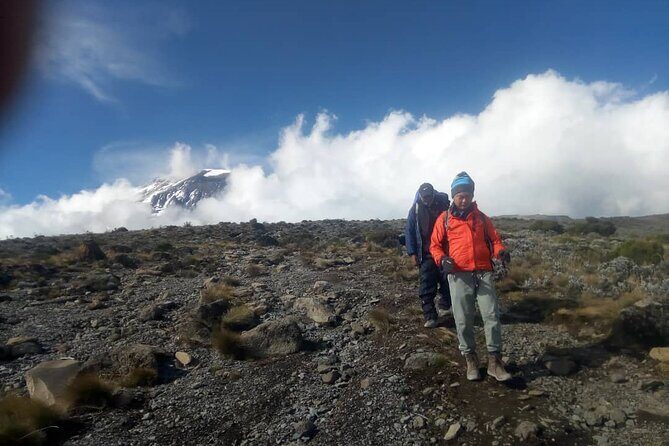
The hike on Day 1 climbs from about 2,389m to 2,785m and takes around 4 hours. You’ll walk in rainforest scenery with guide talk about local flora and fauna. At these lower elevations, conditions can be muddy and slippery, so the practical advice here is direct: wear gaiters and use trekking poles if you have them.
One small mental note for Day 1: the goal is not speed. It’s warm-up stamina and good footwork. If your shoes are already questionable, break in and test them before you arrive.
Day 2: Leaving the rainforest and rising toward Shira Plateau
On Day 2, the hike climbs more substantially—about 2,785m to 3,895m over roughly 8 hours. The biggest shift is sensory: you emerge from the rainforest and the scenery opens up. The trail climbs steadily, and temperatures begin to drop as you work toward the rim of the Shira Plateau.
This day is long enough that you’ll feel elevation changes even if you don’t yet feel altitude symptoms. Because the terrain is described as ascending and more exposed, it’s a good day to pace yourself and keep breathing calm. If you tend to go out fast and pay later, Day 2 is where that habit gets punished.
Day 3: Acclimatization on the ridge toward Lava Tower and Barranco Camp
Day 3 is a clever piece of programming. You end the day around similar elevation to where you started (about 3,895m to 3,986m), but the itinerary is built for acclimatization. It’s described as important even when the elevation gain looks small.
The walking takes you from the Shira Plateau up a ridge east, passing junctions toward the area leading to Kibo Peak, then continuing toward Lava Tower, also called the Shark’s Tooth at 4,650m. After the tower, there’s a second junction toward the Arrow Glacier, and then the day transitions into a descent toward Barranco Camp.
Total hiking time is around 7 hours. You’ll cover significant terrain by the end, even if elevation numbers don’t look dramatic. This is exactly why acclimatization days matter: your body learns how to work while higher, and you’re not forced to jump straight into summit stakes too early.
Day 4: Barranco Wall and the move toward Karanga Camp
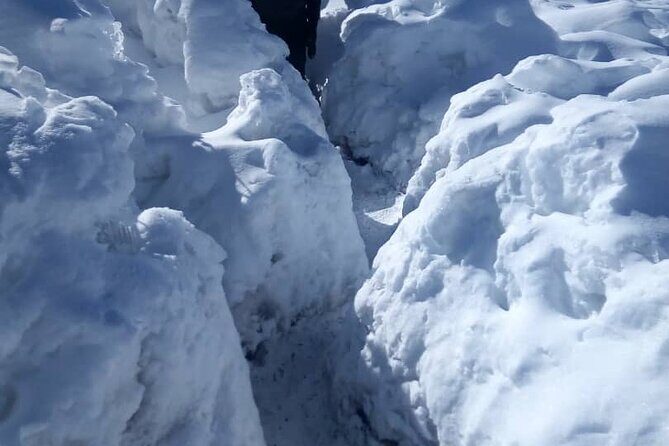
Day 4 covers a steep ridge to Barranco Wall, then works into the Karanga Valley and connects with the Mweka Trail. Elevation gain is modest on paper (about 3,986m to 4,034m), and the hike is around 5 hours, but the day’s character is about steep effort and footing.
This is also where you see what your crew can do. In one review, the crew’s agility on the wall was noted as impressive. Even without copying their speed, it’s a reminder that strong teams often make hard terrain feel more manageable.
The payoff is you’re moving into position for the next stage—toward higher camps—while also building confidence with rocky, steeper sections.
Day 5: Climb toward Barafu Camp and your South Circuit moment
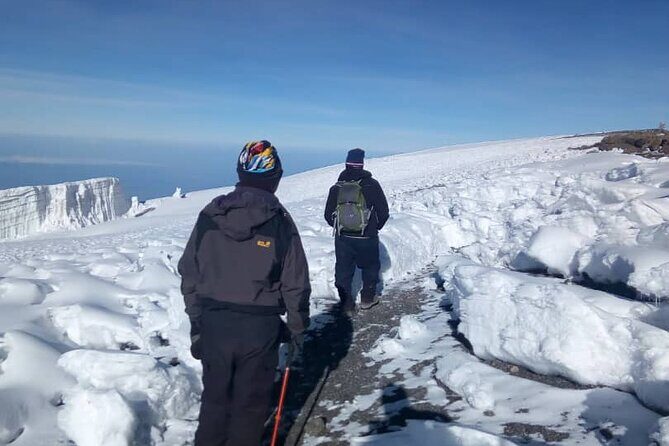
On Day 5 you head toward Barafu Camp, with a bigger altitude jump (about 4,034m to 4,662m) over roughly 5 hours. Once you reach Barafu, you’ve completed the South Circuit portion of the route, and you’ll have views of the summit from different angles.
This is a “save your energy” day. The itinerary calls for an early dinner and rest as you prepare for summit night, and that’s exactly what you should treat it as. If you spend the afternoon sprinting for photos or talking yourself hoarse, you’ll feel it later.
Also, sleeping at Barafu can be challenging for some people, even when you’re exhausted. Don’t fight it. Just get as much rest as you can and let your body do the work it needs to do.
Day 6: Summit push via heavy scree to Stella Point and Uhuru Peak
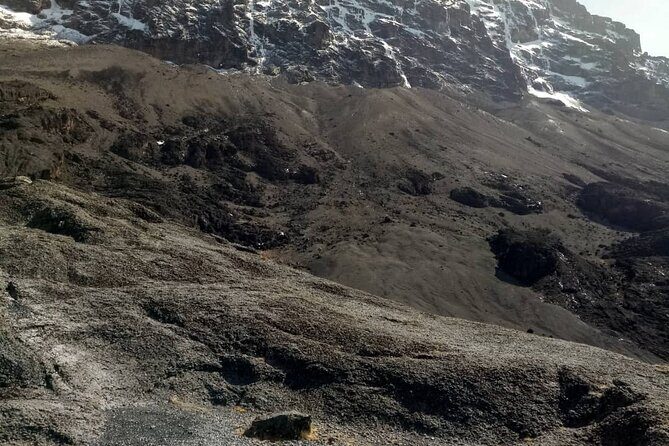
Day 6 is the long one. You head toward the summit between the Rebmann and Ratzel glaciers, staying warm and focused as you ascend with switchbacks through heavy scree. The walking pattern you’ll feel is switchback climbing plus unstable footing—an exhausting mix.
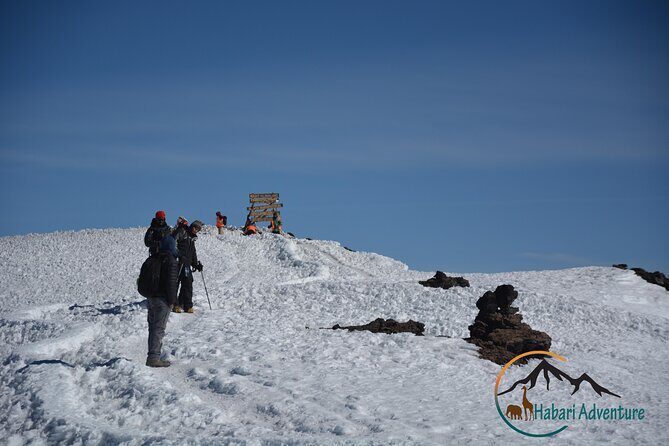
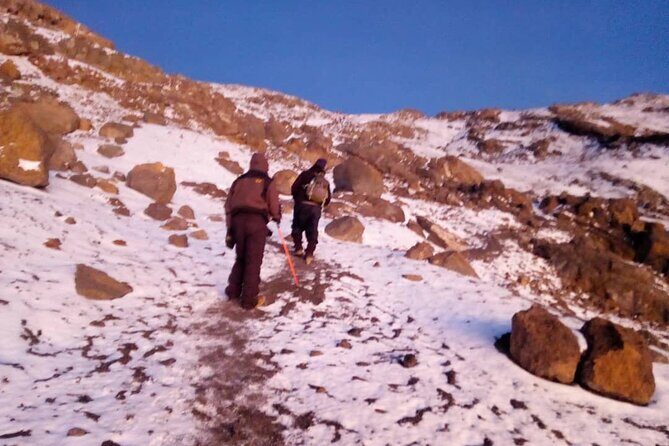
The itinerary highlights Stella Point on the crater rim as a key moment. You’ll likely see snow along the remaining ascent to Uhuru Peak. There’s a strong emphasis on timing: you’re rewarded with a magnificent sunrise during the short rest at Stella Point. Faster hikers may catch sunrise from the summit, but the main idea is you’re in position for a crater-rim view while it’s still cold enough that staying focused matters.
Total time is listed at about 12 hours, which is a lot for anyone. Your priority is not being the fastest; it’s being steady. If your breathing slips, slow down before you spiral.
Day 7: Descent to Mweka Park Gate, certificates, and back to Moshi
Day 7 starts after breakfast with a heartfelt ceremony of appreciation and team bonding with the crew. Then it’s time for the descent, which is where Kilimanjaro can humble you in a different way.
You drop from about 3,106m down to 1,633m, with 4 hours on the hike to Mweka Park Gate. The itinerary notes that it’s warmer now, and the terrain is wet, muddy, and steep. This is your second big reminder to keep your gaiters and trekking poles handy. If your knees hate downhills, use your poles early and keep steps short.
After you reach the gate, a vehicle meets you in Mweka village and drives you back to your hotel in Moshi (about 30 minutes). You also receive summit certificates, and then you get the classic post-climb release: hot shower, dinner, celebrations, and a long exhale.
Guides, porters, and safety equipment that actually helps
This is one of the areas where reviews line up with what you’d hope to see. One account specifically praised guides and porters and mentioned safety gear such as oxygen and pulse oximeters being available and used appropriately. That matters because Kilimanjaro altitude management isn’t only about willpower—it’s also about monitoring how your body is doing.
You’re also working with a professional, English-speaking guide, and the small team structure often means your group isn’t just following a map. You can get real coaching on pace, hydration, and when to push versus when to slow.
The experience with named leadership—Kenedy as head guide and Julius as second guide—was highlighted as excellent. If those are the guides you end up with, it’s worth leaning into their instructions even when you feel tempted to guess.
What to pack and how to plan for trail conditions
The itinerary gives you two very concrete packing signals:
- Start slippery: Day 1 can be muddy and slippery in the rainforest zone, and gaiters + trekking poles are highly recommended.
- End slippery: Day 7 is described as wet, muddy, and steep, again with gaiters and trekking poles recommended.
Beyond that, you should plan for temperature change. Temperatures begin dropping as you near Shira Plateau, and on summit night you’re told to stay warm, with snow likely along the ascent to Uhuru Peak. That means your clothing strategy needs to handle cold at higher camps and the shift back to warmer air on the descent.
You might find it helpful to travel with a comfortable layering system you already know works. Don’t bring a brand-new setup on summit night and hope for the best.
One more practical note: camping gear is included—tents, sleeping mats, chairs, and tables—so you’re not responsible for every base-camp item. You still control your personal comfort items, but the heavy logistics are handled.
Who this Lemosho climb fits best
This climb fits best if you:
- want the western Lemosho experience with big scenery shifts from rainforest to moorland
- can handle a more demanding route than Marangu or Rongai
- prefer small-group dynamics (max 6)
- are serious about acclimatization and summit-day pacing
It may be less ideal if you want a gentler path, hate steep trails, or have limited tolerance for muddy footing. Also, the description notes most travelers can participate, but the route’s difficulty level suggests you still need solid hiking fitness and a calm approach to altitude.
Should you book this 7-day Lemosho climb from Arusha?
I’d book it if you want a real Kilimanjaro experience with:
- structured acclimatization and a summit plan built around timing (Stella Point sunrise)
- strong staffing, including crews and safety gear like oxygen and pulse oximeters
- included essentials that reduce stress on the money and logistics side
I wouldn’t book it if your goal is an easy climb with minimal steepness and minimal trail mess. Lemosho is not “cozy.” It’s active, it can be muddy, and you’ll earn the views.
If you’re choosing between routes, this one is for you when you think of Kilimanjaro as a trek you manage carefully—step by step—rather than something you rush through.
FAQ
What time does the climb start?
The experience start time is 8:30am.
How long is the Lemosho route climb?
It’s listed as 7 days (approx.).
What’s the group size?
The tour has a maximum of 6 travelers.
Is pickup offered from Arusha/Moshi?
Pickup is offered, and the itinerary includes transfers such as the drive from Moshi to the park gate and back to Moshi after the climb.
What’s included in the price?
The package includes guide and mountain crew, camping equipment, meals as listed, clean drinking water and bottled water, coffee or tea, and the mentioned transfers and fees/taxes. It also includes admission ticket coverage for the itinerary stops.
What should I plan for that isn’t included?
Flights, visa fees, tips, and personal spending are not included, as are alcoholic and soft drinks. The itinerary also recommends gaiters and trekking poles for muddy or steep sections.