REVIEW · MOSHI
8 Days Kilimanjaro Climbing tour via the Lemosho Route
Book on Viator →Operated by KILIMANJARO CLIMBING TOURS · Bookable on Viator
Eight days to Uhuru Peak starts here. I like the Lemosho Route for how it eases you in with big-view days and smart altitude staging, not just a straight grind upward. I also like the human support, including a guide assigned for the summit ascent so you’re not guessing your way through the toughest hours. One consideration: this climb is still hard altitude work, and conditions can be wet and cold early, so you need to pack and pace like it matters.
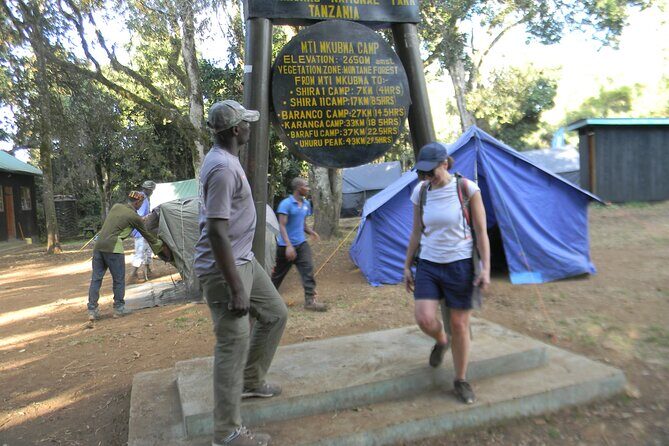
You’ll start in Moshi and get driven about 3–4 hours to Londorossi Gate (2,200m). After the formalities, including permits and Search and Rescue registration, the first walking day takes you through rainforest toward Mti Mkubwa Camp (2,780m), where rain jackets aren’t optional. The good news is the itinerary builds in repeated check-ins with your body—short hikes for acclimatization, then real rest—so you can climb with a plan, not vibes.
Overall, this is a solid option if you want the Lemosho experience and you like structure: day-to-day guidance, meals, and camps set up for you. Just remember you’re buying a chance at the summit, not a guarantee, because altitude and weather still call the shots. If you want a smoother process and you take acclimatization seriously, you’ll feel the difference quickly.
In This Review
- Key highlights to know before you go
- Londorossi Gate to Lemosho Route: the west-side start you’ll feel
- Day 1: Rainforest breathing to Mti Mkubwa Camp (2,780m)
- Day 2 to Shira 1 (3,505m): a gradual climb with your first big views
- Day 3: Shira 2 (3,900m), Lava Tower acclimatization, and Meru spotting
- Day 4: Lava Tower (4,630m) to Barranco Camp (3,960m)
- Day 5: Barranco Wall timing, then Karanga (and another acclimatization loop)
- Day 6: Barafu Summit Camp (4,640m) and the Kosovo intermediate camp reset
- Day 7: Uhuru Peak at night (and the guide support that matters)
- Day 8: Mweka Gate (1,650m), rainforest relief, and certificates
- What you’re really paying for: guides, meals, transfers, and camps
- The parts to double-check: park fees, tipping, and personal gear
- Who this Lemosho climb fits best (and who should think twice)
- Pair it with real Tanzania time: coffee and culture beyond the mountain
- Should you book this 8-day Lemosho Kilimanjaro climb?
- FAQ
- Where does this Kilimanjaro tour start and what time?
- How long is the climb?
- Which route and key gates does it use?
- What camps and major points are included along the way?
- Are meals included?
- Are park fees included in the price?
- Do I need my own hiking gear?
- Do you include transfers and pick-up in Moshi?
- Is tipping included?
- FAQ
- What’s the cancellation policy?
- What if the climb is affected by weather?
- Is it a private tour or shared group?
Key highlights to know before you go
- Lemosho on the west side with a rainforest start from Londorossi Gate (2,200m)
- Repeated acclimatization stops (Lava Tower area, Barafu intermediate hike, Kosovo intermediate camp)
- Barranco Wall day with timing advice to help you avoid crowds
- Summit night support by personal guide for each pair—pressure drops when you have a plan
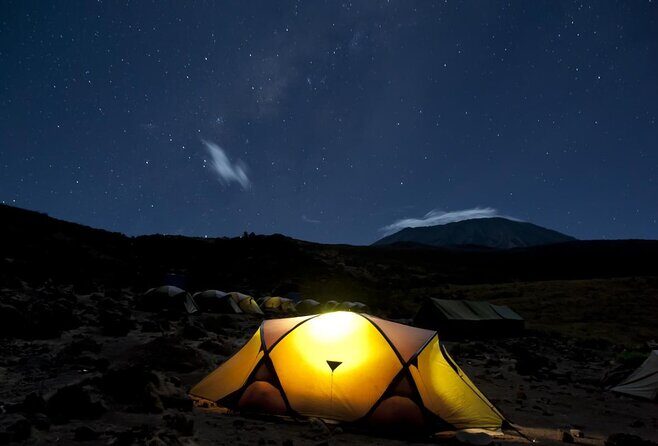
- Camps set up in advance with tents and sleeping bags, so you focus on walking and resting
Londorossi Gate to Lemosho Route: the west-side start you’ll feel
Most Kilimanjaro routes give you a fast introduction to altitude. This one starts with a slower “temperature check” through the rainforest before you ever reach the higher plateau. That matters because your body needs time to adjust, and you get it here without the day turning into a panic climb.
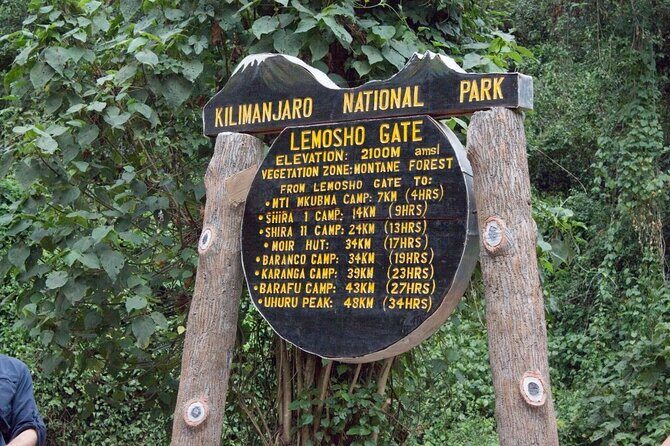
You’ll begin at Londorossi Gate (2,200m) after a 3–4 hour drive from Moshi. Permits and Search and Rescue registration happen right away, so your first day is about getting official, getting oriented, and then settling into the walking rhythm toward Mti Mkubwa Camp (2,780m). I like that structure. It means you don’t spend your first day wandering around wondering what comes next.
The practical catch: rainforest walking can be damp and slippery, so rain jackets are strongly recommended. If you show up underprepared, your day gets harder in a hurry, even if the “elevation” part isn’t extreme yet.
You can also read our reviews of more tours and experiences in Moshi.
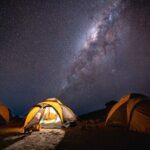
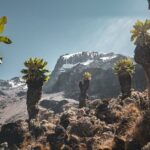
Day 1: Rainforest breathing to Mti Mkubwa Camp (2,780m)
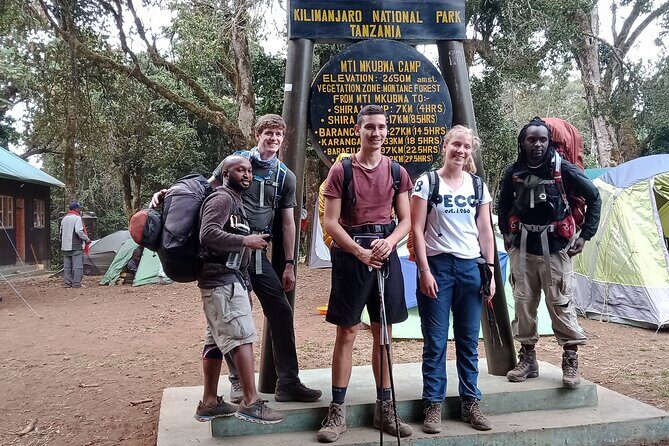
Day 1 is the bridge between travel mode and mountain mode. You meet your guide and escort team, then transfer into the national park area. After the permits/registration, the group starts trekking to Mti Mkubwa Camp (2,780m), which is a classic first-camp altitude.
Why this day feels good (when you treat it right):
- You get moving and get oriented to group pacing.
- You’re walking in rainforest conditions, so the air feels more forgiving than the cold high zones.
- You’re not yet in the “summit math” phase.
The drawback is simple: wet weather is more likely in rainforest than on a dry ridge. If you don’t have proper waterproof layers, you’ll spend the day fighting discomfort instead of learning your pace.
Day 2 to Shira 1 (3,505m): a gradual climb with your first big views
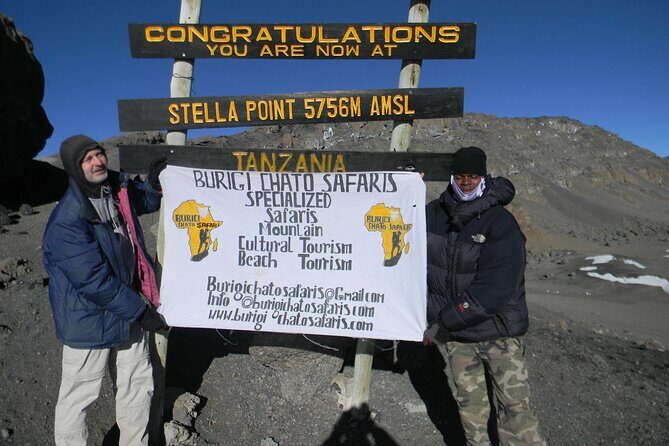
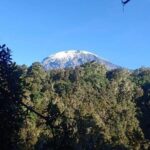
On Day 2, you wake up early, eat breakfast, then climb gradually to around 3,500m. This is where the route starts rewarding you. You’ll get your first major views of the Shira Plateau and Kibo Volcano as you rise.
The trek from Mti Mkubwa Camp to Shira 1 Camp (3,505m) takes about 5–6 hours. That timing is important: you want to see your elevation increase without feeling like you’re sprinting your lungs uphill. When you reach Shira 1, you lunch, rest in your tent, and take the opportunity to let your body settle.
I like how this day is described as “quite easy” compared with later sections. It’s the kind of day where you can do the quiet work: sip water, breathe steadily, and get your legs used to the rhythm. If you rush this day, later days become harder than they need to be.
Day 3: Shira 2 (3,900m), Lava Tower acclimatization, and Meru spotting
Day 3 shifts the scenery and raises the altitude again. You head from Shira 1 Camp (3,505m) to Shira 2 Camp (3,900m) with a light trek and spectacular views. One of the standout notes here is that Shira 2 Camp is said to be the best place on the trip to see Mount Meru (Africa’s fifth peak), weather permitting.
When you arrive, you lunch and take a break. Then you do a short acclimatization hike for about two hours to the Lava Tower Camp area, with an elevation gain of roughly 300 meters.
This is a smart pattern. You’re not just climbing higher because the calendar says so. You’re doing altitude “practice” while still spending the day’s main time resting at camp afterward. For me, that’s the difference between feeling like you’re climbing versus feeling like you’re surviving.
Downside to keep in mind: the better the views, the more you’ll want to stop, stare, and take photos. Do it—but don’t forget that you still need to keep your effort level calm.
Day 4: Lava Tower (4,630m) to Barranco Camp (3,960m)
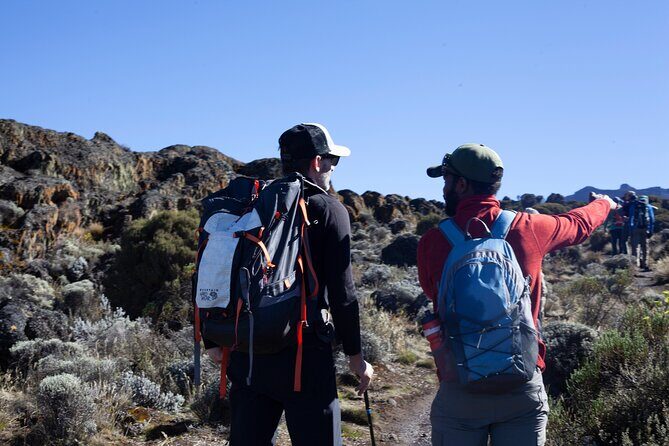
Day 4 is the key altitude shakeout. You move from Shira 2 to Lava Tower (4,630m), and this section includes many climbs and descents. It’s not just “up and up.” It’s a push-pull day, and the itinerary warns you may feel uncomfortable. That discomfort is usually your body responding to altitude changes, not a sign you should stop.
A practical way to think about this day: Lava Tower is where you prove you can acclimatize actively. The route expects you to spend at least 1–2 hours here, then you have lunch at this point.
After that, you descend to Barranco Camp (3,960m). The fun part is you’ll get a look at the famous Barranco wall. You’re not climbing it today, but you’ll see what’s coming.
Why you’ll appreciate this structure:
- You get a higher-altitude anchor (Lava Tower) then come down.
- You learn your “push limits” before summit night.
- You’re building confidence for the classic Barranco challenge later.
The consideration: after a day like this, your legs can feel heavy. Keep your pace steady and don’t treat Day 4 as a sprint. Your goal is altitude adaptation, not bragging speed.
Day 5: Barranco Wall timing, then Karanga (and another acclimatization loop)
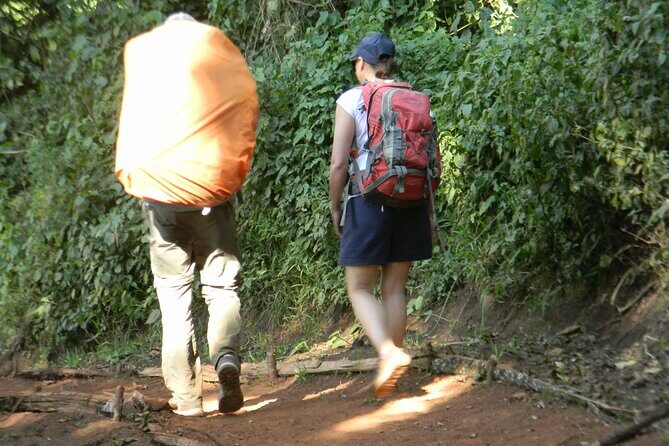
Day 5 starts with the Muro del Barranco climb. The advice here is very practical: leave Barranco Camp as soon as possible to avoid the crowd of other groups. The climb itself isn’t described as difficult and takes about an hour, so it’s more about the steep, iconic canyon-wall feeling than technical difficulty.
After the wall, you get photos with Kibo Volcano in the background. Then you hike to Karanga Camp, with many ups and downs. This is a real hiking-feeling day, not a flat walk.
When you arrive, you have hot lunch and rest. Then you do an acclimatization hike to Barafu camp with an elevation gain of about 200 meters, and then you return to your camp.
That “up a bit, then down” style is one of the itinerary’s best tools. It keeps the body working without forcing you into the summit-night intensity too early. If you’re the type who wants a clear plan for acclimatization (rather than hoping for the best), you’ll like how this schedule repeats the pattern.
Day 6: Barafu Summit Camp (4,640m) and the Kosovo intermediate camp reset
Day 6 is all about preparing for the summit night. You head to Barafu Summit Camp (4,640m), and that camp becomes your launching point for the climb toward Uhuru Peak (5,895m).
The tour notes that your team sets up camp in advance, including tents and sleeping bags. That’s not just comfort—it reduces decision fatigue. When your sleep system is handled, you can focus on warmth, hydration, and calm.
After you recover, you do an acclimatization trek to Kosovo Summit Intermediate Camp (4,800m), then return to Barafu for a hot dinner. The itinerary suggests you rest and sleep before reaching the summit push.
I really like the logic here. Summit night is not when you want to improvise your energy or your gear decisions. This day is your reset button.
One consideration: even when the trek is shorter, the altitude can make sleep feel weird. Bring the mindset that rest is still “training,” even if you don’t sleep perfectly.
Day 7: Uhuru Peak at night (and the guide support that matters)
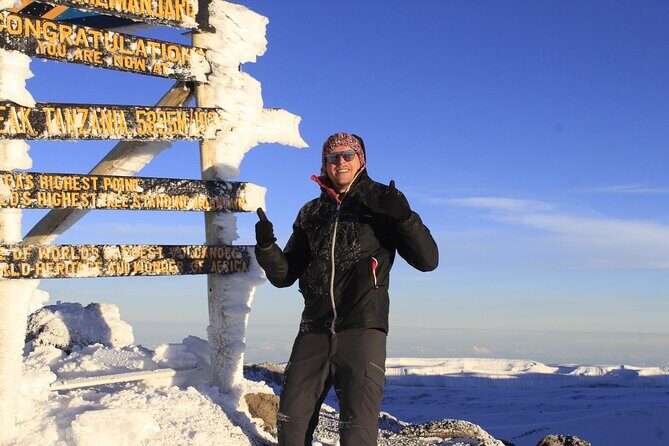
Day 7 starts at night from Barafu Camp and aims for Uhuru Peak (5,895m). Technically the ascent is described as relatively easy, but the itinerary is clear that the hardest part is the high altitude. That’s the real story. Feet may be simple. Breathing is the boss fight.
Here’s a standout detail: each pair of climbers receives a personal guide for the entire climb, monitoring physical and mental condition. When you’re that high up, having someone watching your pacing and attitude can be a huge morale boost. It also helps keep you from rushing the early hours when adrenaline is tempting.
After you reach Uhuru Peak and complete the ascent, you can descend to the nearest glacier if you wish. Then you return to Barafu Camp, rest for about two hours, and continue descending to Millennium Camp (3,820m).
That post-summit descent matters. People underestimate how much the body needs time to decompress. Millennium Camp is a much lower altitude than summit height, and that difference usually feels like a reward you can physically notice.
Day 8: Mweka Gate (1,650m), rainforest relief, and certificates
Day 8 is the payoff and the letdown at the same time. The campsite is in a tropical rainforest, so you wake up feeling the relief of lower altitude. After a hot breakfast, you hike to the park exit: Mweka Gate (1,650m).
Once you descend, the whole group gathers to congratulate you, and there’s a chance to share your thoughts in the guest book. Then the operator delivers commemorative certificates in their office, and you get a return transfer to your hotel.
This final day is not the hardest part physically, but it can be emotionally intense. I like this ending because it gives you closure. You’re not just dropped at the gate and sent off. You get a little ceremony, a certificate, and a proper return to normal life.
What you’re really paying for: guides, meals, transfers, and camps
At $1,090 per person, you’re not just buying access to a mountain trail. You’re buying a lot of moving parts that would otherwise eat your time and energy.
From the tour inclusions:
- Professional experienced guide
- Private transfer to the area of activities (pickup is offered in Moshi)
- Breakfasts (7), lunches (8), and dinners (7)
- A mix of admission ticket inclusions noted across days
- Camp logistics for the summit night base, including tents and sleeping bags set up by the team
- The tour ends back at the meeting point
Value-wise, the best part is the “structure” cost. Meals and camp setup reduce daily hassles. That matters because on Kilimanjaro, the hardest problems are often simple: not enough water, poor timing, cold feet, and exhaustion. This package tries to prevent those from becoming the main story.
Also, the trip is described as private, meaning only your group participates. That can mean a more controlled pace and fewer mixed interests than a big public trek.
The parts to double-check: park fees, tipping, and personal gear
Two money items need a careful look. First, the tour lists Mount Kilimanjaro park fees as not included, saying they can be paid direct to the park or via the tour operator. Second, the itinerary also indicates admission tickets included on multiple trekking days. If you’re budgeting, ask the operator which portion you’re responsible for before you travel, so there are no surprises at the gate.
Next, tipping the guide is listed as not included. In mountain guiding, tips are a real part of how guides are compensated beyond the tour rate. If you love the job someone does—especially during summit night—plan to tip.
Finally, personal hiking gear is not included. The itinerary strongly signals weather needs on early rainforest days, and summit night brings cold. So you’ll want to show up with the basics: footwear you trust, warm layers, and waterproof protection. If you’re missing core gear, you’ll feel it fast.
Who this Lemosho climb fits best (and who should think twice)
This tour is described as suitable for most travelers, which is a broad claim. In practice, you should be realistic about what you’re signing up for: an 8-day climb that includes a night ascent to Uhuru Peak and multiple altitude stages designed for acclimatization.
You’ll likely love it if:
- You want guided pacing and a clear acclimatization schedule
- You prefer a structured day-by-day plan over open-ended adventure
- You like the iconic Barranco Wall moment and the Kibo views
- You want a tour that takes camp and meals seriously
You should think twice if:
- You’re not comfortable with altitude risk and the physical demand of a summit push
- You don’t want to be away from comfortable conditions for nearly a week
- Rainy conditions early in the route would stress you out (because they can be wet)
If your top priority is a casual stroll, this isn’t that. If your goal is a real Kilimanjaro summit attempt with support, this format makes sense.
Pair it with real Tanzania time: coffee and culture beyond the mountain
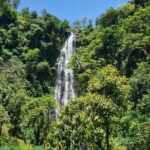
Kilimanjaro is only part of the Tanzania story. Some of the operator’s other activities (like a Materuni waterfall day trip) show up in past feedback for being people-friendly, culture-focused, and heavy on moments like meeting villagers and enjoying local coffee. That’s a nice way to balance the physical grind of the mountain with warmer, easier local days.
I wouldn’t assume that’s included with this climb. But if you’re already in the Moshi area before or after your climb, it’s worth asking whether a local day trip fits your schedule.
Should you book this 8-day Lemosho Kilimanjaro climb?
Book it if you want a classic Lemosho approach with staged acclimatization, day-by-day guidance, and a summit-night plan that includes a personal guide for each pair. The itinerary focuses on learning your body, resting at the right times, and tackling Uhuru Peak with support instead of guesswork.
Skip or reconsider if your budget is so tight that you can’t cover additional park fees, or if you’re not prepared for the real weather/altitude side of Kilimanjaro. This is a tour that helps you manage the journey, but it can’t remove the mountain’s toughest reality: your altitude response controls the outcome.
If you go in with patience—especially on the early rainforest day and during the acclimatization loops—you’re setting yourself up for a smoother, more confident climb.
FAQ
Where does this Kilimanjaro tour start and what time?
It starts in the Moshi area with a start time of 8:30 am. The tour ends back at the meeting point, and there is a return transfer to your hotel after you finish.
How long is the climb?
The duration is listed as 8 days (approximately).
Which route and key gates does it use?
It’s via the Lemosho Route. The climb starts from Londorossi Gate (2,200m) and the exit is via Mweka Gate (1,650m).
What camps and major points are included along the way?
You’ll reach camps such as Mti Mkubwa, Shira 1, Shira 2, Lava Tower area, Barranco, Karanga, Barafu Summit Camp, Kosovo intermediate camp, Uhuru Peak, Millennium Camp, and then finish at Mweka Gate.
Are meals included?
Yes. Breakfast is included 7 times, lunch is included 8 times, and dinner is included 7 times.
Are park fees included in the price?
Park fees are listed as not included. The tour notes they can be paid direct to the park or via the tour operator.
Do I need my own hiking gear?
Yes, personal hiking gear is not included.
Do you include transfers and pick-up in Moshi?
Pickup is offered, and there is a private transfer to the area of activities. On Day 1, you’re driven about 3–4 hours to the park entrance.
Is tipping included?
No, tipping the guide is listed as not included.
FAQ
What’s the cancellation policy?
There is free cancellation. You can cancel up to 24 hours in advance of the experience for a full refund, and changes made less than 24 hours before the start time aren’t accepted.
What if the climb is affected by weather?
This experience requires good weather. If it’s canceled due to poor weather, you’ll be offered a different date or a full refund.
Is it a private tour or shared group?
It’s listed as a private tour/activity, meaning only your group participates. Confirmation is received at the time of booking.