REVIEW · MOSHI
Kilimanjaro Lemosho Route 8 Days
Book on Viator →Operated by Jaribu Africa Adventures · Bookable on Viator
First time you see Kilimanjaro, you start planning your next day. The Lemosho Route is a great choice because it’s built around gradual altitude gain and the rhythm of “high hike, low sleep,” which can make acclimatization feel more sane. I also like the way Jaribu Africa Adventures packs real support into the climb, from frequent monitoring to practical camp comforts that help you recover each night.
One thing to consider: this is still a serious high-altitude trek. Day 6 includes a long, early summit push with a snow-covered final ascent zone, so you’ll want to train and take the plan’s slow pace seriously.
In This Review
- Key Highlights Worth Knowing
- Why the Lemosho Route Is So Often Chosen for Acclimatization
- What the $3,000 Price Covers (and Why That’s the Point at 5,000m+)
- Moshi Pickup, Arusha Transfers, and the Start-to-Finish Flow
- Day 1: Londorossi Gate Registration to Lemosho Glades
- Day 2: Pole Pole Ascending Through Montane Forest and Moorland to Shira Plateau
- Day 3: From Heather and Ridgelines Into Alpine Desert Toward Shark’s Tooth
- Day 4: Lava Tower Lunch and Optional Rock Scramble, Then Down Into Great Barranco
- Day 5: The Great Barranco Wall Rock Climb Toward Heim Glacier Views
- Day 6: Summit Push From Barafu/Kibo Area to Stella Point and Uhuru Peak
- Day 7: Uhuru Comes Down Fast—Mweka Rain Forest Descent to Certificates
- The Camping and Food Setup That Makes the Difference Day to Day
- Who This Trek Fits Best (and Who Should Rethink)
- Should You Book Jaribu Africa Adventures on the Lemosho Route?
- FAQ
- How long is the Kilimanjaro Lemosho route with this program?
- Is pickup in Moshi included?
- What parts of the cost are included in the $3,000 price?
- Is medical support included during the climb?
- Do you get summit certificates?
- What happens if weather forces a change or cancellation?
Key Highlights Worth Knowing
- High-and-low acclimatization rhythm: daytime altitude gains with camps chosen to help your body adjust.
- Safety tools included: oxygen, a Gamow bag, pulse oximeter, and emergency planning with AMREF flying doctors.
- Comfort isn’t just marketing: hot washing water, warm towels, a mess tent setup, and a private flush toilet tented on the mountain.
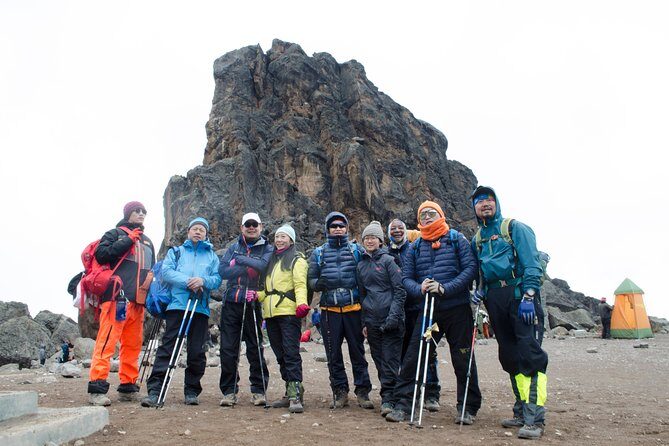
- Big scenic payoff days: Lava Tower panoramas, the Barranco scramble, and summit views from Stella Point and Uhuru.
- Porter ethics built into the system: duffel bags are weighed at registration to keep loads within the 20kg limit.
- Supportive guide teams: when your guide team includes people like Manase, Ayumwe, Stephen, or Joseph, the vibe tends to be calm, focused, and mountain-smart.
Why the Lemosho Route Is So Often Chosen for Acclimatization
Kilimanjaro altitude works on your body, not your willpower. The Lemosho approach spreads out your exposure to higher elevations and gives you time to adapt, which is exactly what you want when the goal is Uhuru Peak without rushing the climb.
A big reason this route is appealing is that it aims for that high hike, low sleep rhythm. Even when you’re moving higher each day, the plan is shaped so you’re not constantly sleeping at the highest point you reach. That difference matters because it’s the nights that usually teach your body the most about altitude.
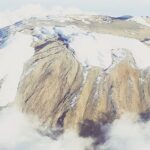
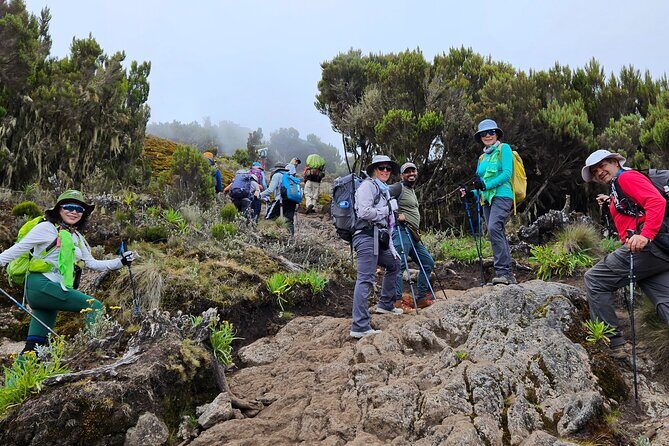
The route also takes you through distinct climate zones as you climb: montane forest, moorland, then alpine desert. You feel it in your air, your pace, and your gear needs. Over time, you go from green and humid walking to stark high-desert terrain where everything slows down and every step has a purpose.
You can also read our reviews of more tours and experiences in Moshi.
What the $3,000 Price Covers (and Why That’s the Point at 5,000m+)
Three thousand dollars sounds like a lot until you look at what’s actually included. On Kilimanjaro, you’re not just buying a guide and a permit. You’re paying for a small mobile operation that runs on logistics, medical preparedness, food, and trained staff.
This package includes:
- Two nights in B&B at either Ameg Lodge or Salinero Hotels
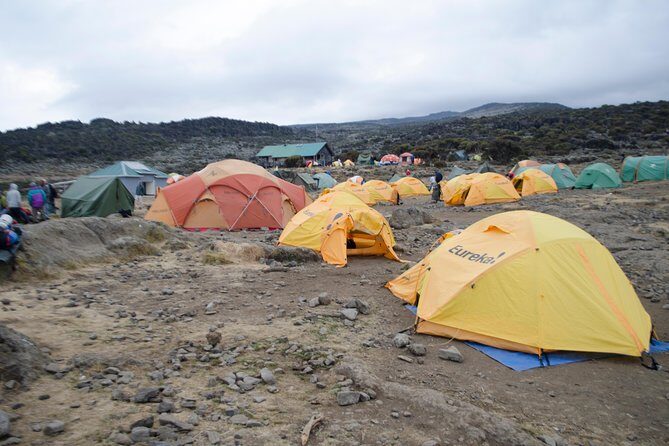
- Tents (with 2 clients per tent), sleeping mattresses, and camp infrastructure like a wash tent and a mess tent
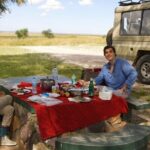
- Meals every day on the mountain (breakfast, lunch, dinner) and even wine and champagne at the summit
- Communications (2-way radio, mobile phone) and medical readiness (medical kit, vital sign monitoring, emergency oxygen, and AMREF Flying Doctors for evacuation needs)
- The big cost items: Kilimanjaro National Park entrance, camping/hut and rescue fees, plus VAT on park entrance fees
The value here is that you’re not trying to DIY safety. You also aren’t paying extra for the core mountain infrastructure. That’s important because on summit day, “thinking ahead” is the whole game—water, warm food, monitoring, and fast decisions are what keep the climb manageable.
Moshi Pickup, Arusha Transfers, and the Start-to-Finish Flow
If you’re staying around Moshi, pickup is offered. The program also includes airport transfers and returns you to Arusha after the final descent, so you’re not scrambling to coordinate timing at the end when your legs are already cooked.
On Day 1, you drive to the mountain via 4WD to Londorossi Gate. You meet your guide and crew there and get the formal park process handled for you. There’s also a load check: your duffle bags are weighed so porters don’t exceed the mandatory 20kg limit. That’s both good for safety and good for fairness.
You’ll notice a pattern throughout the climb: you’re kept moving, but not hurried. The “pole pole” slow pace isn’t just a slogan. It becomes your daily meter for success.
Day 1: Londorossi Gate Registration to Lemosho Glades
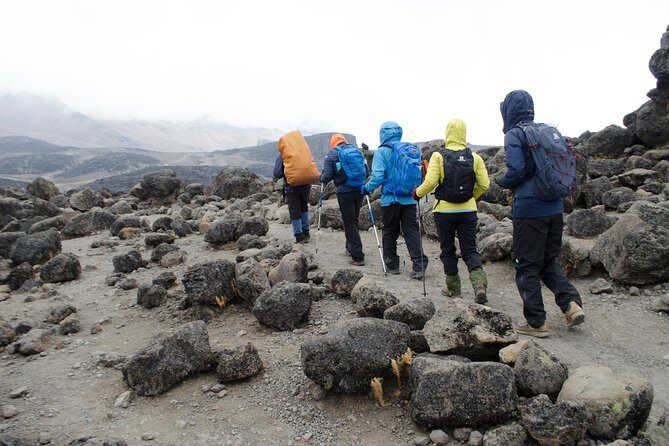
Day 1 is a mix of paperwork, altitude introduction, and the first real feel of the mountain. After breakfast, you travel to Londorossi Gate, meet your mountain crew, and get registered. If weather affects lunch at the gate, the plan adjusts, which is a practical touch you’ll appreciate on the mountain.
Once the formalities are done, you drive about 11km along narrow dirt roads through pine plantations, slowly climbing toward Lemosho Glades. Then you start trekking. This is the day to settle into your routine: steady breathing, small steps, and keeping your energy for what comes later.
It’s also your first moment to understand the weight of your own decisions. You’ll want to keep your pack organized and manageable from the start, because once you reach the higher zones, everything becomes harder to fix.
Day 2: Pole Pole Ascending Through Montane Forest and Moorland to Shira Plateau
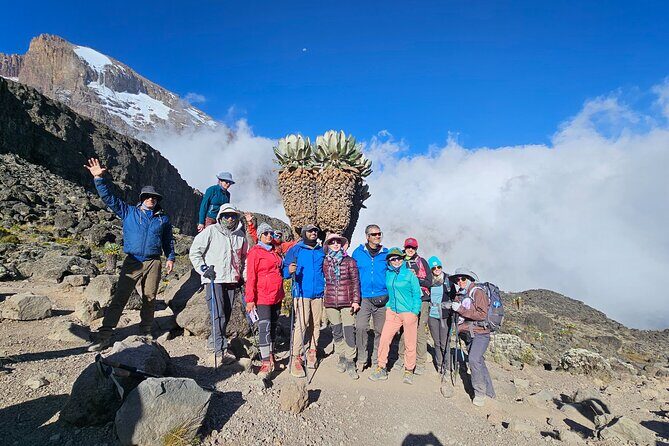
Day 2 is one of those “long but thoughtful” days. You’ll hike roughly 12km over about 7 hours, moving from around 2,780m up to about 3,511m. The environment shifts from montane forest into moorland, and the air feels different with each step.
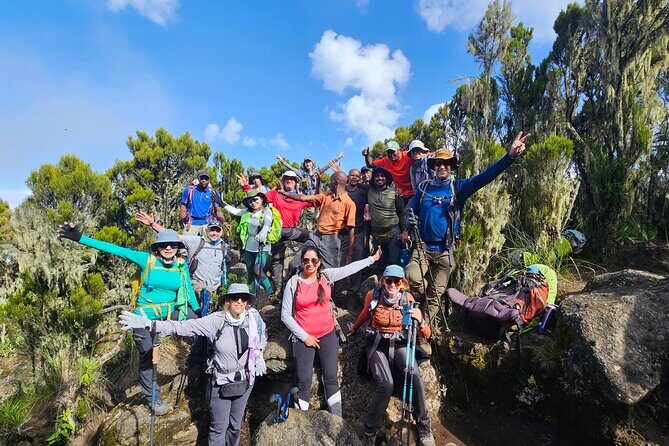
What I like about this day is how the route gives you something besides just altitude to focus on. You pass through plant-rich zones with names that sound like they belong in a science book: giant heather, erica, giant levelia, and giant groundsel (senecio kilimanjari). It’s a helpful mental trick. When you’re not just watching your shoes, the climb feels less like a suffering contest.
Your pace is key here. The plan is not about speed. It’s about letting your body handle altitude gain without spikes. If you take that slow approach seriously on Day 2, the next days usually feel more doable.
Day 3: From Heather and Ridgelines Into Alpine Desert Toward Shark’s Tooth
By Day 3 you’re into thinner air and harder scenery. You start around 3,511m and reach about 4,175m over roughly 9km. The path moves through heather and then into a high-altitude desert feel, with sparse vegetation and a more dramatic, dry atmosphere.
One landmark you’ll head toward is Shark’s Tooth, and you’ll walk up ridges into valleys before climbing to camp. This is the kind of day where acclimatization matters because you’re spending more time higher and the terrain is less forgiving.
The reward is that stark “high desert” zone where only hardy plants survive. You’ll see everlastings and small senecios, and you’re approaching big volcanic features like the Lent Group—massive volcanic dykes. In plain terms: the mountain starts to feel like a different world, and your body has to keep up.
Day 4: Lava Tower Lunch and Optional Rock Scramble, Then Down Into Great Barranco
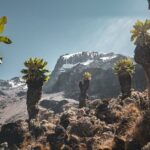
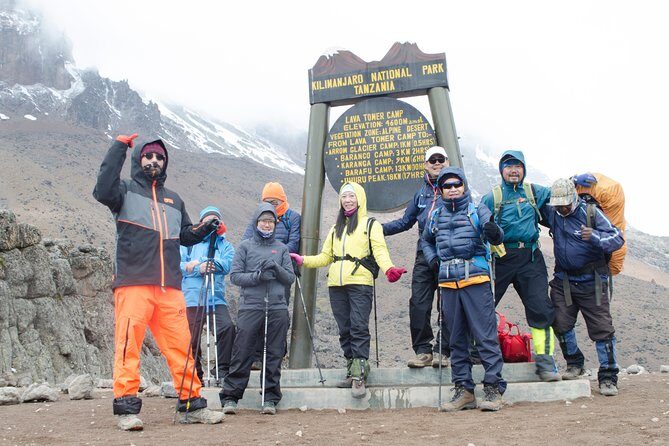
Day 4 mixes a sharp scenic hit with a steep descent. You’ll drop to Lava Tower around 4,530m for lunch after descending a rocky scree path. If you feel up to it, there’s an optional non-technical rock scramble to the top, and the payoff is serious: panoramic views over the Karanga Valley, the Shira Plateau, and the Western Breach area.
Then comes the part that makes many hikers smile and groan: descending into the Great Barranco Valley. The plan includes a steep drop of more than 600m into the valley. This descent is more than moving downhill. It’s also a test of balance and leg control, especially if your feet get wet or cold.
Photo opportunities here are real, but your priority should be footing. This is one of those days where you can easily go a bit too fast if you’re excited by the views.
Day 5: The Great Barranco Wall Rock Climb Toward Heim Glacier Views
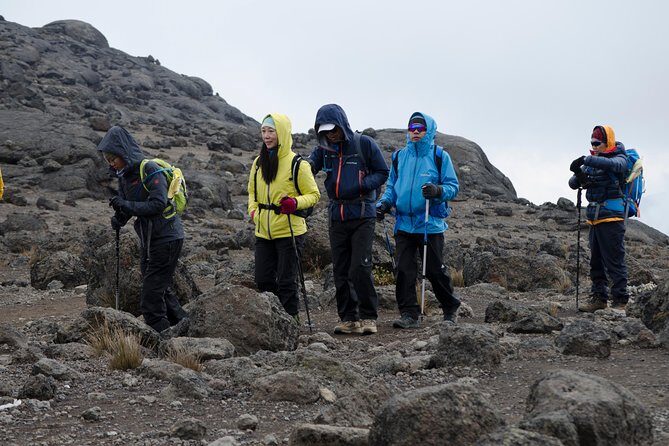
Day 5 is where the climb starts to feel more like mountaineering than just hiking, without going fully technical. You’ll work up the imposing face of the Great Barranco Wall, climbing steadily toward just below the Heim Glacier.
If the weather behaves, you may get breathtaking views of the glacier and even Mt. Kilimanjaro depending on cloud cover. After that, the route heads down into the alpine desert of the Karanga Valley. Temperatures tend to get colder as you move through the higher, drier zone.
This day is worth mental prep. Your body will be tired from the earlier ascent days, and the terrain asks for patience. Slow steps and good spacing between hikers help your breathing and keep you from turning the wall into an endurance race.
Day 6: Summit Push From Barafu/Kibo Area to Stella Point and Uhuru Peak
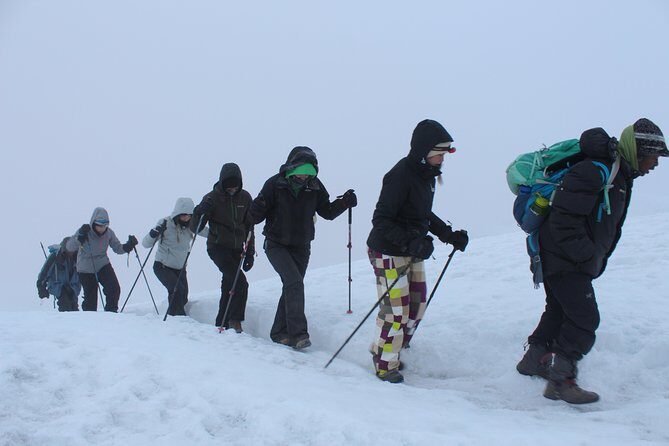
This is the day people remember for years, and it’s the day you treat like a schedule you can’t afford to mess up. You’ll rise early, leaving camp at around 12am after a warm drink and light snack. Then you hike roughly 6 hours to Stella Point (5,685m).
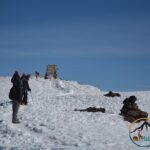
At Stella Point you rest, eat lunch, and look out over the clouds. It’s also a key mental checkpoint: you’ve reached a spot where the mountain begins to feel bigger than your body. From there, the trail is normally snow-covered, and the final ascent toward Uhuru Peak is described as challenging with the final stretch taking about two hours.
As you move upward, you pass by the Rebmann and Tarzel glaciers, reach Elveda Point (5,882m), and you can see Uhuru Peak now only minutes away. If you’re waiting for motivation, this is where it tends to click for many hikers. You’re not hoping anymore—you’re following a trail that’s leading to the top.
Given the altitude and conditions, the value of the included safety gear shows up here. Oxygen is included for emergencies, and vital sign monitoring is part of the overall plan. The Gamow bag is there for hyperbaric support if needed—again, not something you want to use, but comforting to know it exists in a serious climb.
Day 7: Uhuru Comes Down Fast—Mweka Rain Forest Descent to Certificates
Day 7 is your recovery day in spirit, but not in effort. The trail descends steeply through lush Mweka rain forest, and it can be slippery if it’s wet. You’ll follow ridges separating river valleys until you meet the road leading to Mweka Park Gates.
At the gates, you get a well-deserved picnic lunch, then summit certificates are awarded by the Kilimanjaro National Park Authority. The details matter: gold certificates are for reaching Uhuru Peak, and green certificates are for Stella Point. It’s a clean way to recognize the climb you completed, even if conditions force a change.
After celebrations, you’re taken back to your hotel in Arusha by private bus or Jeep. By now, you’re likely thinking about one thing: getting warm food, a shower, and sleep that doesn’t involve the alarm clock.
The Camping and Food Setup That Makes the Difference Day to Day
I like this operator’s approach to camp comfort because it’s not just “tents and hope.” You get:
- 3-person expedition tents with 2 clients per tent
- A shower/wash tent plus hot washing water in the morning and evening
- A portable tented private flush toilet
- Hot steamy towel at camp
- A walk-in mess tent with a lightweight aluminum table and mess setup
Then there’s the food side. The plan includes large portions of fresh, healthy nutritious food. If you’ve ever watched a friend “save snacks” for later and then get hit with altitude fatigue, you know why this matters. Eating enough at the right time helps you walk better tomorrow.
You also get a wine and champagne summit celebration. I don’t treat that as the main reason to book. I treat it as a sign that this climb wants to end with something human and joyful, not just survival.
Who This Trek Fits Best (and Who Should Rethink)
This climb is a strong match if you:
- Have moderate physical fitness and a willingness to train for a long high-altitude day, especially the summit push
- Want a route designed for gradual acclimatization rather than a rushed line to the top
- Care about medical preparedness and clear monitoring systems
- Like the idea of private-group logistics rather than sharing the climb with strangers
You might consider a different plan if you have limited time to acclimatize, low confidence with steep descents, or you know you struggle with early morning efforts. On Kilimanjaro, the mountain doesn’t negotiate.
Should You Book Jaribu Africa Adventures on the Lemosho Route?
I’d book this if your priorities are smart acclimatization, solid safety planning, and a well-run camping setup that helps you stay consistent. The included medical gear and monitoring are a big reason this feels like a grown-up operation, not just a scenic hike.
The decision comes down to one honest question: do you want to take the climb seriously and move slowly when your brain wants to rush? If yes, the Lemosho Route gives you a classic Kilimanjaro story arc—from forest to desert, then to summit—and you’ll finish with that certificate moment at Mweka Park Gates.
If you want the fastest possible approach, you’ll probably find this kind of pacing frustrating. If you want the higher chance of feeling steady, it’s a great fit.
FAQ
How long is the Kilimanjaro Lemosho route with this program?
The duration is listed as about 7 days (with an 8-day route name for the overall program structure). The day-by-day plan runs from the first gate start to the final descent and transfer after Mweka Park Gates.
Is pickup in Moshi included?
Pickup offered is listed for Moshi, and airport transfers are included as well.
What parts of the cost are included in the $3,000 price?
The package includes two nights of accommodations on a bed-and-breakfast basis (either Ameg Lodge or Salinero Hotels), national park entrance fees, camping/hut and rescue fees, meals on the mountain, guides and porters’ salaries, airport transfers, medical support equipment, and emergency measures like oxygen.
Is medical support included during the climb?
Yes. The plan includes an expedition medical kit, emergency oxygen, comprehensive vital sign monitoring, pulse oximeter use, and a Gamow bag. Medical evacuations with AMREF Flying Doctors are also included.
Do you get summit certificates?
Yes. After the descent to Mweka Park Gates, you receive summit certificates from the Kilimanjaro National Park Authority: gold for Uhuru Peak and green for Stella Point.
What happens if weather forces a change or cancellation?
The experience requires good weather. If it’s canceled due to poor weather, you’ll be offered a different date or a full refund.