REVIEW · MOSHI
7 Day Kilimanjaro Machame climb
Book on Viator →Operated by Shah Tours Travel Ltd. · Bookable on Viator
Seven days later, you’ll still taste the thin air. This 7-day Kilimanjaro Machame camping climb starts in Moshi and works up the mountain with classic acclimatization and a real moment of scrambling at Barranco Wall. It’s a non-technical route, but it still feels like mountain climbing because of how the trail is paced and where it asks you to use your hands.
What I like most is the combination of route design plus real safety habits. You get structured altitude-building days, then you summit at night with guides who keep checking how you’re doing, including twice-daily health checks using an oximeter and access to emergency oxygen if needed. I also really like that the trek runs with a full crew setup—camp tents, cooks, and meals—so you can focus on walking, not logistics.
One consideration: Kilimanjaro is still altitude hard. Even on a “non-technical” itinerary, you’re dealing with cold nights, loose scree on summit morning, and long hiking days—so this isn’t the one to pick if you have lung issues or any known altitude medical risk.
In This Review
- Key highlights you’ll care about
- Why Machame Is the Whisky Route for Good Reasons
- Moshi Start and Machame Gate: Rain Forest Day One
- Day Two’s Picnic Rock Views and the Art of Not Rushing
- Day Three: Lava Tower at 4,630m and a Descent That Teaches Control
- Day Four Barranco Wall: One Scramble, Big Confidence Boost
- Day Five: Alpine Desert Walking and Summit Camp Setup
- Day Six Summit Night: Zig-Zags, Stella Point, and Uhuru Peak
- Day Seven Down to Mweka Gate: The Relief Walk You Earn
- Guides, Porters, and Safety Checks That Feel Real
- Camp Comfort, Meals, and the Water Rules You Must Follow
- What You’re Paying For: Value in a $2,580 Machame Package
- Who This Machame Climb Is Best For
- Should You Book This 7-Day Machame Climb?
- FAQ
- What type of route is this on Kilimanjaro?
- Where does the climb start and where does it end?
- What time does the trek begin on the first day?
- Is pickup included?
- Is emergency oxygen included?
- What meals and drinking water are included?
- What should I budget for that is not included in the price?
Key highlights you’ll care about
- Barranco Wall scramble that feels like real climbing, without ropes or special gear
- Acclimatization built into the Machame pattern (Picnic Rock, Lava Tower, then a smart descent)
- Safety systems: emergency oxygen cylinder per 5 passengers and first aid kit, plus twice-daily health checks
- Full-board mountain support: trained cooks, waiter service, and camp tent crew
- Guide teams named in real-world climbs including Calvin Shayo, Baraka, Vincent, John, Musa, Augustin, Isaac, Acasio, Matej, and Denis
Why Machame Is the Whisky Route for Good Reasons
The Machame route is one of the most popular ways up Kilimanjaro—and people often call it the whisky route. The nickname fits because it’s known for being tough but rewarding: you work steadily upward through distinct altitude zones, and your days aren’t long and flat just to get you there.
What matters for your decision is that Machame isn’t only about bragging rights. It’s designed to help you adjust to altitude by giving you high points to reach, then dropping you back down before the next push. That rhythm helps your body learn how to cope with thinner air, which is the whole game on Kilimanjaro.
Also, Machame delivers variety. You move from rain forest to moorland and heather, then into the alpine desert. That change in terrain keeps you mentally engaged—plus it’s great training for the summit night, which is mostly about endurance and keeping your pace controlled.
A few more Moshi tours and experiences worth a look
Moshi Start and Machame Gate: Rain Forest Day One
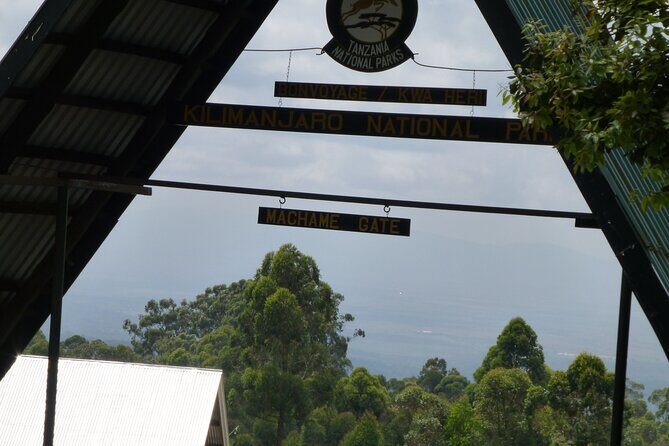
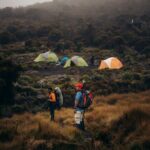
Day one begins with a road transfer from Moshi around 9:00am to Machame gate, then registration with the guide before you start walking. You’re thrown into the thick rain forest right away, where the path can be slippery if the afternoon rain shows up. That’s normal here, so it’s a good day to practice your footing early—slow steps beat heroic steps.
This is a classic “warming up” day, but don’t confuse that with easy. It’s still a steep hike for the first part, pushing you out of the forest and into the heather zone by the day’s end. You’re not chasing views yet; you’re chasing rhythm and circulation.
What you’ll love if you’re doing this for the full experience: the forest feel is immersive in the most practical way. You’re surrounded by living variety, and your brain stays busy tracking trail cues and footing. It also sets expectations: Kilimanjaro isn’t a single climate. It’s a sequence of them.
Day Two’s Picnic Rock Views and the Art of Not Rushing
Day two starts higher in the heather and moorland zone and climbs a steep ridge toward Picnic Rock. From that semi-circular cliff, you can get excellent views on a clear day—especially of Kibo Peak, the big cone you’re aiming for when you go for Uhuru Peak.
You may also see jagged peaks of the Shira Plateau to the west. Seeing those features early gives you a map in your head, and that helps on summit night when everything feels like a blur. It’s also a reminder that Kilimanjaro is more than one peak—it’s a whole volcanic system.
The rest of the day is more gentle and flatter, ending at camp with views that can be just as dramatic. That pacing shift is intentional. You’re learning how to climb without burning your oxygen too fast.
A small caution: Picnic Rock is motivating, so it’s tempting to rush toward it. Don’t. Keep your pace steady and let the altitude do its work slowly.
Day Three: Lava Tower at 4,630m and a Descent That Teaches Control
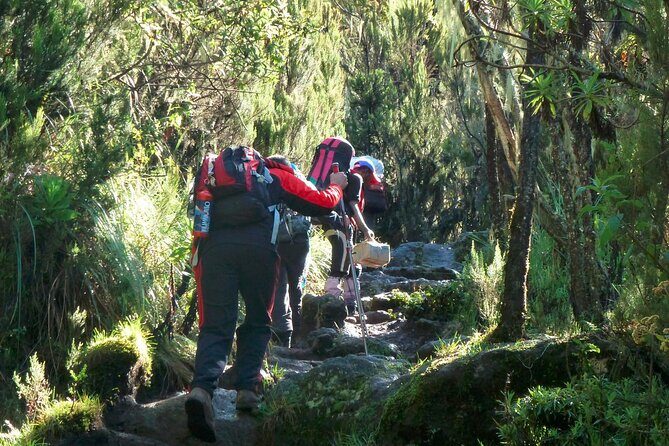
Day three pushes you toward the Kibo cone and your first major high point: the Lava Tower at 4,630m (about 15,190ft). Even if it feels like a steady climb, you’ll notice the air is thinner. This is a day built for acclimatization—you climb to a high marker, then you don’t waste that work by staying too high too long.
After the Lava Tower, you descend in an anti-clockwise direction around Kibo and into the Barranco Valley. Along the way, you pass distinctive flowering mountain cacti (often called Kilimanjaro senecios). It’s a neat botanical detail, but more importantly it breaks up the monotony of rocks and dust.
You end the day around the edge of the heather and moorland zones again. That descent is key because it helps your body recover from the altitude spike before the next step up.
If you’re prone to over-efforting early in hikes, pay attention here. Day three punishes “fast feelings.” Slow and steady is the safest strategy.
Day Four Barranco Wall: One Scramble, Big Confidence Boost
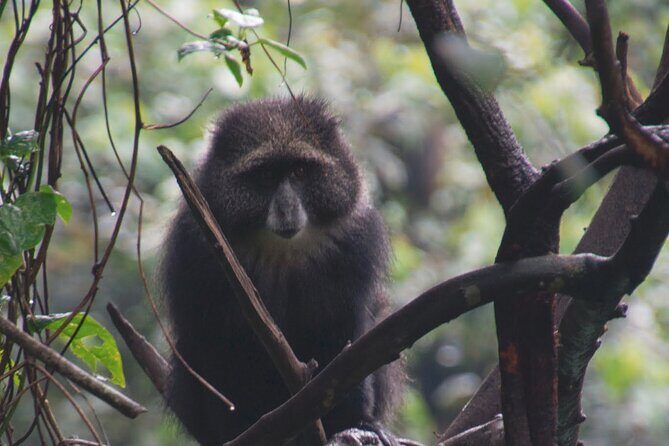
This is the day people remember. You leave camp and ascend the Barranco wall—an impressive non-technical scramble that uses your hands and legs. You don’t need ropes, harnesses, or advanced gear, but you do need comfort with moving carefully over uneven terrain.
That “hands-on” section is what gives Machame the mountain-climbing feeling. It’s not a summit, but it’s a confidence builder because you realize you’re capable—even when you’re working at altitude and using technique, not speed.
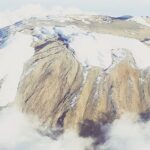
At the top, the views look back into the camp and toward the Heim glacier on the peak. The point isn’t just photos. This moment makes you understand where you are on the mountain and why the next days are structured the way they are.
After Barranco, the hike winds through the alpine desert around the mountain into the Karanga valley, which is your last water point. Expect a mix of descents and climbs, with steady movement. Then you drop down into camp.
One practical tip: treat your grip like a tool. Use hands when the trail asks for it, but don’t grip so hard that your shoulders gas out.
Day Five: Alpine Desert Walking and Summit Camp Setup
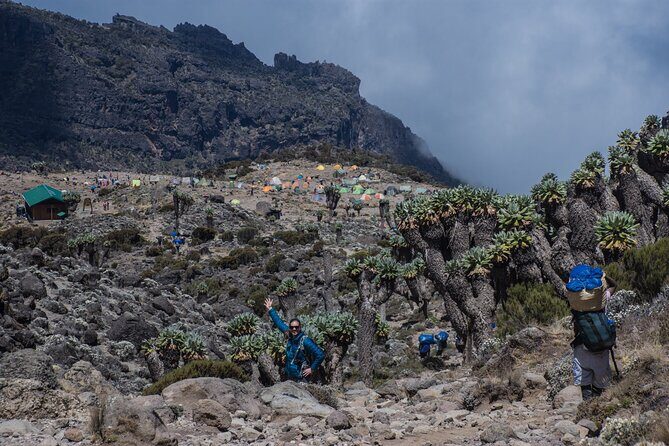
Day five keeps you moving through the alpine desert with a pace that feels almost casual compared to the climbing days, even if it isn’t completely flat. You still keep a slow rhythm because you’re getting closer to the higher zones.
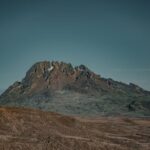
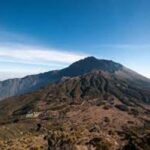
As you walk, you may catch a glimpse of Mawenzi peak in the east. That sight can be striking because it gives Kilimanjaro depth—two major forms in one skyline. It’s also a mental checkpoint: you’re nearing the summit area.
The distance is short enough that you have time at your summit camp to rest and prepare for the summit attempt that night. This is a crucial day for sleep quality and routine. In real terms, this is where you decide if you’re coming into the summit push with a clear head or with scattered energy.
If you’re unsure about pacing, use day five to practice: breathe steadily, drink your allowed water, and avoid any sudden surges just because the terrain feels manageable.
Day Six Summit Night: Zig-Zags, Stella Point, and Uhuru Peak
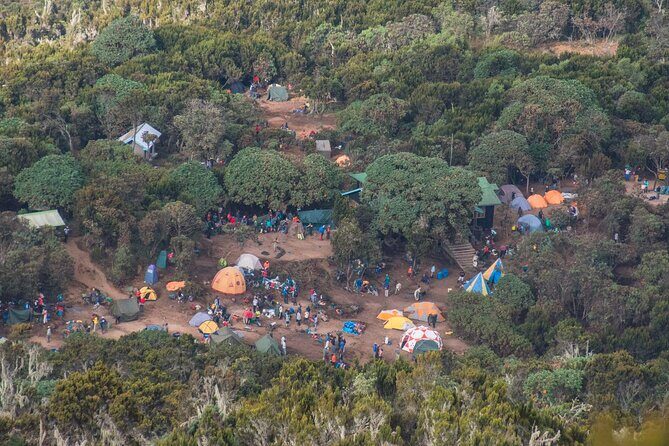
Day six starts around midnight, with the final ascent to Uhuru Peak. This is where Machame goes from trekking to full-on climbing effort. You hike through the arctic zone over loose volcanic scree in the dark and cold.
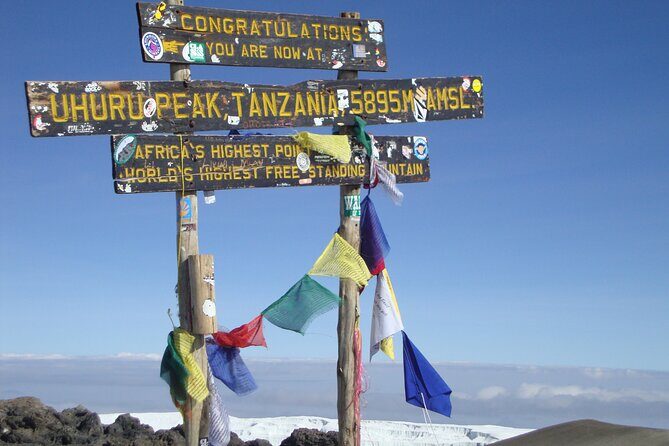
You’ll move slowly in zig-zags toward Stella point at 5,685m (about 18,650ft). That’s your first stop on the Kibo crater rim. From there, the hike to Uhuru Peak (5,895m / 19,341ft) is short on distance but difficult on effort.
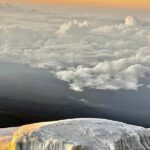
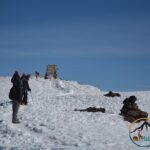
The summit is the highest point in Africa. Most people don’t linger much once they reach it because altitude and cold take over your comfort. Then you descend back down to base camp for breakfast or brunch, pack up gear, and continue descending through the alpine desert.
A reality check that helps: the summit doesn’t feel like a straight line victory. It feels like a controlled grind. You win by staying patient on the zig-zags and trusting your guide’s pacing.
Day Seven Down to Mweka Gate: The Relief Walk You Earn
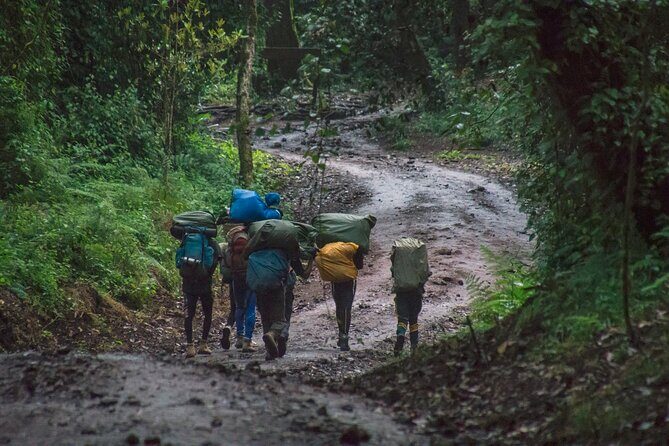
On the final day, you descend through the southern rain forest until Mweka gate. This is the part where your body starts saying thank you in its own language: less altitude strain, more familiar trekking motion, and the satisfying idea that you’re done with the hard climb zones.
Your vehicle is waiting at the end gate to take you back to Moshi and your drop-off location. Many groups get a clean goodbye moment with the crew, and it’s often emotional in a quiet way because you’ve spent days depending on them.
If you want value from the last day, don’t treat it like an afterthought. Descents can still be demanding on knees and feet, and rain forest trails can be slippery. Move carefully, take your time, and let your legs finish strong.
Guides, Porters, and Safety Checks That Feel Real
This tour is built around trained, certified English-speaking mountain guides with KINAPA minimum ratios. The fact that real guide names keep showing up in success stories matters, because it suggests consistency: people get led by professionals, not random crew.
You’ll also benefit from a crew approach. There are porters (including a luggage porter carrying up to 15kg per person of personal luggage) and a tent crew that services and sets camps. Trained cooks and a waiter run meals so you’re not rationing energy to figure out camp logistics.
Safety isn’t just a word here. You get an emergency oxygen cylinder per 5 passengers and a first aid kit, plus twice-daily health checks with a high-grade medical oximeter. That means your team isn’t waiting for a disaster; they’re monitoring changes that could signal trouble.
There’s also the porter welfare piece. The operator is described as a KPAP operator in feedback, which ties to porter welfare and work conditions. In a place where porters and guides are the backbone of your experience, that’s not a small detail.
From a practical standpoint: your guide should be your benchmark for pace. If you feel off, tell them early. You’ll be surprised how fast small adjustments can help.
Camp Comfort, Meals, and the Water Rules You Must Follow
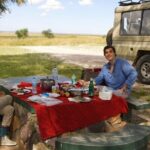
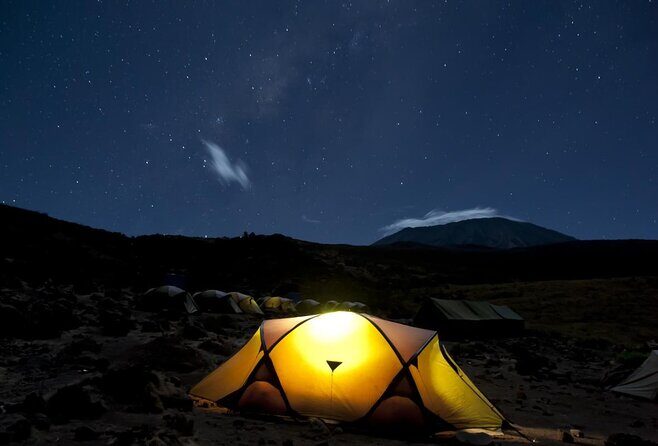
This itinerary is camping, not hut trekking. That means you’ll sleep in mountain tents with a basic foam sleeping mattress and a tent setup designed for the conditions. Camps include chairs, tables, and a dining tent with crew assistance.
Camps also provide hand washing stations and a small personal wash basin, plus shared public toilet facilities. It’s not luxury, but it makes a real difference when you’re tired and trying to reset.
Food is included throughout: breakfast, lunch, and dinner on mountain days. You also get eating utensils, cutlery, bowls, and cups. That’s one less thing you’ll worry about in the high-altitude cold.
Water follows specific rules. Boiled drinking water is available from the first camp onwards, and you should plan for no water on the first day of trekking. Also, hard plastic and metal bottles aren’t permitted, and soft plastics are not allowed on the mountain. That means you’ll want to bring a container type that fits the trekking rules, not just whatever bottle you already own.
The takeaway: prep your water system before you arrive in Moshi. It’s one of those small things that can save you stress later.
What You’re Paying For: Value in a $2,580 Machame Package
At $2,580 per person, this is not a bargain-basement climb, but it’s also not “pay for nothing” pricing. The big value is that a lot of the heavy lifting is included.
You’re covered for park entry, conservation fees, camping fees, and rescue fees as applicable. That includes the permit world you can’t easily replicate on your own. You also get transfers from Moshi (to park gates and back), luggage storage while on trek, and the complete mountain camp setup: tents, cook, wait staff, and meals.
You also get practical extras that matter at altitude: emergency oxygen, first aid kit, twice-daily health checks, and an oximeter.
What’s not included is also important for planning. Tips or gratuities are not included, and insurance isn’t included. Beverages like soft drinks and alcohol aren’t included either. Personal equipment like sleeping bags and walking poles isn’t listed as included, so you’ll need to plan your gear based on the operator’s packing guidance.
If you want to budget the extras that can change cost: optional comfort upgrades exist, like a portable toilet (priced per day up to a set number of people) or a foldable bed (priced per bed per day). Extra single tents can be added for an additional per-day fee.
My practical advice: treat the base price as “mostly the mountain,” then budget separately for tips, insurance, and any gear you still need.
Who This Machame Climb Is Best For
This tour fits best if you’re physically fit and want a classic Kilimanjaro route that’s non-technical but still gives you a true climbing moment at Barranco Wall. It’s a good choice if you like structure—days with clear altitude goals, planned descents, and a summit push built around controlled pacing.
It’s also a strong pick if you want a full support system: porter assistance, tent crew, cooks, and health checks. You’ll spend your energy hiking, not problem-solving.
It’s not a good fit if you have lung problems or known altitude-related medical conditions. If that applies to you, talk to a clinician before committing.
Should You Book This 7-Day Machame Climb?
If you want Machame’s famous mix of steady altitude work and the Barranco Wall scramble feeling, and you value a company that emphasizes safety checks and a staffed camp setup, I’d say this is a solid choice. The guide and crew coverage—plus emergency oxygen and oximeter monitoring—adds real confidence on a mountain where conditions can change fast.
Book it if you can hike patiently for hours, handle cold nights, and you’re serious about following water and gear rules. Skip it if your altitude risk is higher than you’re comfortable managing, even with good guiding.
If you do book, focus your preparation on pacing and stamina, not speed. On Kilimanjaro, steady wins—and day six proves it.
FAQ
What type of route is this on Kilimanjaro?
This is a non-technical Kilimanjaro camping route. You will still do a small scramble at the Barranco wall, but no special mountaineering equipment is required.
Where does the climb start and where does it end?
It starts in Moshi with pickup to Machame gate and ends with a descent to Mweka gate, where the vehicle returns you to Moshi.
What time does the trek begin on the first day?
Pickup to Machame gate happens around 9:00am, and you begin trekking after registration at the gate.
Is pickup included?
Yes. A transfer from a Moshi lodge or pickup location to the park gates per group is included, and the return transfer from park gates to Moshi is also included.
Is emergency oxygen included?
Yes. The tour includes 1 emergency oxygen cylinder per 5 passengers and a first aid kit.
What meals and drinking water are included?
All meals on the mountain are included (breakfast, lunch, and dinner). Boiled drinking water is provided from the first camp onward, and water on the first trekking day is not included.
What should I budget for that is not included in the price?
Tips or gratuities, insurance, visas, beverages, and personal items are not included. Personal mountain equipment such as sleeping bags and walking poles is also not included, and any comfort upgrades or extra single tents cost extra.