REVIEW · MOSHI
Mt.kilimanjaro Lemosho Route
Book on Viator →Operated by Trip to Africa (theKili-Guides) · Bookable on Viator
You feel safe from step one. On this 7-day Lemosho climb from Moshi, the real selling point is the guide team—people like Ayubu and Qamrish (and other leaders such as Edwin and Fred, plus chef Panta) who focus on calm, steady safety. I also like how the plan builds acclimatization into the route, not just hope-and-pray for a summit.
The main consideration is that altitude still bites. Even with optimal pace and extra stops around Lava Tower and Barafu, you should expect discomfort at higher camps and long trekking days where your body, not your attitude, calls the shots.
In This Review
- Key things that matter on this Kilimanjaro Lemosho plan
- Lemosho Route From Moshi: what you’re really buying
- Day 1: Londorossi Gate (2,200 m) to Shira 1 (3,500 m)
- Day 2: Shira 2 (3,900 m), possible Mount Meru views, and the Lava Tower hike
- Day 3: Lava Tower (4,630 m) to Barranco Camp (3,960 m)
- Day 4: Barranco Wall climb, then Karanga Camp and another acclimatization loop
- Day 5: Barafu Summit Camp (4,640 m), Uhuru preparation, and the Kosovo intermediate hike
- Day 6: Uhuru Peak (5,895 m) summit night with a personal guide, then the descent to Millennium
- Day 7: Mweka Gate (1,650 m) exit, rainforest camp feeling, and certificates
- Weather, fitness, and what to expect when the sky changes
- Value and logistics: where the money goes on this trek
- Who this Lemosho trek suits best
- Should you book this Kilimanjaro Lemosho route?
- FAQ
- Where does the trek start?
- How long is the Kilimanjaro Lemosho route trip?
- What’s the price per person?
- Does the tour include pickup and transfer?
- Is this a private tour?
- What fitness level do I need?
- What’s included for summit night support?
- What’s the highest point on the itinerary?
- Are there acclimatization hikes on the route?
- What if weather is poor?
- What’s the cancellation rule?
Key things that matter on this Kilimanjaro Lemosho plan
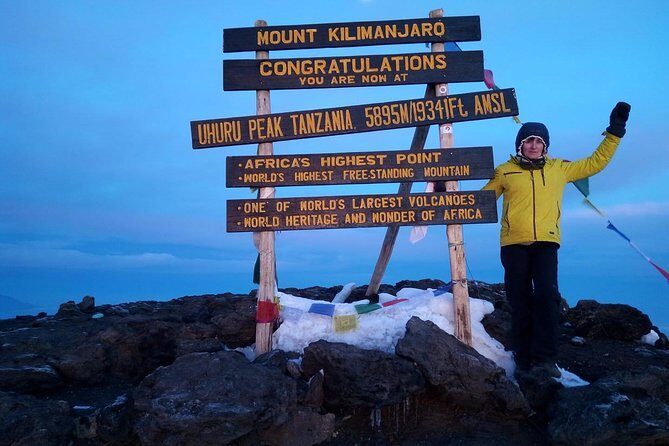
- Guide-first structure: you get support from a guide and mountain crew right from the first briefing.
- Smart altitude schedule: rest and acclimatization hikes with small altitude gains (like the ~200 m steps) to help your body adapt.
- Lava Tower is the checkpoint: it’s described as the section with a lot of ups and downs where you’ll spend extra time to acclimate.
- Summit night gets personal attention: each pair of climbers has a personal guide for the whole ascent to Uhuru Peak.
- Camp setup before you feel tired: tents and sleeping bags are set up in advance at Barafu Summit Camp so you can recover.
- A low-stress finish: you drop down to Mweka Gate and end in a tropical rainforest camp zone, then celebrate with certificates.
Lemosho Route From Moshi: what you’re really buying
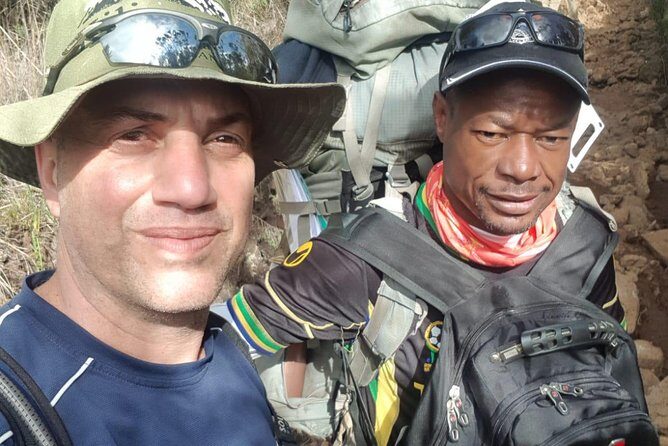
This trek is built around three things that matter to you: time, staffing, and altitude management. You leave Moshi, get shuttled to the western entrance at Londorossi Gate, then you climb over several days with specific high-altitude stops (and planned rest) rather than a “fast hike” style approach.
The price—$2,256.42 per person—can look steep until you line up what’s included in the experience design. You’re paying for more than a trail. You’re paying for permits and registration steps through Kilimanjaro National Park and search-and-rescue service, plus the guide team and support crew that travel with you, and the camp infrastructure that gets you into sleeping mode faster after tough days. When you’re paying for Uhuru Peak, the “how” matters as much as the “where.”
It also helps that this is a private tour/activity. That typically means your pace and your needs don’t have to fit around a larger, mixed group rhythm. You’re also near public transportation in Moshi, and they offer pickup—small items, but they reduce pre-trek stress.
You can also read our reviews of more tours and experiences in Moshi.
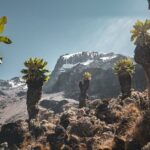
Day 1: Londorossi Gate (2,200 m) to Shira 1 (3,500 m)
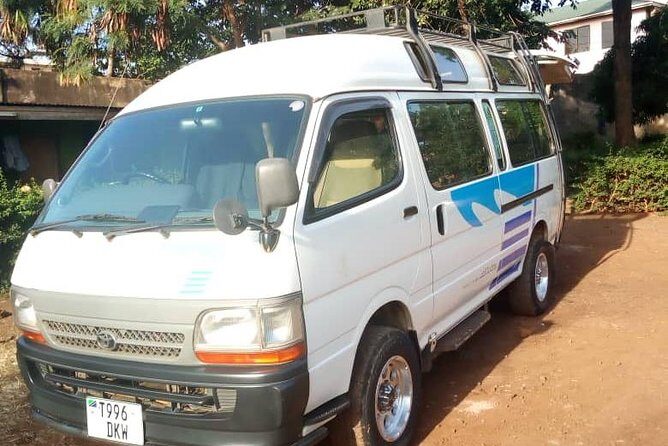
Day 1 is mostly about getting organized and then moving into the Kilimanjaro rhythm. In the morning, the guide and mountain support crew meet you at your hotel for a briefing. After that, you drive for roughly 3–4 hours to Londorossi Gate (2,200 m), where you handle climbing permits and register with the search and rescue service.
From there, off-road vehicles take you up to around 3,500 m, and you get your first major Shira Plateau views. It’s a big visual payoff for an early day, and it also sets expectations: Kilimanjaro is never “just a walk,” but this stage is described as not too physically challenging. Your first camp is Shira 1, and the goal here is to start acclimatizing without exhausting yourself.
Practical tip: on day 1, your body will feel “alive” and weird. That’s normal. Your job is to keep energy for later—save the fireworks for summit night.
Day 2: Shira 2 (3,900 m), possible Mount Meru views, and the Lava Tower hike
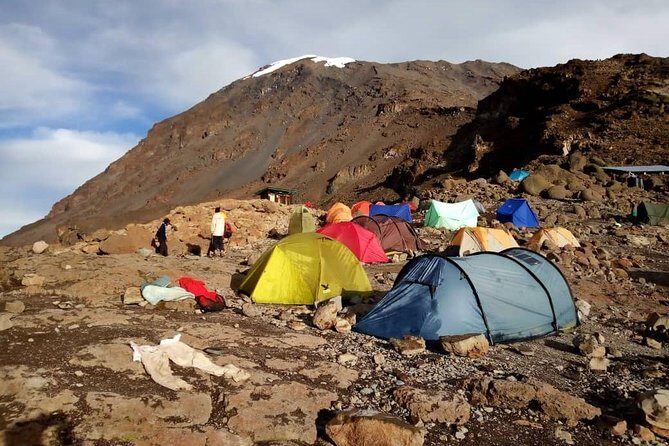
Day 2 starts at Shira 1 (3,505 m) and heads to Shira 2 Camp (3,900 m) via light trekking. The route is described as not difficult, which is exactly what you want here: you’re gaining altitude, but you’re not dumping the whole effort at once.
This is also where the view game turns into a science experiment. Shira 2 is described as the best place on the trip to see Mount Meru (the fifth summit of Africa), weather permitting. That’s a reminder that you’re signing up for changing skies, not a fixed photo mission.
Once you arrive, you eat lunch and rest for about two hours. Then comes an acclimatization hike toward Lava Tower Camp, with a 200-meter gain in altitude. This kind of short “go up, breathe, come back” step is smart: it trains your body without burning you out. After that, you settle in at camp.
Day 3: Lava Tower (4,630 m) to Barranco Camp (3,960 m)
Day 3 is where the route becomes more serious. After breakfast you leave Shira 2 and work toward Lava Tower at 4,630 m. This section is described as having lots of ascents and descents, ending at a camp over 4,600 m.
The key detail is time at altitude. You’ll spend at least 1–2 hours here to acclimate, and lunch happens at this point. That’s not wasted time. It’s the difference between pushing through and actually giving your body a chance to adjust.
Then you descend to Barranco Camp at 3,960 m. Barranco is known for the Barranco Wall, and the plan explicitly calls it out as famous in size and steepness. The next day includes climbing it, but the good news is that the trail is described as simple. Translation: day 3 sets up day 4 without turning you into a technical climber.
Day 4: Barranco Wall climb, then Karanga Camp and another acclimatization loop
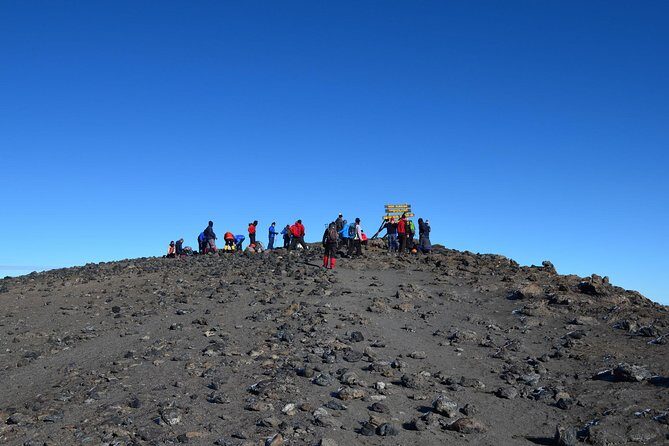
Early wakeup on day 4 is about timing and crowd management. You start summiting Barranco Wall early to avoid crowds from other groups. The climb up the gorge wall is described as not difficult and around an hour—so you’re not fighting for your life, but you’re still earning those Kibo volcano photo moments afterward.
After the wall, you get a rest and time for photos in front of Kibo volcano, then continue to Karanga Camp. This part includes numerous ascents and descents. The guidance here matters because they’ll choose an optimal pace for the group, which is important when you’re tired and altitude is already on your mind.
Once you reach camp, you get warm lunch, then you do an acclimatization hike in the direction of Barafu Camp with a 200-meter gain. Finally, you descend back to Karanga Camp. In other words: you work, rest, and do it again—but in a way that’s planned.
Humor aside, this is the real Kilimanjaro trick: repeating hard things in a controlled way until your body stops complaining.
Day 5: Barafu Summit Camp (4,640 m), Uhuru preparation, and the Kosovo intermediate hike
Day 5 is summit-prep day, and it’s built to protect your energy. You start at Barafu Summit Camp at 4,640 m, which is the launch point for a night summit of Uhuru Peak at 5,895 m.
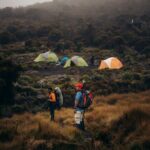
They set up your camp ahead of time—tents and sleeping bags—so you’re not spending summit day assembling your life. After you regain strength, you complete an acclimatization hike toward Kosovo Summit Camp at 4,800 m and then return to Barafu. Then you eat a hot dinner and the plan shifts to rest and sleep before night summiting.
This day is not about being tough. It’s about being smart. The summit is the last test, but preparation is the real exam.
Day 6: Uhuru Peak (5,895 m) summit night with a personal guide, then the descent to Millennium
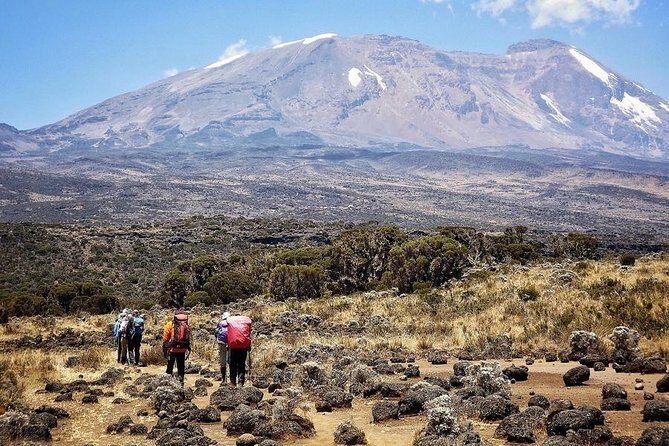
Day 6 starts at night, leaving Barafu Camp for the Uhuru Peak summit. The climb is described as technically simple, but the challenge is high altitude. That’s the honest part: you’re not scaling a cliff; you’re negotiating with thin air.
A major feature here is staffing. Each pair of climbers gets a personal guide for the entire ascent, monitoring physical and mental conditions. That can matter more than people expect. When you’re exhausted and your brain starts bargaining, having a guide who stays attentive helps you keep a steady effort.
After reaching Uhuru Peak, there’s an option to descend to the nearest glacier if desired. Then you return to Barafu Camp, rest for about two hours, and continue descent to Millennium Camp at 3,820 m.
One thing to notice: your day is hard, then it doesn’t end. It continues into a descent and a new night. This is where good pacing and supportive guidance pay off.
Day 7: Mweka Gate (1,650 m) exit, rainforest camp feeling, and certificates
Day 7 brings a different kind of relief: the altitude drops fast enough that you can feel your breathing change. The camp is described as situated in tropical rainforest, so when you wake up you’re in a totally different world compared to the summit zone.
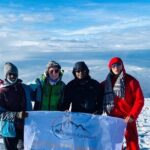
After a warm breakfast, you head to the exit at Mweka Gate (1,650 m). Once you descend, your whole group gathers to congratulate you, then you get a chance to share thoughts in the guestbook. Finally, your team presents commemorative certificates in their office and provides a transfer back to your hotel.
That final step is more than ceremony. It gives closure, and it also helps you process what you just did before the travel day rush starts.
Weather, fitness, and what to expect when the sky changes
Your success on Kilimanjaro often comes down to weather and stamina, and this plan explicitly acknowledges that weather can be variable. If weather conditions are poor, the experience may be canceled and you’ll be offered another date or a full refund. That’s not a loophole; it’s a sign they’re not forcing the summit schedule at all costs.
On fitness: you only need moderate physical fitness, but the route still climbs high and spends time at altitude camps over 4,600 m. You should expect “discomfort” at key points, especially around Lava Tower. The good news is the plan doesn’t rush you blindly. It’s designed around acclimatization and optimal group pacing.
If you’re the kind of traveler who hates sitting still but also hates getting wiped out, you’ll probably like this format: move, rest, gain height in measured steps, then repeat.
Value and logistics: where the money goes on this trek
Let’s talk value without hand-waving.
You’re paying for:
- Transportation from Moshi (pickup offered, then vehicle travel to Londorossi Gate plus off-road to the drop-off point).
- Access and compliance: permits and registration with search and rescue service at the gate.
- The crew and guides: a guide plus mountain support crew from the start, and personal guidance on summit night.
- Camp support: camps with tents and sleeping bags set up in advance at Barafu Summit Camp.
- Food at key moments: warm meals and hot dinner at the major stages the plan calls out.
- A guided, structured finish: transfer back to the hotel plus certificates.
Compared to cheaper setups, the biggest differentiator is guide attention during summit night and the time built into acclimatization. Those are the parts that tend to make the difference between “we got close” and “we finished.”
Who this Lemosho trek suits best
This is a strong match if:
- you want a route that includes built-in acclimatization steps like Lava Tower time and multiple 200-meter gain hikes
- you care about summit-night support (personal guide per pair)
- you prefer private-group pacing rather than merging with a larger crowd
It may not be ideal if:
- you’re looking for a casual walk with minimal altitude strain
- you want a trip that ignores weather risks (this one adjusts based on conditions)
Given the moderate fitness note, you don’t need to be a mountaineer. You do need to be willing to work steadily and trust the pacing.
Should you book this Kilimanjaro Lemosho route?
I’d book it if you want the summit goal with a serious plan for altitude and a guide team that takes safety and pacing seriously. The personal guide on summit night, the camp setup ahead of time at Barafu, and the multiple acclimatization steps are the core reasons this feels built for real success, not just hype.
I’d think twice if you know you freeze when things get physically uncomfortable, because the route does call out discomfort at higher elevations even with good guidance. And if you’re extremely time-constrained and can’t flex with weather, remember the experience depends on conditions and can change dates.
If you want a Kilimanjaro trek where the human support matters as much as the peak, this Lemosho plan is a solid, practical choice.
FAQ
Where does the trek start?
The tour is based in Moshi, Tanzania. You’re picked up and taken by vehicle to Kilimanjaro National Park, entering at Londorossi Gate.
How long is the Kilimanjaro Lemosho route trip?
It’s listed as 7 days (approx.).
What’s the price per person?
The price is $2,256.42 per person.
Does the tour include pickup and transfer?
Pickup is offered, and at the end of the trek there is a transfer back to the hotel.
Is this a private tour?
Yes. It’s a private tour/activity, meaning only your group participates.
What fitness level do I need?
The tour notes a moderate physical fitness level.
What’s included for summit night support?
During the ascent to Uhuru Peak, each pair of climbers gets a personal guide for the entire climb, monitoring physical and mental conditions.
What’s the highest point on the itinerary?
The summit is Uhuru Peak at 5,895 m.
Are there acclimatization hikes on the route?
Yes. The route includes acclimatization time at high camps, including a Lava Tower acclimatization period and hikes with around a 200-meter gain near Lava Tower/Barafu-related camps.
What if weather is poor?
The experience requires good weather. If it’s canceled due to poor weather, you’ll be offered a different date or a full refund.
What’s the cancellation rule?
You can cancel for free up to 24 hours in advance for a full refund.