REVIEW · ARUSHA
climb the KILIMANJARO via Lemosho route
Book on Viator →Operated by Guide Private · Bookable on Viator
Cold night climb, big mountain payoff.
This Lemosho route is a serious trek, but it’s also the kind of trip where the small details matter: the responsive guiding (including examples like Paul Bernad) and the steady support from the team of guides and cooks. I like how the itinerary builds you up through forests, moorland, and rock desert instead of rushing you straight upward. One caution: the cold is real on summit night, and you’ll want to be ready for slow, steady climbing at altitude—not quick bursts.
Because it’s private, you’re not squeezed into a big, chaotic group. Pickup is offered, and you’ll get mobile ticketing. Still, part of the experience cost will feel worth it only if you’re truly okay with the time, the walking, and the fact that mountain entry admissions are listed differently across days (Day 1 included; Days 7–8 not included).
In This Review
- Quick hits on the Lemosho climb (what you’ll feel most)
- From Arusha to Londorossi Gate: Day 1 forest walking and farm country
- Shira 1 (Day 2): high starting elevation and moorland travel
- Shira Cathedral or the lower route via Moe Hut (Day 3): a real acclimatization choice
- Lava Tower to Great Barranco (Day 4): rocky miles and big views with consequences
- Barranco Wall to Karanga Camp (Day 5): rock climbing time and a hot lunch payoff
- Barafu Hut and summit strategy (Day 6): Stella Point and Uhuru Peak without rushing
- Descent via Mweka Hut (Day 7): recovery with a calm sense of victory
- Final day through rainforest to Mweka Gate (Day 8): sign-out and your certificate
- Guide support and small-group feel: why the crew makes the difference
- Price and value: what $2,564.11 per person really buys
- Gear and prep: the cold, the phone, and the calm you need
- Who should pick the Lemosho route here?
- Should you book this Kilimanjaro climb?
- FAQ
- How long is the Kilimanjaro climb via Lemosho?
- Is this a private tour?
- Do you pick me up from Arusha or Moshi?
- Where does registration happen?
- What fitness level do I need?
- What happens if the climb is canceled due to poor weather?
- If I cancel, what refund can I get?
Quick hits on the Lemosho climb (what you’ll feel most)
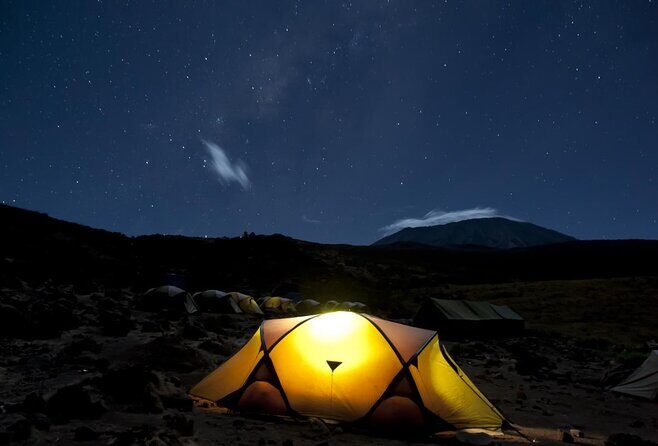
- Londorossi Gate registration first, then an immediate walk through rain forest country and farms before the mountains take over.
- Shira Plateau starts high, with routes that can include Shira Cathedral for acclimatization when conditions and pacing line up.
- Lava Tower and Great Barranco give you classic Kilimanjaro terrain—steep, rocky, and scenic in a work-your-way-through way.
- Karanga Camp and the Barranco Wall are where rhythm and breath matter most.
- Summit push targets Stella Point then Uhuru Peak, with a short photo window and a longer descent back to Barafu.
- Finish through rainforest to Mweka Gate, then get your certificate and head back to Arusha/Moshi.
From Arusha to Londorossi Gate: Day 1 forest walking and farm country
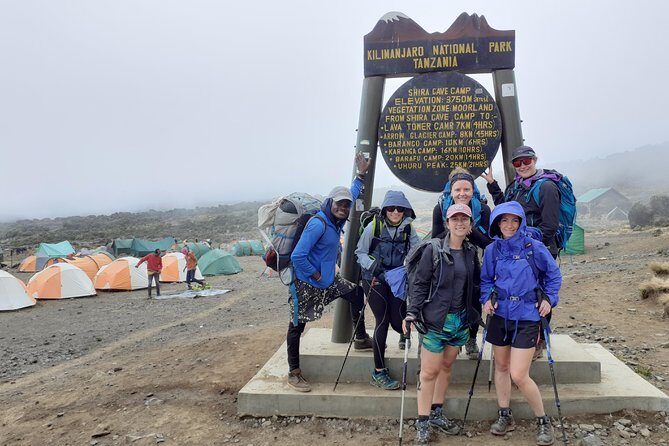
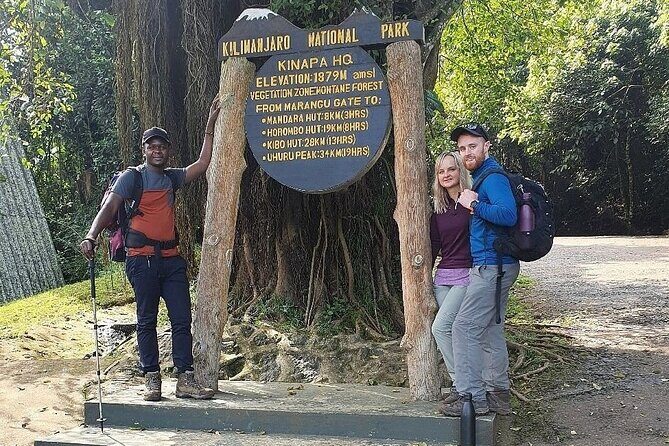
Day 1 starts with a drive from Arusha/Moshi to Londorossi Gate (2200m / 7330 ft) for registration. Then you’re back in the vehicle for the start area, crossing Fill’s farms—mixed planted trees and vegetable patches like carrots and round potatoes. It’s a nice reality check. Kilimanjaro isn’t remote in a vacuum; you pass working land before you ever hit the first real climb.
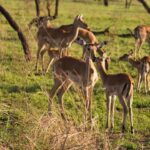
Once you drop into the rain forest, the day shifts from “getting there” to “finding your pace.” The walk is listed as about 5 km / 4 hours, with a steady focus on footing and breathing. The itinerary even calls out wildlife you might spot—elephants, buffalo, and eland—plus birds and flowers. Even if you don’t see the big animals, you’ll get a deep-green start that feels like a warm-up rather than a punishment.
You finish at Forest Camp (2830m / 9430 ft) for the night. That early camp matters: you’re already sleeping at altitude, but you’re not thrown straight into summit conditions.
My practical takeaway: Day 1 sets the tone for the whole mountain. If you start stiff or impatient, you’ll feel it later.
You can also read our reviews of more tours and experiences in Arusha.
Shira 1 (Day 2): high starting elevation and moorland travel
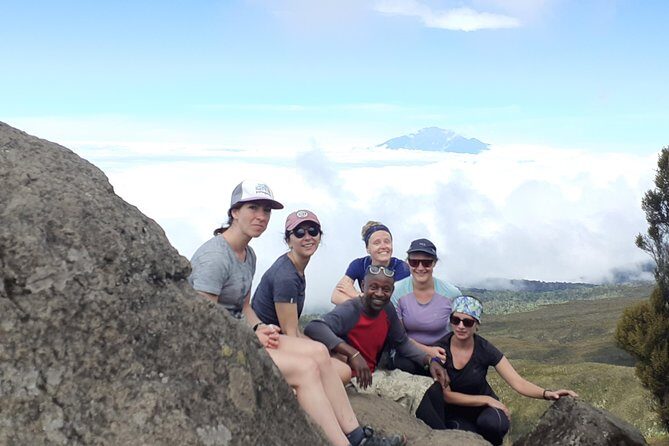
On Day 2 you begin climbing from Big Tree toward Shira 1. The walk is listed around 4–6 hours / 7 km, with an ascent to about 3509m / 11,690 ft. You’ll move along narrow paths through a transition zone described as Heather moorland and uphill ridges on the Shira Plateau.
The vegetation is part of the appeal here—Erica family trees and Savanna grass areas are mentioned. If you’ve only seen Kilimanjaro in photos, this day changes the feel of the mountain. It’s not just “snow peak.” It’s also high, textured country.
You arrive at Shira 1 camp for dinner and overnight. There’s also a best-case bonus: if the sky is clear, you can view Kibo from camp. That’s not a guarantee, but it’s a reminder to keep your schedule flexible and your head up when visibility improves.
Potential drawback to keep in mind: Day 2 starts fairly high. You’ll want to keep your steps short and controlled, not heroic.
Shira Cathedral or the lower route via Moe Hut (Day 3): a real acclimatization choice
Day 3 gives you two options, and that’s one of the more valuable parts of this climb. After a heavy breakfast, you can take an upper route (about 4–5 hours / 6 km) toward Shira Cathedral (3920m / 13,060 ft) for acclimatization. Then you continue to Shira 2 camp (3840m / 12,800 ft) for dinner and overnight.
Or you can go lower, crossing a rescue road toward Moe Hut campus (4200m / 14,000 ft) for overnight. Both routes end with you at high elevation, but they stress your body differently.
Why this matters for you: acclimatization isn’t just a buzzword on Kilimanjaro—it’s the pacing strategy that helps you keep moving without burning out. Having options means your guide can match the day to conditions and to how you’re responding.
In other words, you’re not only climbing the mountain. You’re also managing your body’s altitude response.
What to watch for: whichever route you take, slow down. This is one of those days where “feels okay” can still turn into “why did I rush?” later.
Lava Tower to Great Barranco (Day 4): rocky miles and big views with consequences
Day 4 is where Kilimanjaro gets more dramatic. After breakfast you climb for about 5–6 hours / 9.5 km, passing through the rock desert zone and via Lava Tower. The high point mentioned is 4605m / 15,350 ft, where you have lunch.
Then you descend to Great Barranco camp (3940m / 13,130 ft). The itinerary notes that the views are awesome, which I take to mean: expect open air, harsh light, and a terrain that makes you appreciate every step. If the weather is clear, you’ll likely be tempted to stop too often. Do it, but keep it efficient.
At Great Barranco, your job is to recover—hydrate, eat what you can, and keep warm. Even “only” one overnight deeper at altitude can make a difference the next day.
Consideration: Rocky days can be slower than you expect even when you’re fit. Build time for careful foot placement.
Barranco Wall to Karanga Camp (Day 5): rock climbing time and a hot lunch payoff
Day 5 starts with another ascent after breakfast, listed as 3–4 hours / 5.5 km. You go to the Barranco wall, hitting around 4200m / 14,000 ft, then continue to Karanga camp (4000m / 13,330 ft).
This is also where you get a morale boost: hot lunch at or around the gate rest at Karanga. That kind of food break isn’t a luxury—it’s fuel. It also gives you a chance to reset your attitude before the long push.
The day is built around a classic Kilimanjaro moment: you move from “camp routine” to “technique and grip” on rock terrain, then you settle back into rhythm at Karanga.
Tip that matters here: keep your shoulders relaxed and your breathing slow. On wall-like terrain, tension makes you waste energy fast.
Barafu Hut and summit strategy (Day 6): Stella Point and Uhuru Peak without rushing
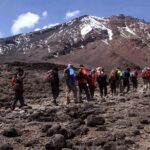
Day 6 is the big one. You ascend from Karanga camp to Barafu Hut (4620m / 15,400 ft) in 3–4 hours / 5 km, then later the itinerary describes a longer stretch for the summit push: about 6 hours / 5.5 km aimed at Stella Point (5756m / 19,180 ft) and then Uhuru Peak (5896m / 19,650 ft).
There are two key details I really want you to remember:
- It’s controlled, not sprinting. You’re described as gradually walking at alpine desert terrain. That’s a reminder that you’re grinding steadily at very high altitude.
- The summit includes a short photo window: a few minutes for photos at the top, then a 3-hour descent back to Barafu Hut.
You’ll spend the night back at Barafu. The climb is not finished just because you reached Uhuru Peak. The descent is where you protect your legs and get your body ready for the final day.
Cold reality check from climbers you can learn from: one piece of advice that keeps coming up with Kilimanjaro is to prepare for the cold and don’t trust your phone as your only camera. Batteries drop and screens struggle in frigid air.
Descent via Mweka Hut (Day 7): recovery with a calm sense of victory
Day 7 starts with a branch (food) rest for 1 hour, then you go down all the way to Mweka Hut (3100m / 10,330 ft) in about 6 hours. You sleep there and have dinner.
This day can feel strange emotionally. You’ve earned your summit already, but your body is still tired. The smart play is to keep the pace gentle. Let your breathing normalize. Let your legs re-learn downhill form.
Also, note the experience data: Admission Ticket is listed as not included for this day. That doesn’t mean you’ll be surprised at the last minute, but it is something you’ll want to clarify so you don’t get hit with a confusion cost late in the trip.
Final day through rainforest to Mweka Gate (Day 8): sign-out and your certificate
On Day 8 you wake early, then descend for about 4 hours / 8 km through rainforest to Mweka Gate (1760m / 5,860 ft). You sign out, receive your certificate of hard work, and then drive back to your hotel.
The rainforest descent can feel like a relief after cold alpine air. It’s also where people sometimes get careless on uneven ground because they feel safer. Keep your attention up. Finish strong, not sloppy.
Another practical note: Admission Ticket is again listed as not included for Day 8. Build that into your budgeting mindset.
Guide support and small-group feel: why the crew makes the difference
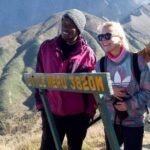
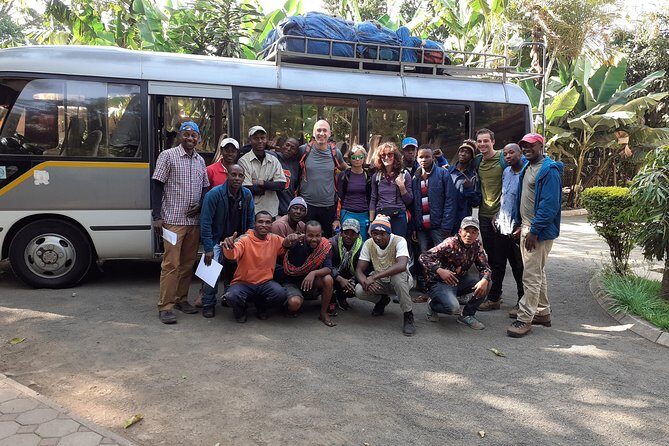
This is a private tour/activity, meaning it’s just your group. Past experience with a small team led by Paul Bernad highlights what you’re really paying for in a private Kilimanjaro climb: someone who adjusts to how you’re moving, not how you wished you were moving.
Paul’s responsiveness shows up in the idea that the guide led climbers according to their abilities, and the group managed to reach the goal. Even with different fitness levels in the same party, good guiding shows through in pacing and encouragement.
You also get friendly, dedicated cooks and guides as part of the core package. Food and hydration planning matter at altitude. If the team manages that well, your “climb” becomes something you can sustain instead of a battle.
If your main concern is whether you’ll be supported on summit night: the guide’s job is to keep you moving when motivation dips and cold bites. This kind of crew support is the best insurance you can buy.
Price and value: what $2,564.11 per person really buys
At $2,564.11 per person for an 8-day private climb, this isn’t a budget activity. But it’s not priced like a luxury hotel safari either. The value comes from what Kilimanjaro requires to run well:
- Private group format (so you’re not stuck with a mismatched pace).
- Guide and cook team for the full schedule.
- Daily routing through a protected area with camp logistics across multiple altitude bands.
- Pickup offered from Arusha/Moshi and mobile ticket support.
One value check you should do before you pay is the admission breakdown. Day 1 is marked included, Days 2–6 are marked free in the data, and Days 7–8 are marked not included. That means the total price may not equal the full park admission on every single day, depending on what your operator covers.
My balanced advice: ask for a written clarification of what’s included vs. not included for Days 7–8. Then you’ll feel confident spending the money without late-trip surprises.
Gear and prep: the cold, the phone, and the calm you need
You’ll need to plan for cold. One climber tip was simple: do not rely on your phone for photos. Cold can drain batteries quickly, and your hands may be busy with warmth and gloves.
Here’s what I’d do before you come, using the info you have:
- Assume summit night cold and pack for it, even if you’re used to warm climates at home.
- Bring photo backup if you care about images. If your phone dies, you still want proof you made it.
- Plan for the walking rhythm. This route spans long days and multiple altitude jumps, including Stella Point and Uhuru Peak followed by descent.
And train your patience. If you can hike steadily for hours and accept a slow pace, you’re building the exact skill Kilimanjaro demands.
Who should pick the Lemosho route here?
Choose this experience if you want:
- A route known for variety, because you’ll pass through rain forest, moorland, and rock terrain across the days.
- Private guidance so pacing can match your ability.
- A team setup that includes strong guide leadership and good food support.
It also fits people with moderate physical fitness who are comfortable with altitude travel. One example included climbers in their late 60s making the climb with family, with a guide who adjusted pacing—so age alone doesn’t automatically rule you out, but you still must take the cold and the long hours seriously.
If you’re looking for an easy stroll, this won’t match.
Should you book this Kilimanjaro climb?
If you’re serious about summiting and you value supportive guidance, this is a solid pick. The route plan gives you time to acclimatize across multiple camps, and the crew approach you see in examples like Paul Bernad signals hands-on care rather than a one-size-fits-all push.
Before you commit, do two quick checks:
- Confirm what park admission is covered on Days 7–8, since it’s marked not included.
- Be honest about cold-weather prep and stamina. Summit success comes from consistency, not bravado.
If you can do those two things, booking makes sense. This is the kind of trip that turns into a real story—one you remember in detail, even years later.
FAQ
How long is the Kilimanjaro climb via Lemosho?
The itinerary is scheduled for about 8 days.
Is this a private tour?
Yes. It’s listed as a private tour/activity, so only your group participates.
Do you pick me up from Arusha or Moshi?
Pickup is offered, and the Day 1 drive is described from a hotel in Arusha/Moshi to Londorossi Gate.
Where does registration happen?
Registration is at Londorossi Gate (2200m / 7330 ft) on Day 1.
What fitness level do I need?
The experience notes a moderate physical fitness level is recommended.
What happens if the climb is canceled due to poor weather?
The experience requires good weather. If canceled due to poor weather, you’ll be offered a different date or a full refund.
If I cancel, what refund can I get?
You can cancel up to 6 days in advance for a full refund. If you cancel 2–6 days before the start time, you get a 50% refund. Within 2 days, there’s no refund.